How to sew a hip bag for sling projectiles
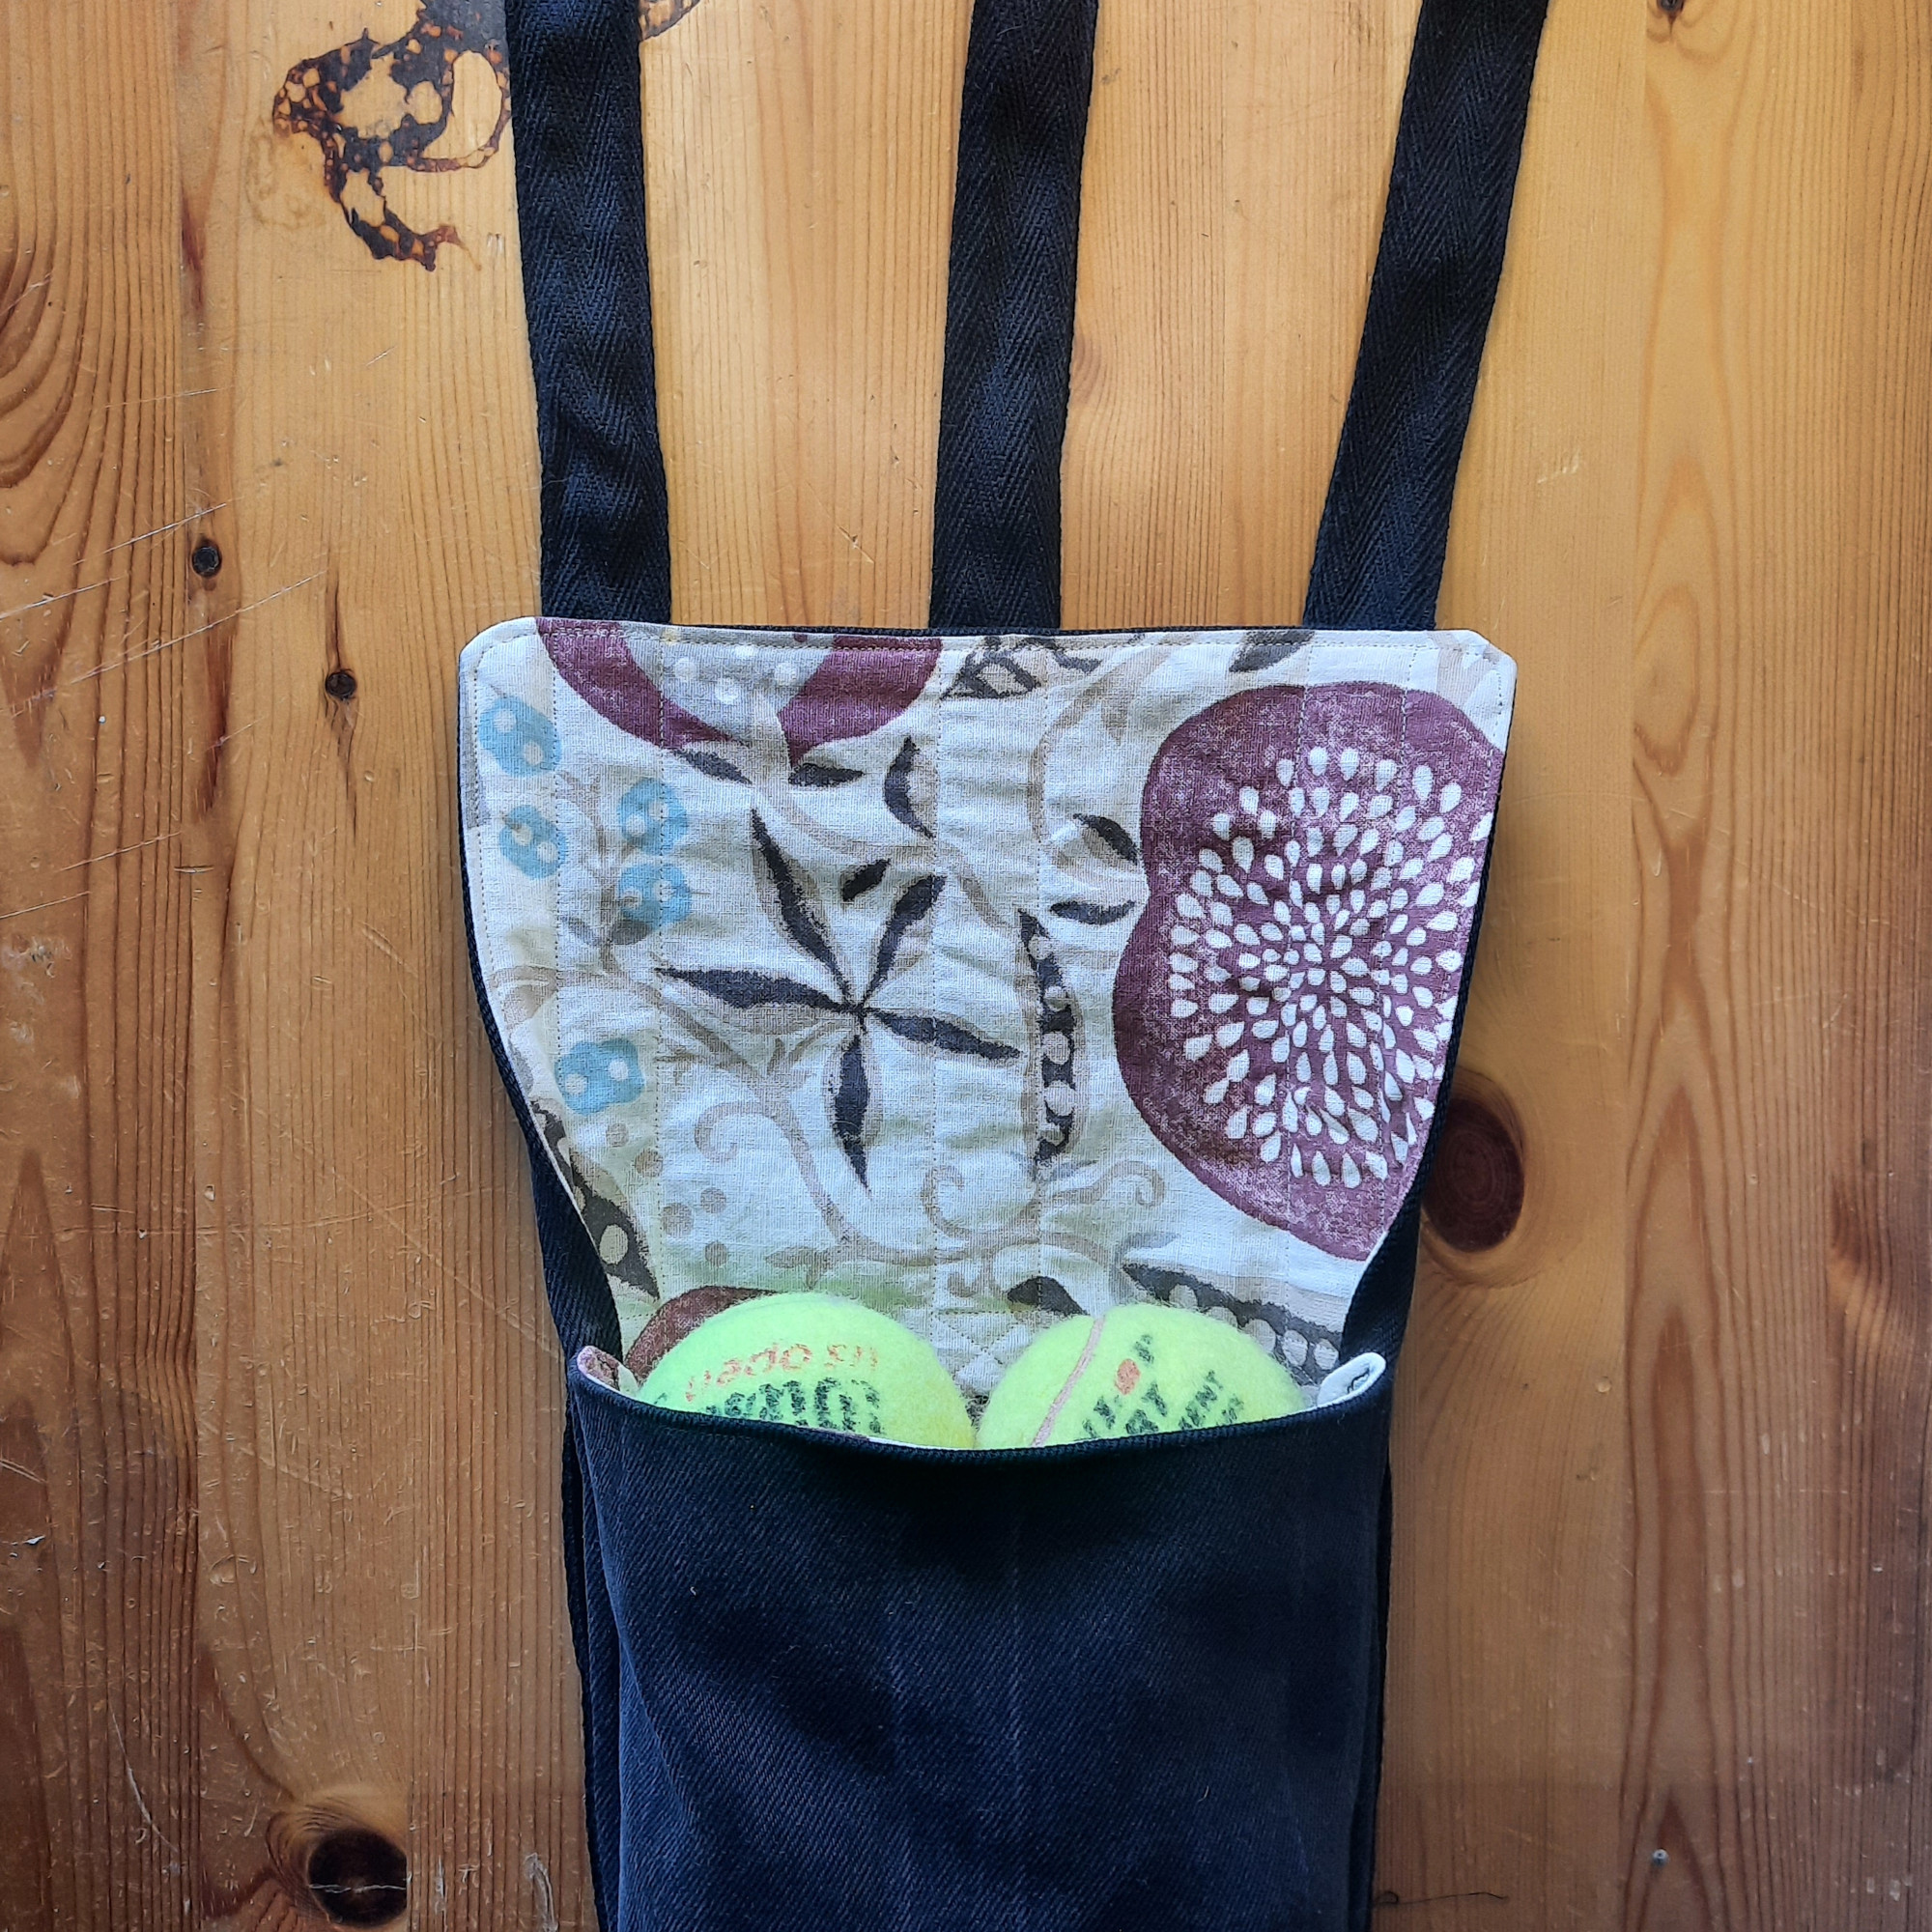
When slinging, you can go through a whole bunch of stones quite fast. As trouser pockets can only hold that many rocks, a hip bag can be very useful, as it allows you to carry large amounts of ammunition comfortably and within reach. The hip bag presented here is attached to the belt and can also be attached to the leg with a second belt using loops on the underside. This makes it more comfortable to wear and prevents the bag from dangling around when running or climbing. The dimensions are chosen so that eight tennis balls or around four kilograms of stones fit in. It involves much sewing, so the use of a sewing machine is highly recommended.
Step 1
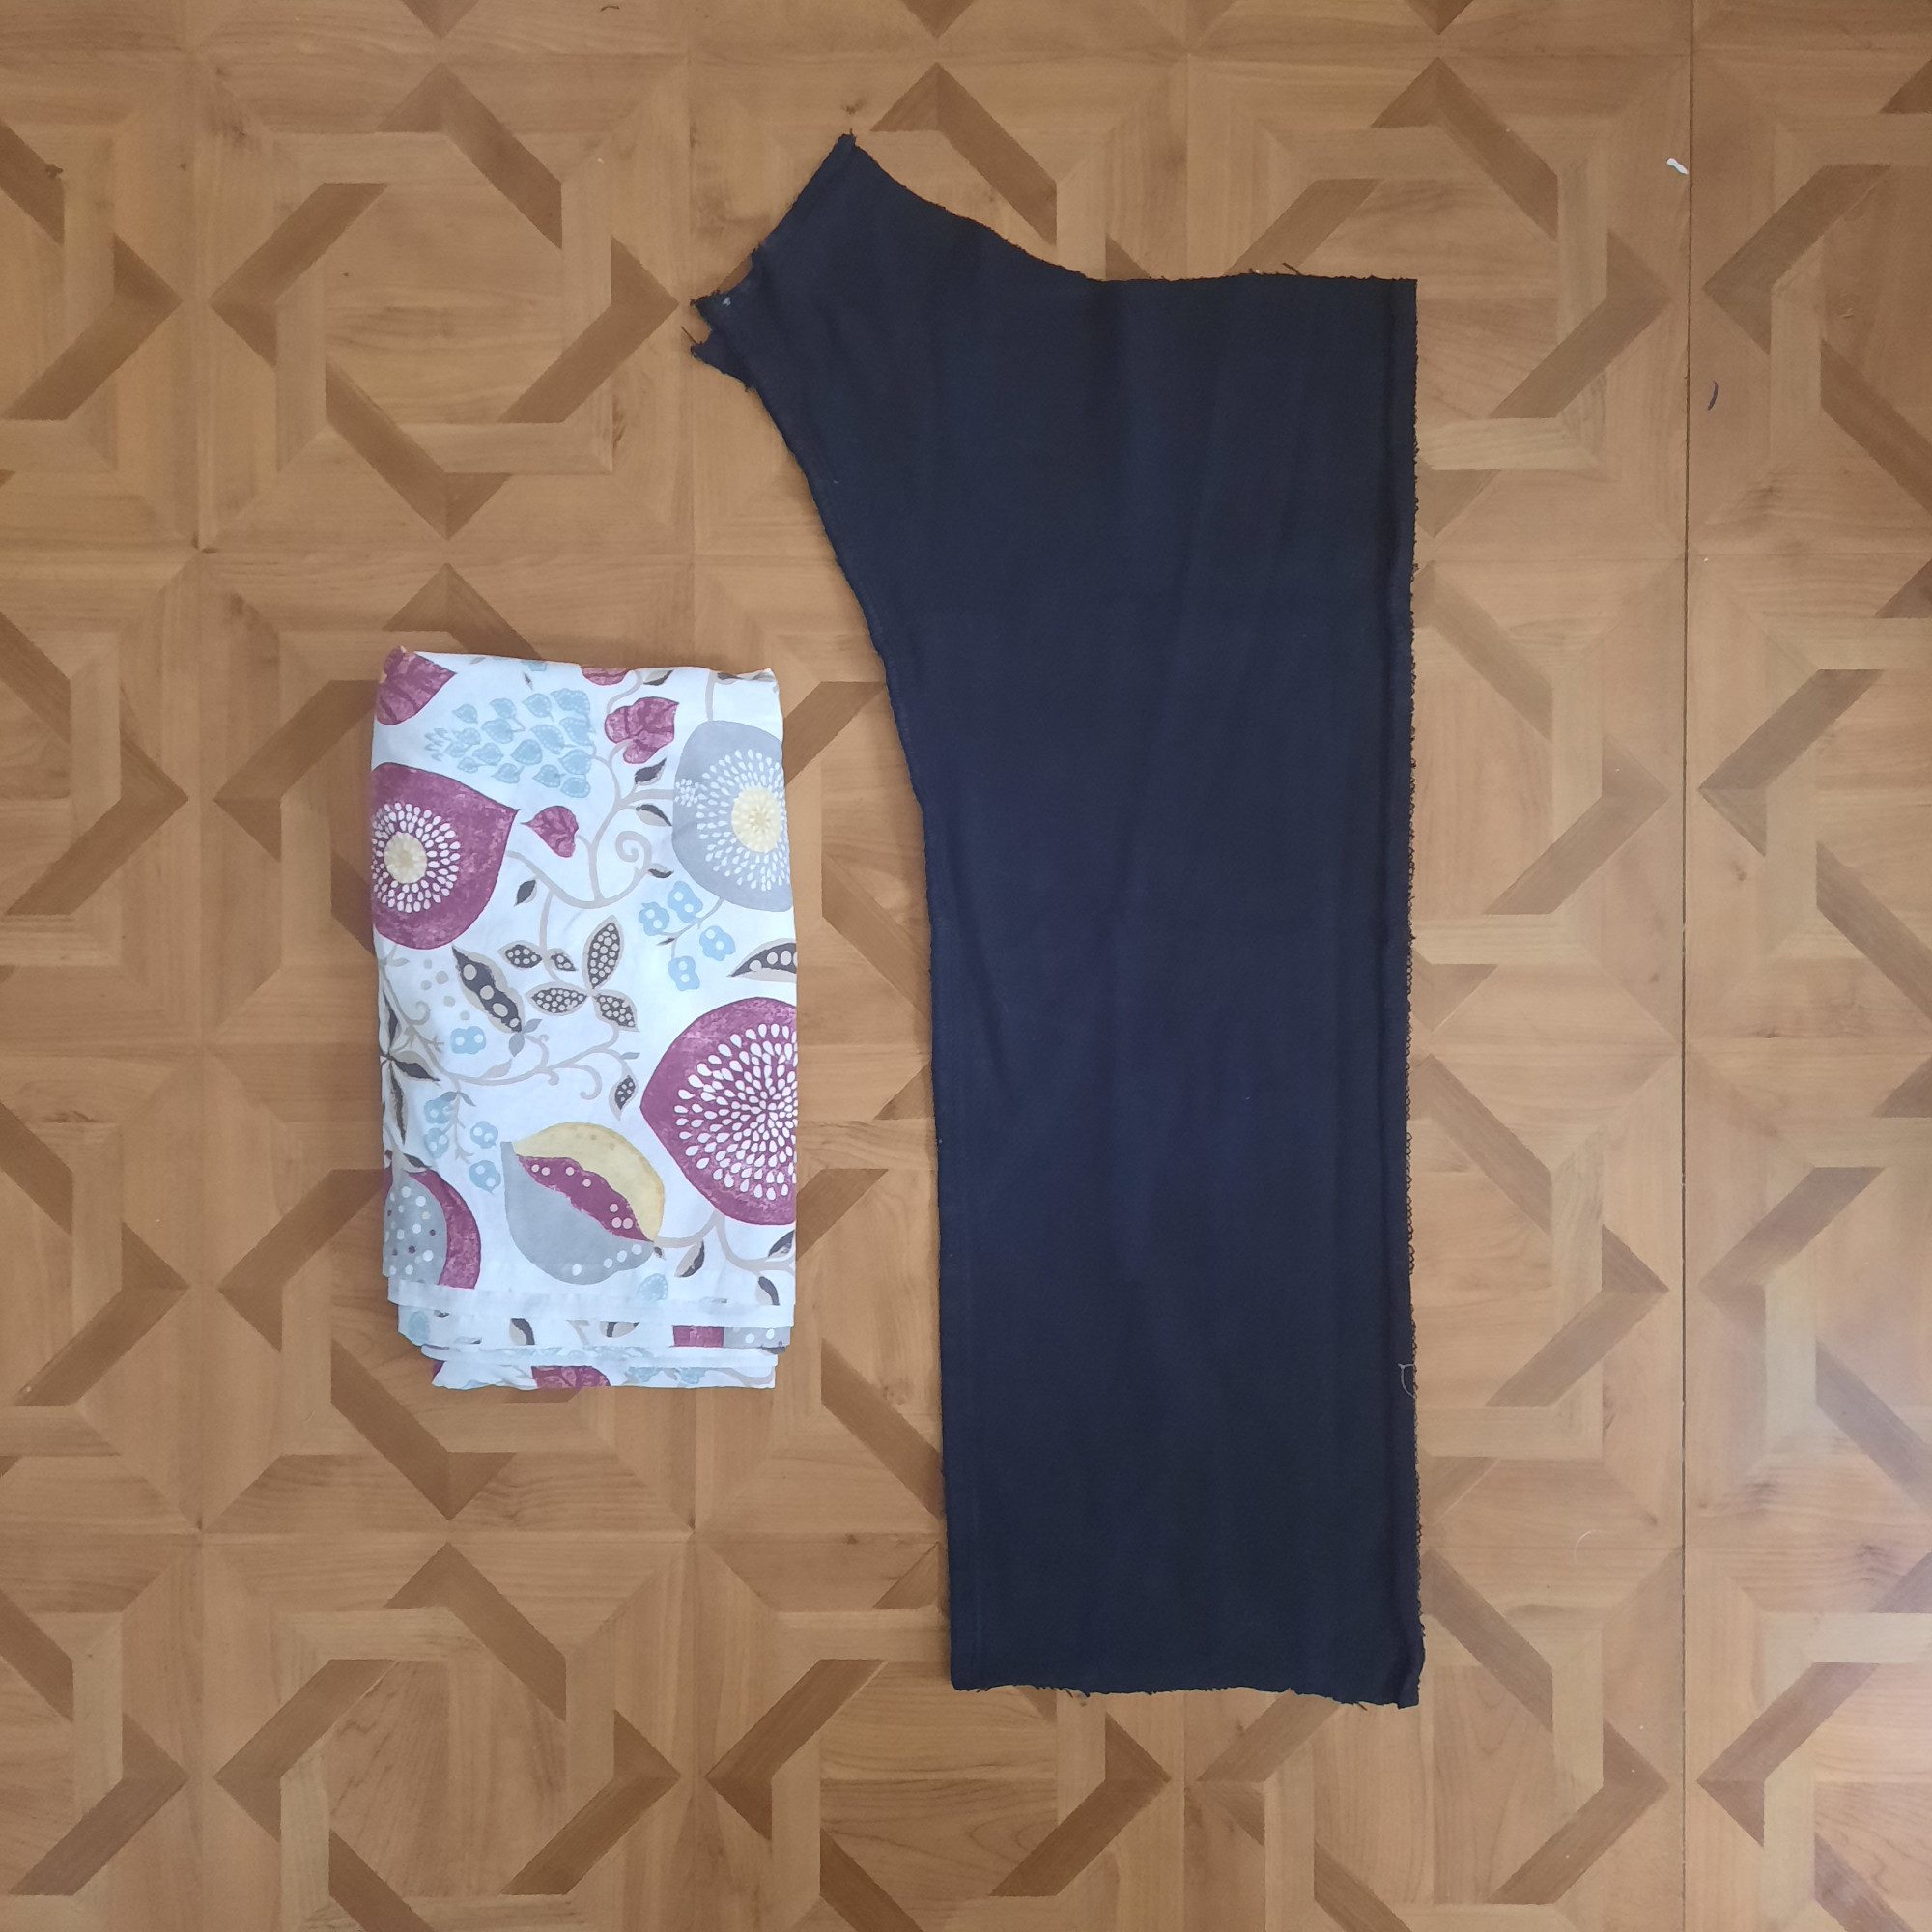
First, you need a sufficiently large piece of fabric. A sturdy fabric for the outside, for example an old pair of jeans, and a thinner fabric for the inside.
Step 2
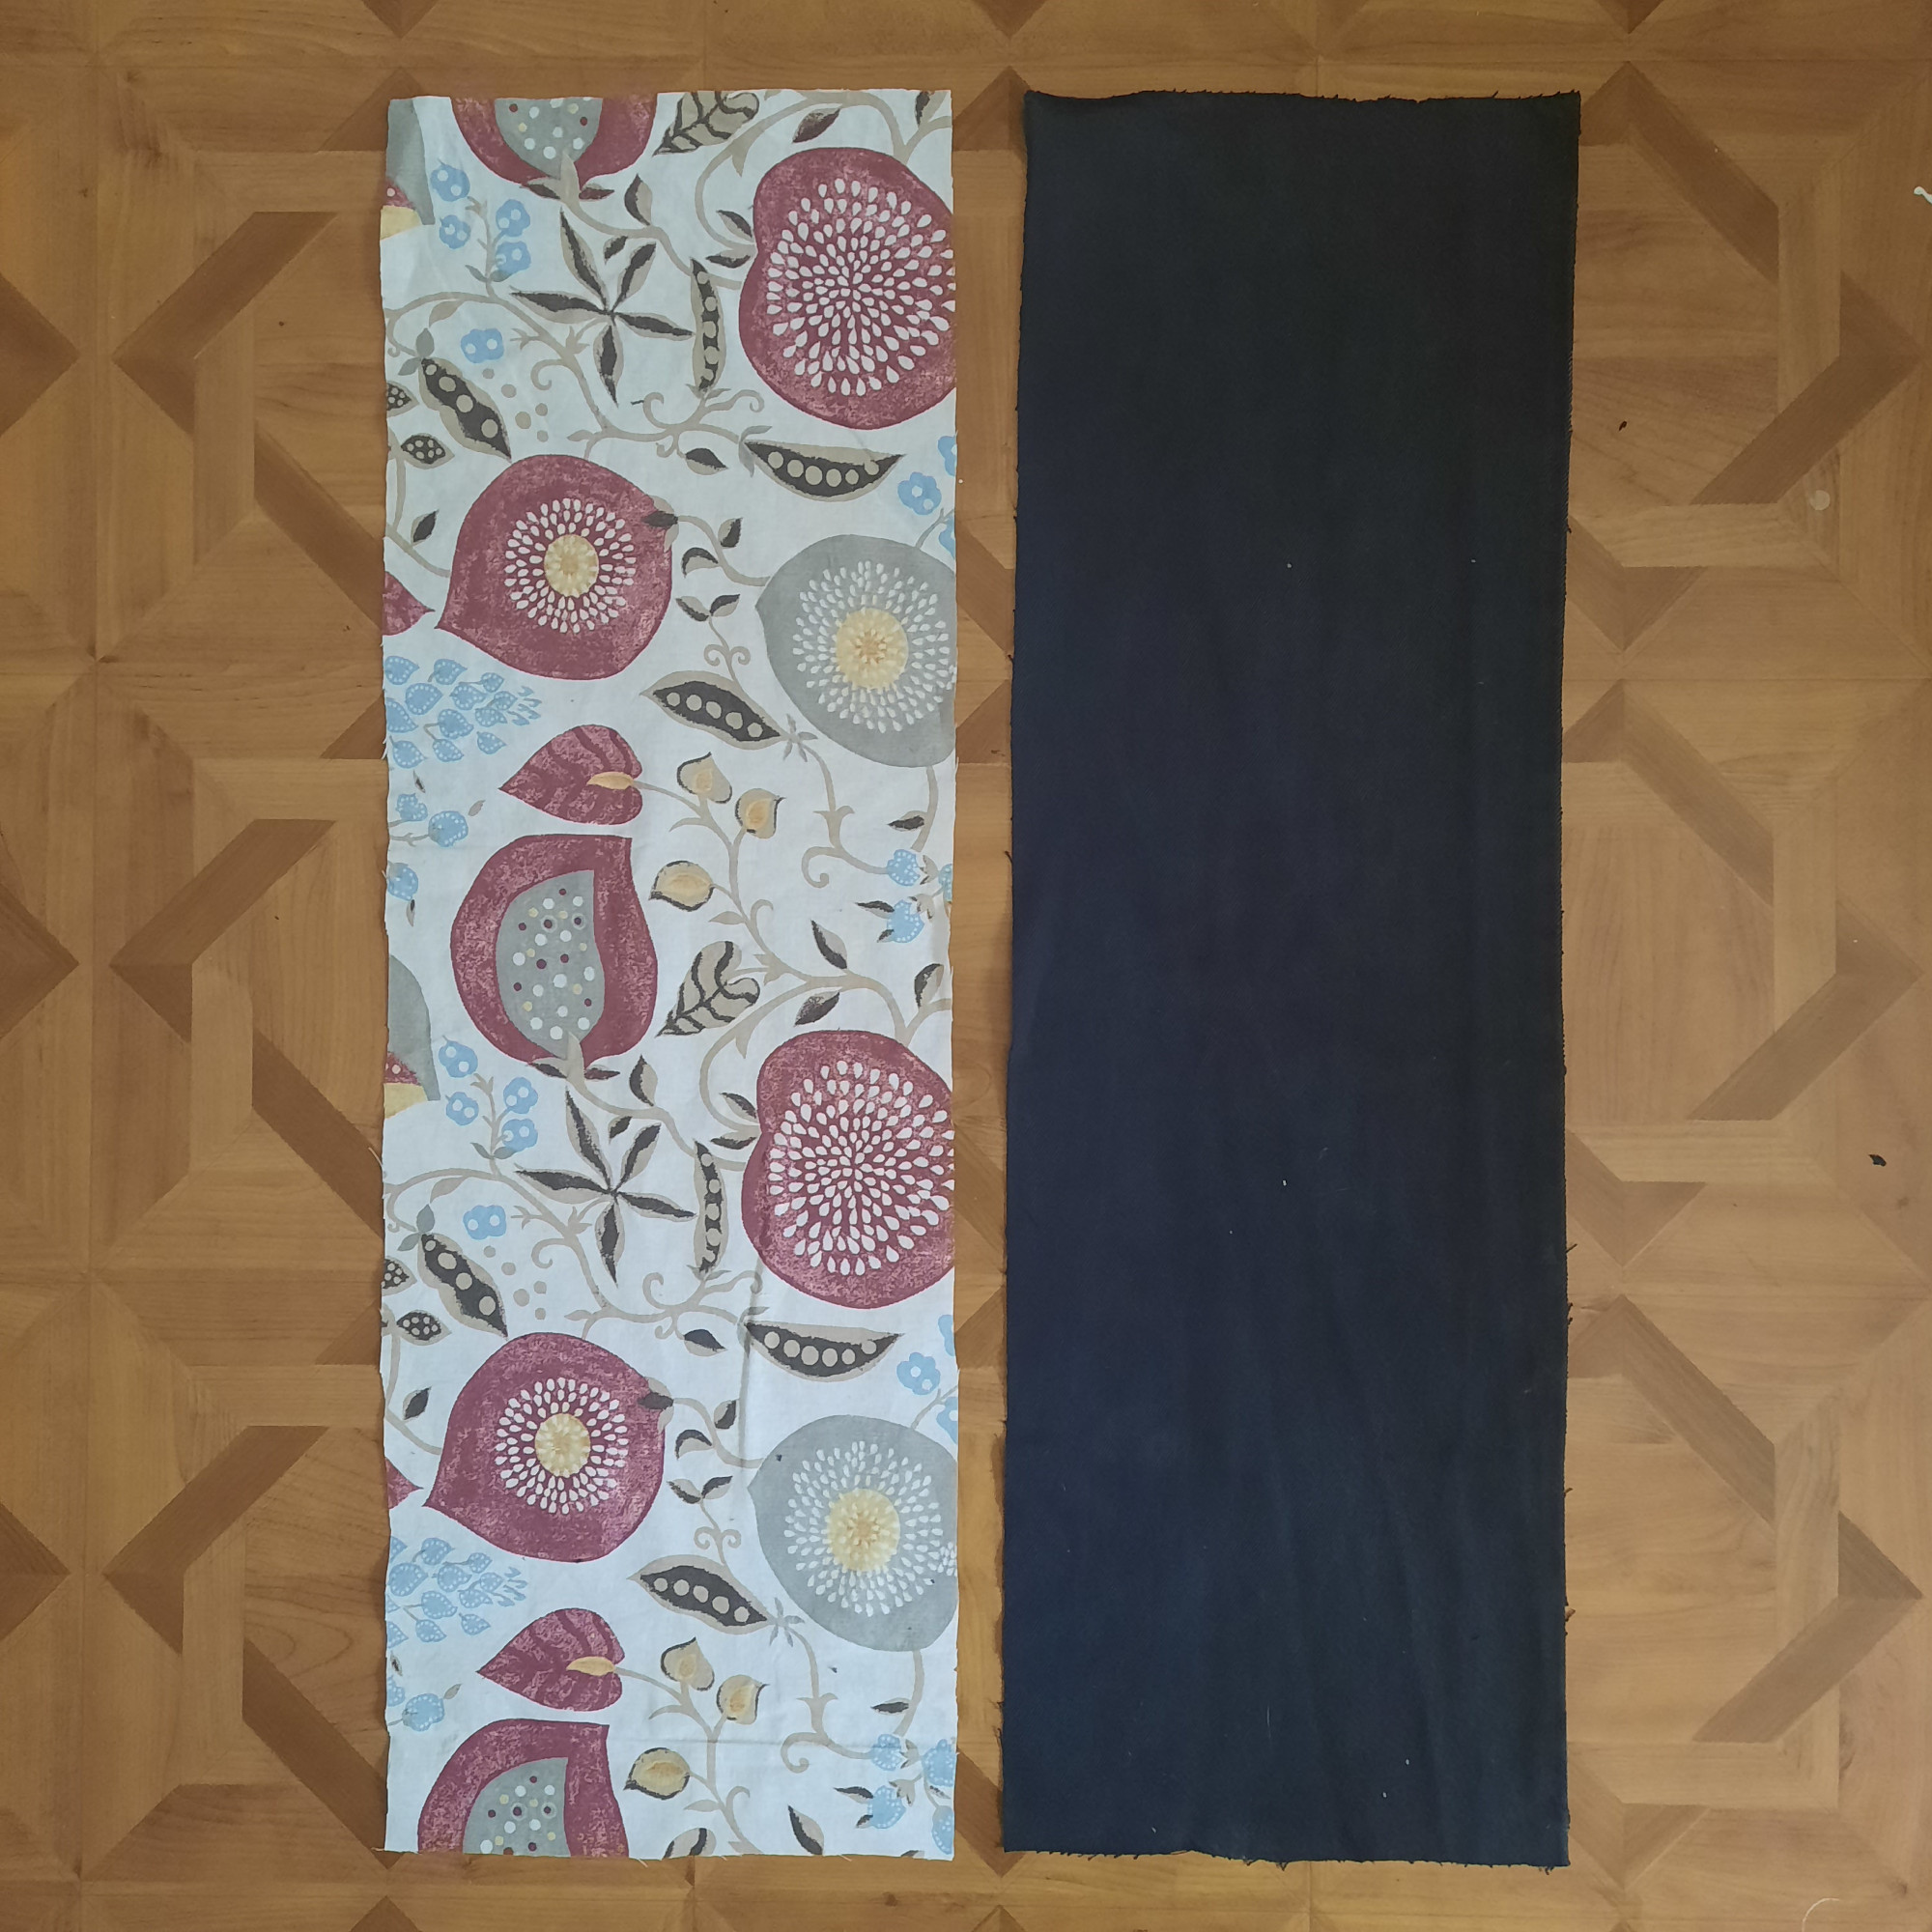
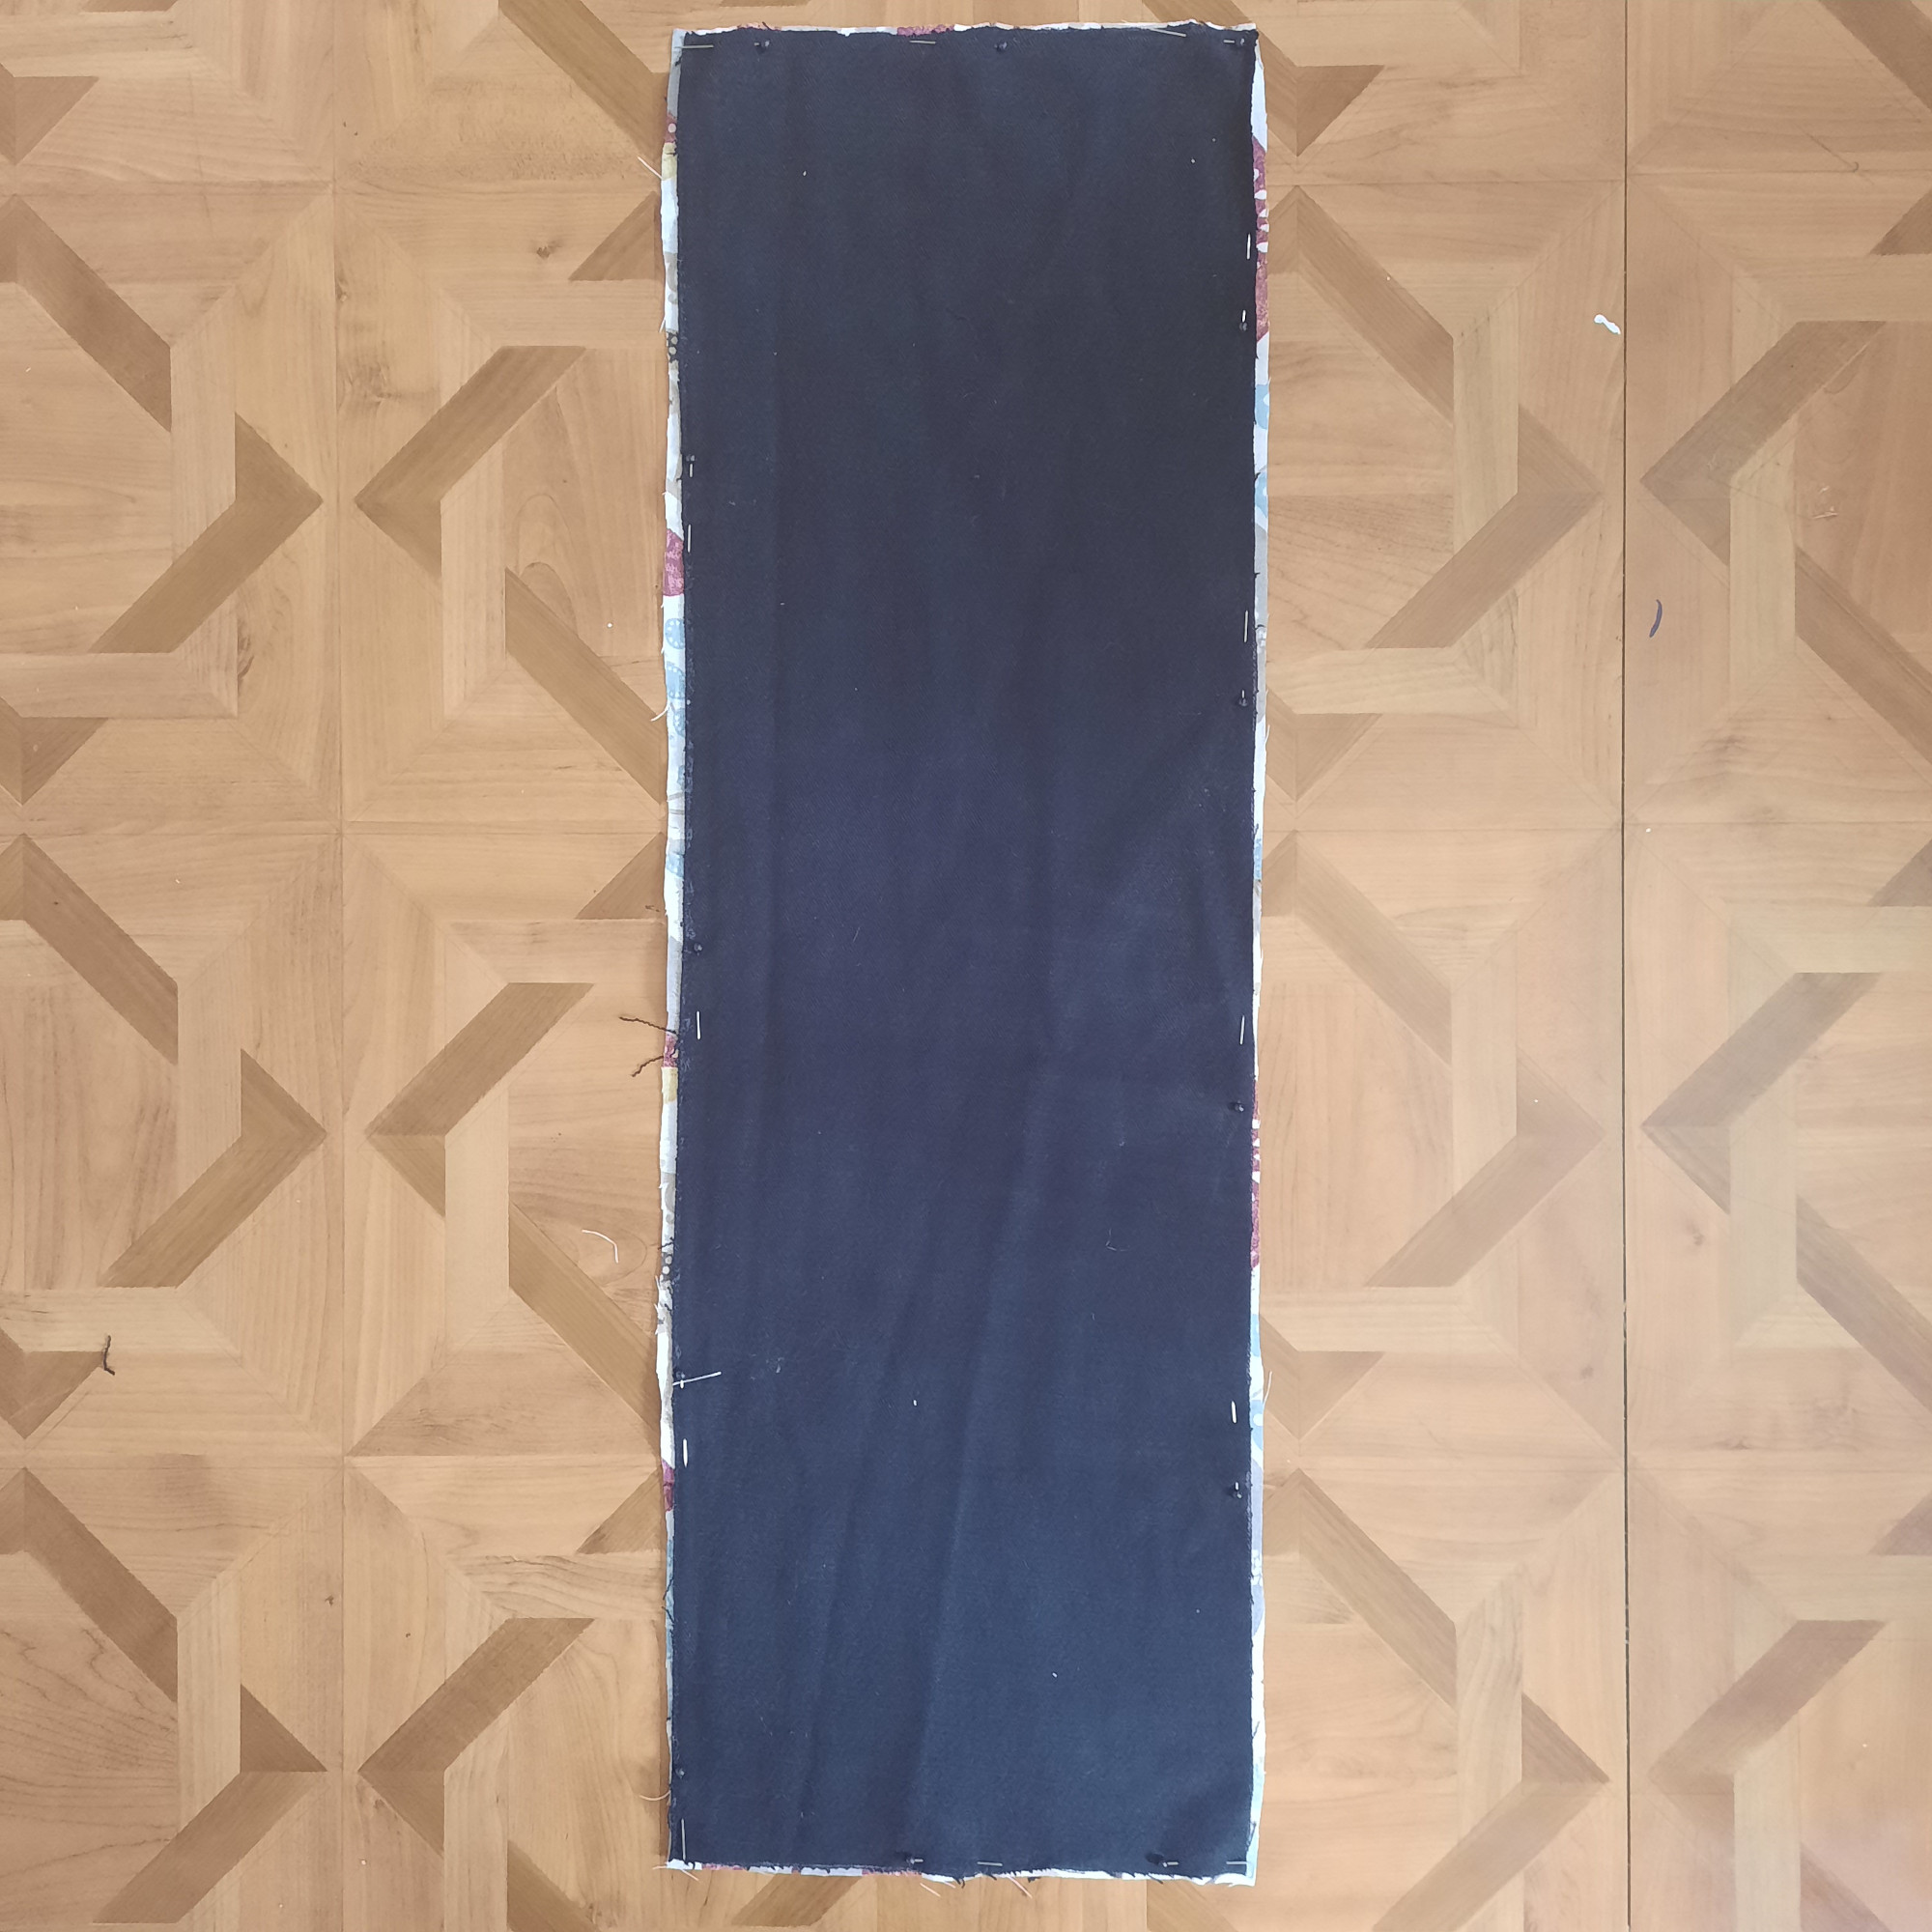
Both fabrics are cut into rectangles. About 2" should be added to the desired width, while the length of the rectangles should be 2.5 times the desired height plus three centimeters. The rectangles shown in the picture measure 28" by 9".
Step 3
The two rectangles are now placed on top of each other with the outside facing inwards and are pinned together.
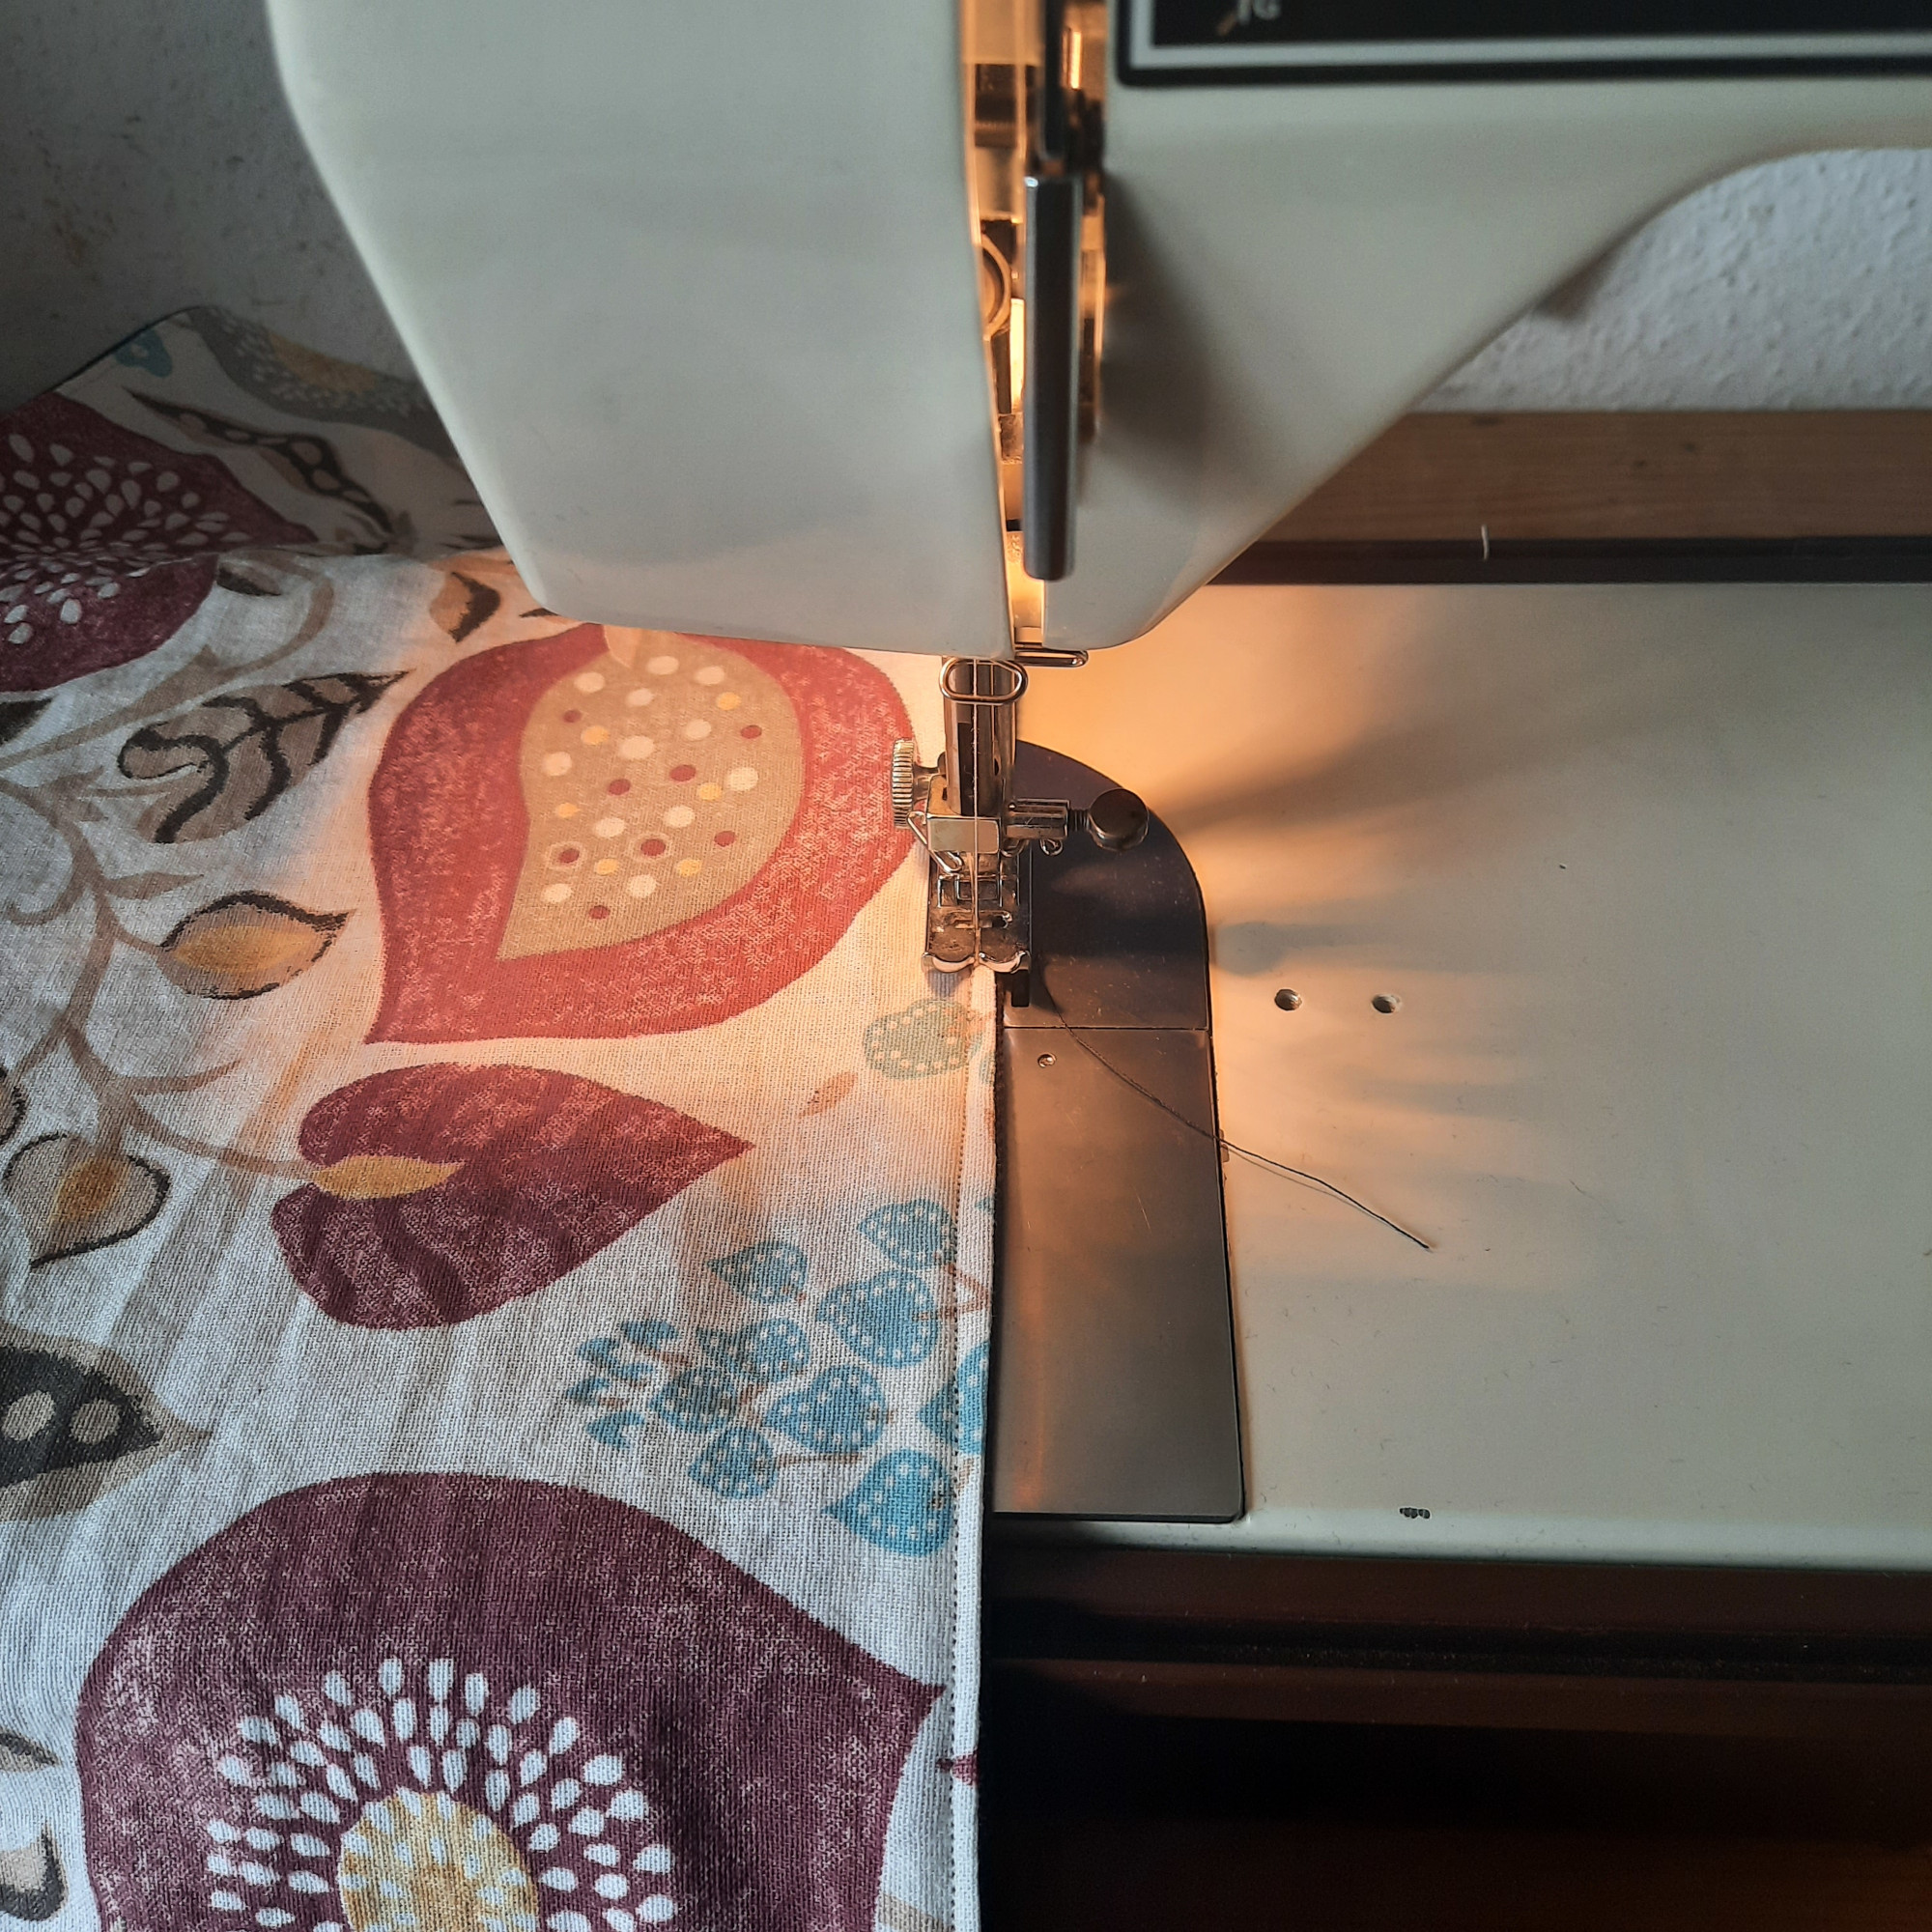
Step 4
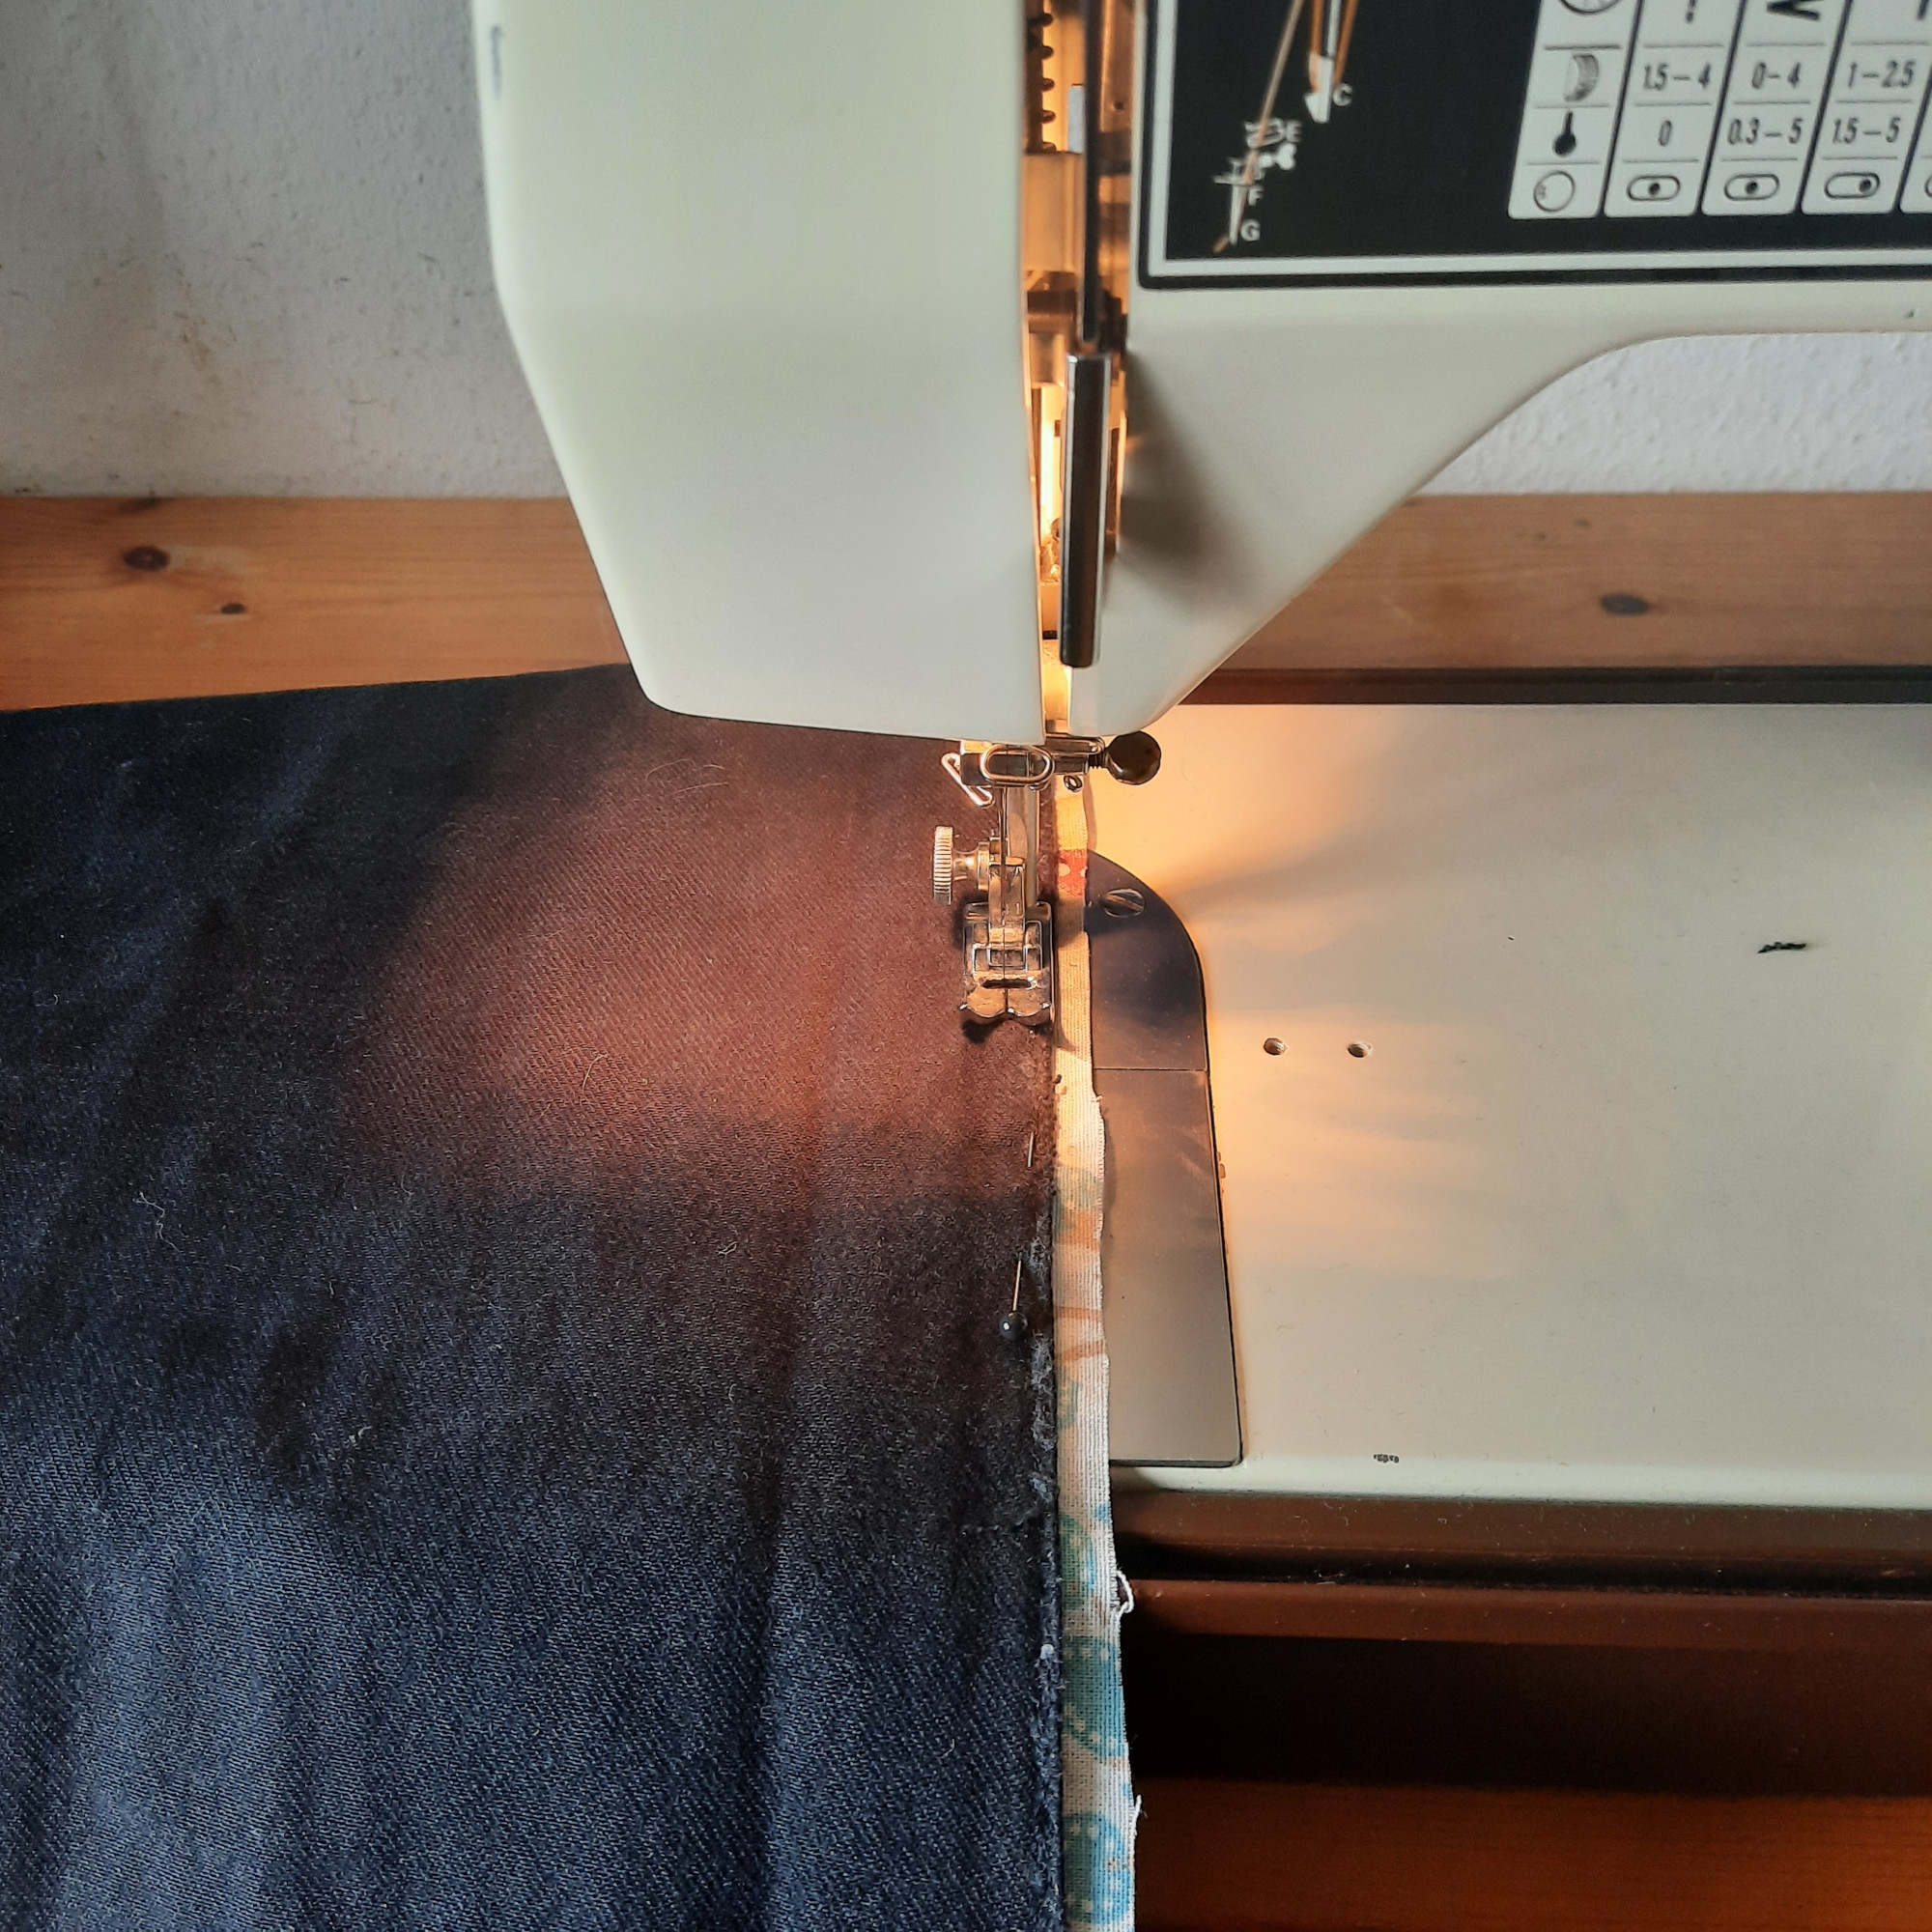
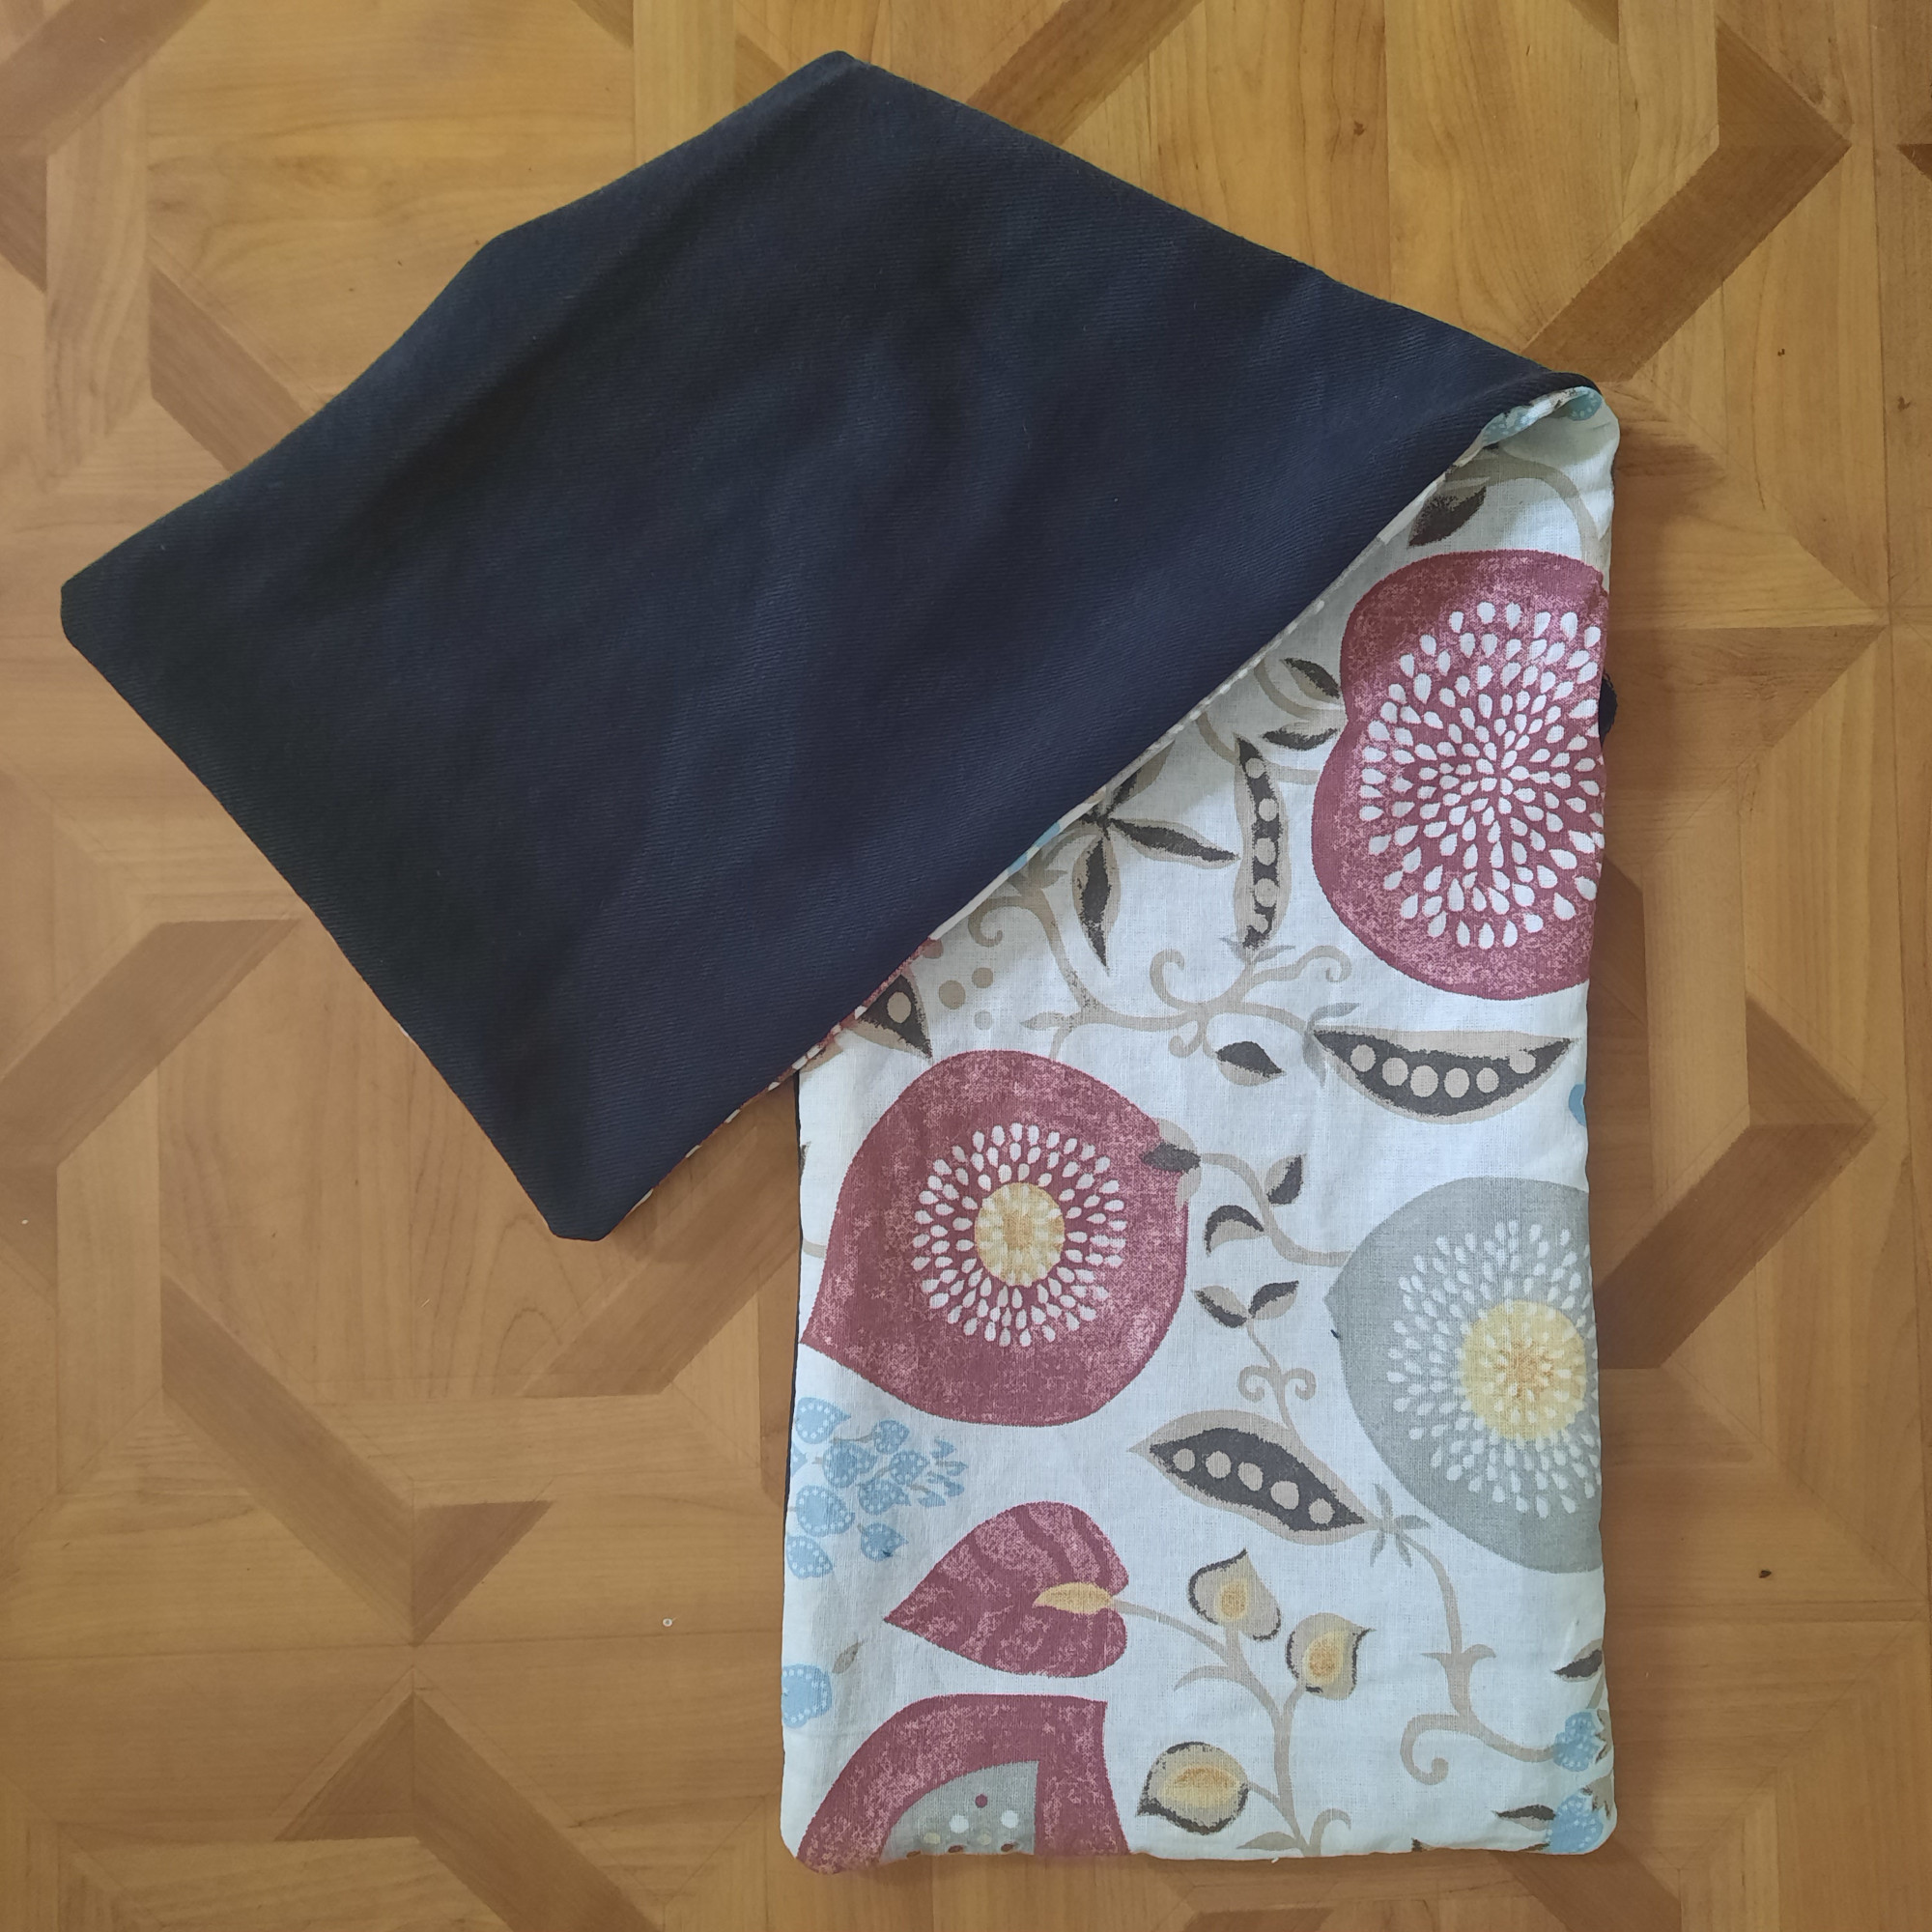
Using a sewing machine, both pieces of fabric are now sewn together at the edges. A short span, about the width of a hand, is left unstitched on one side, through which the fabric is turned inside out.
Step 5
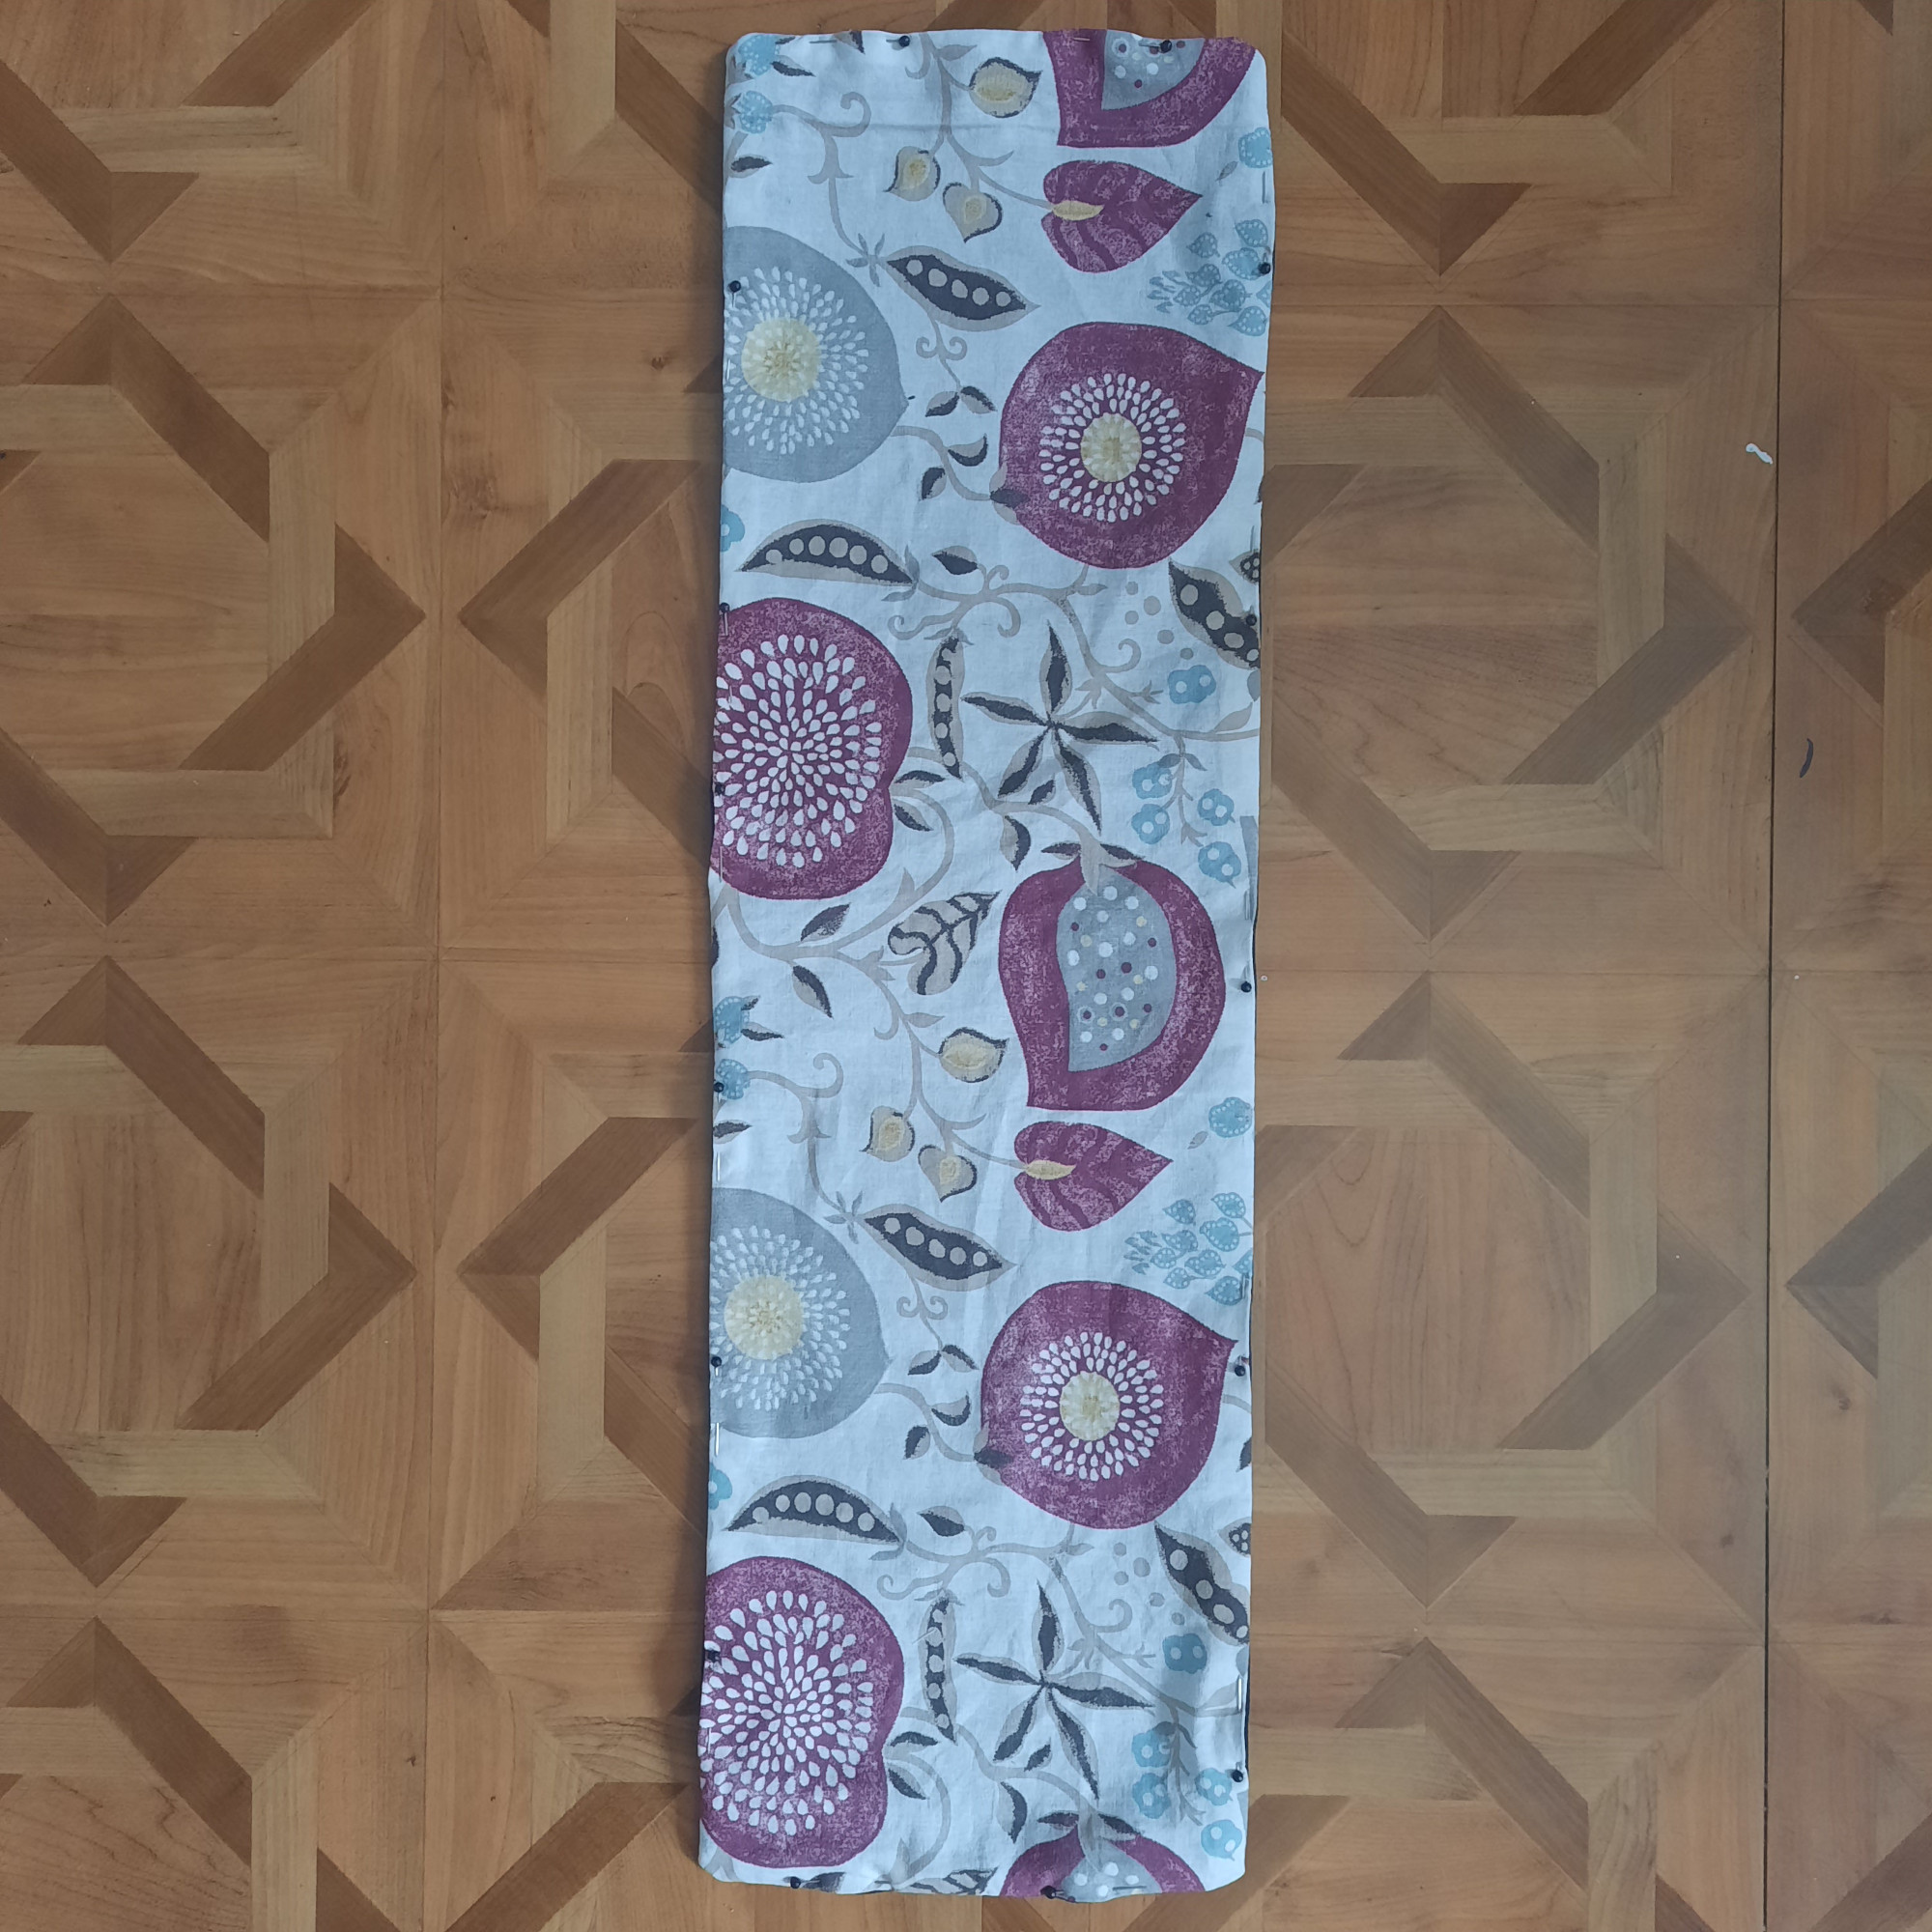
The "bag" is smoothed out and the edges of the resulting rectangle are pinned. Make sure that the corners and edges are "pulled out" as far as possible, so that the fabric rectangle is not smaller than necessary. The edges of the unstitched section are folded inwards.
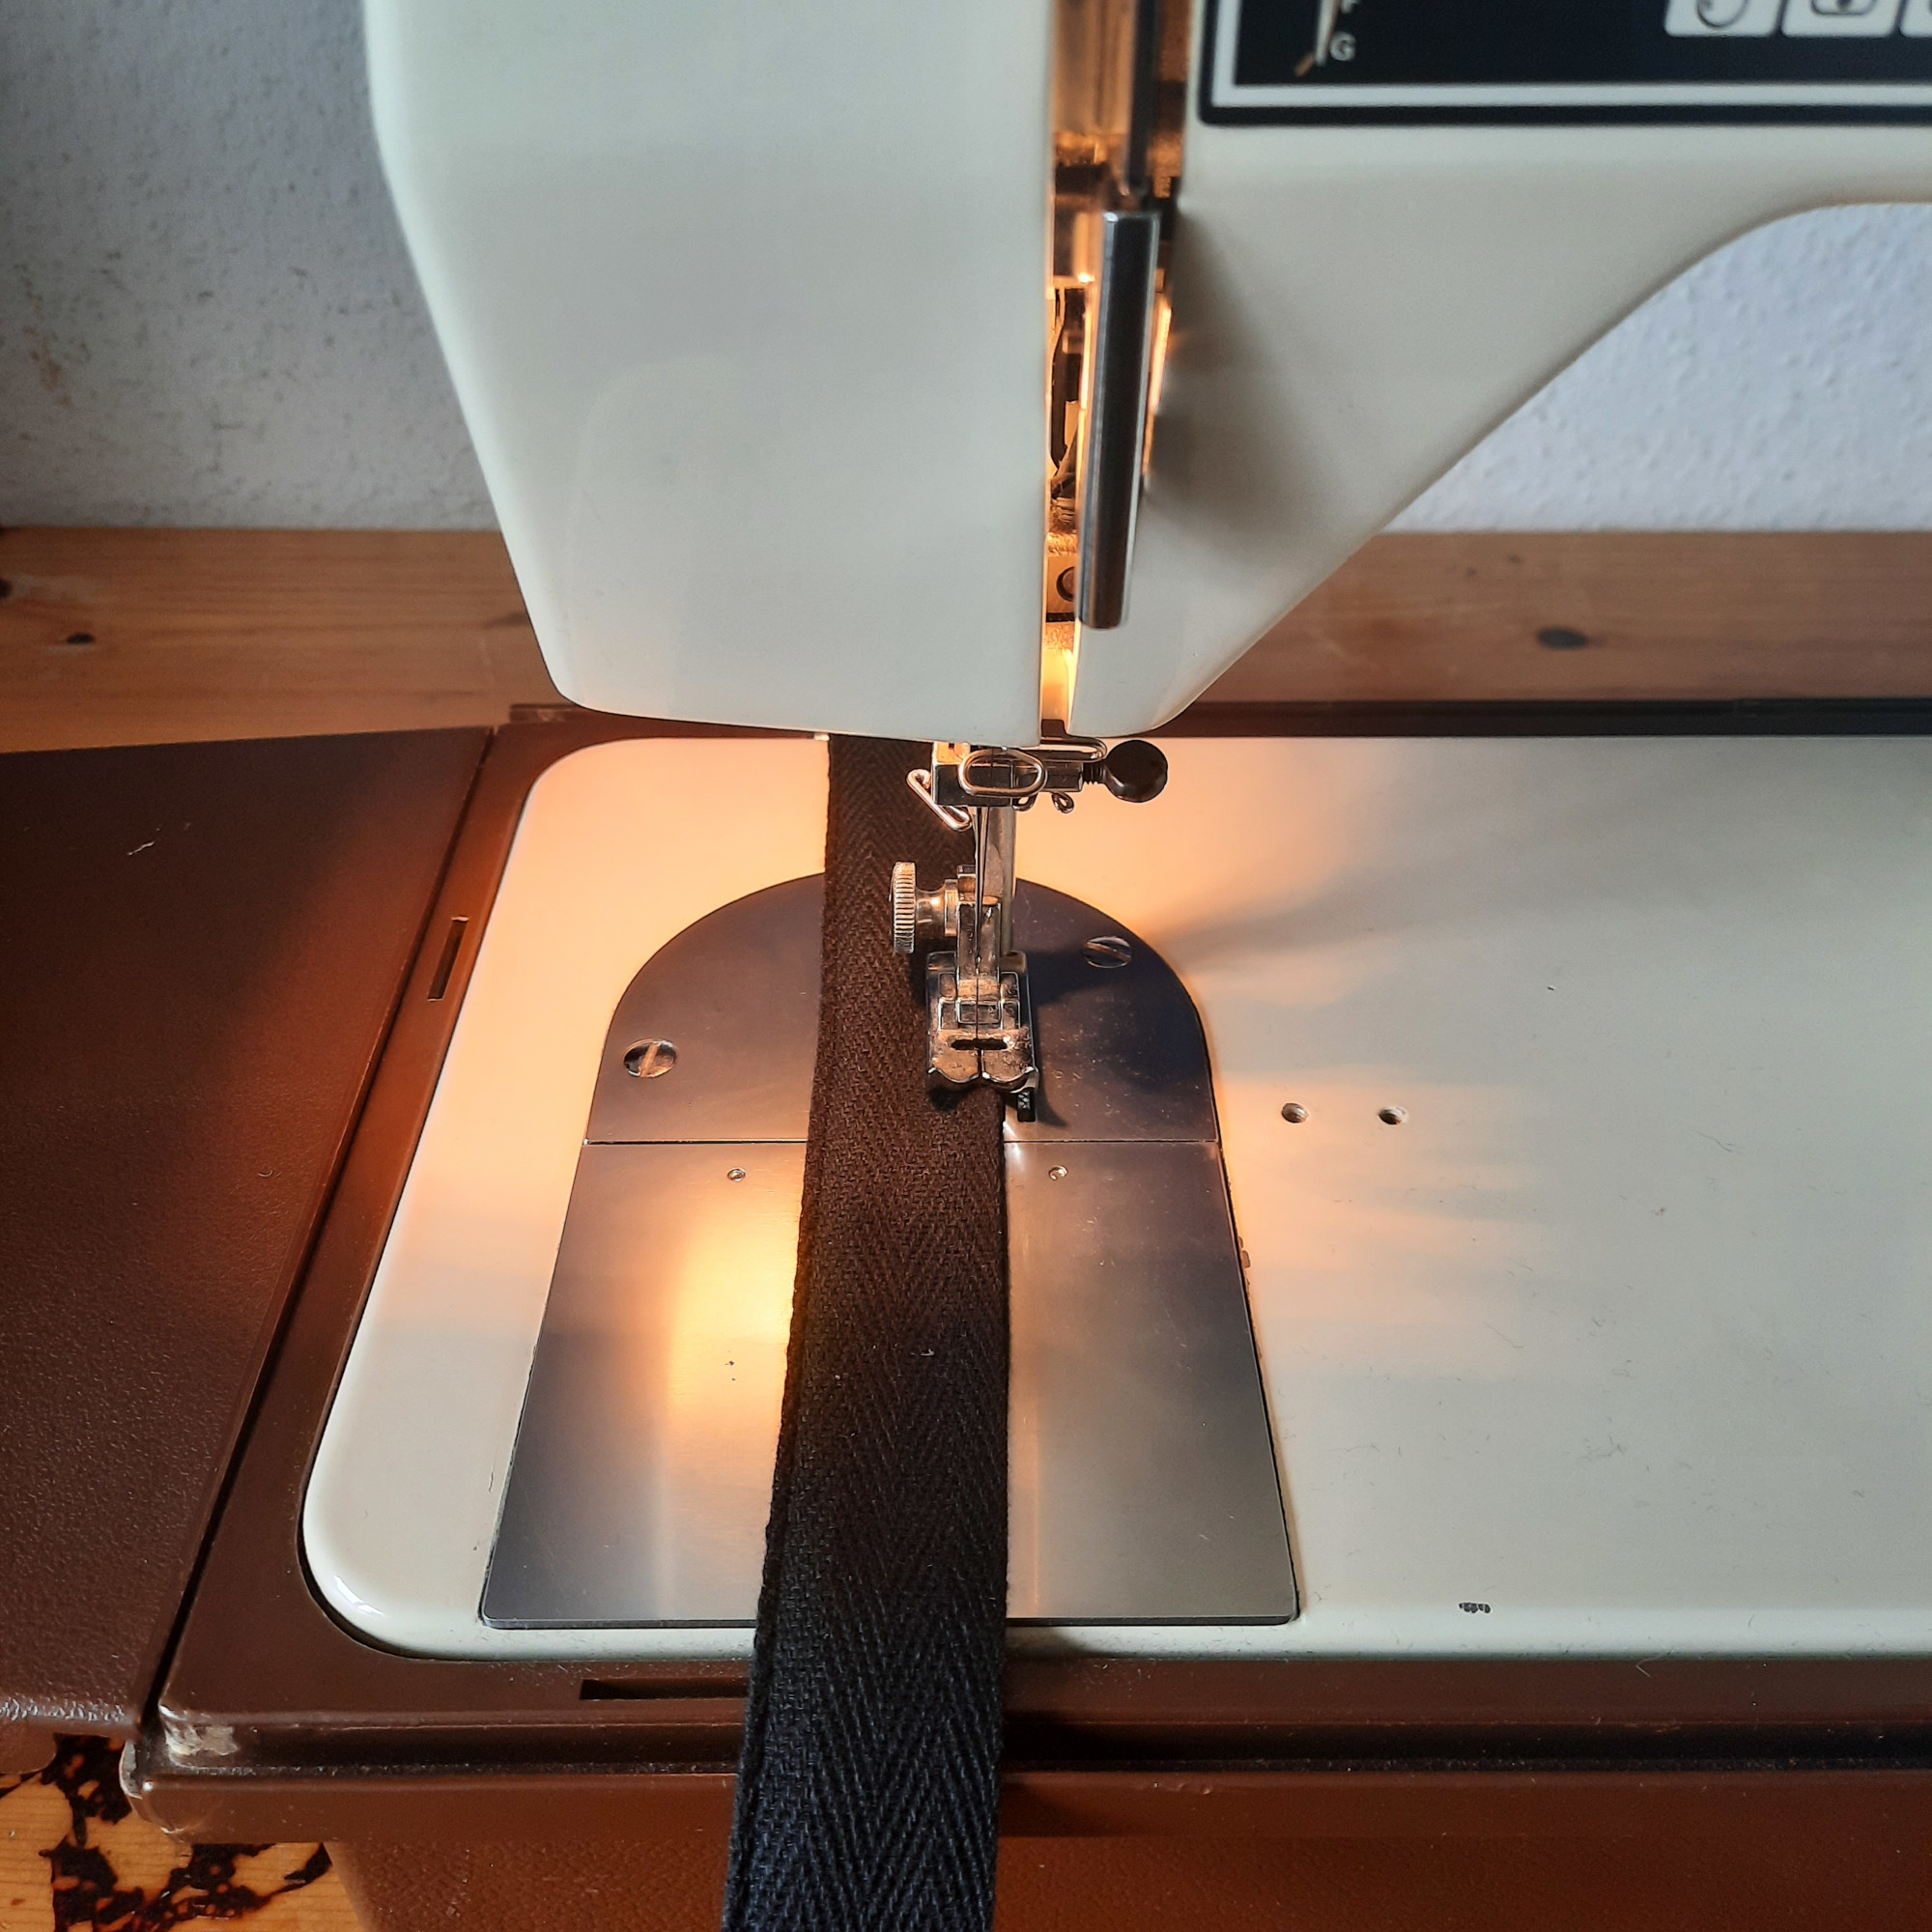
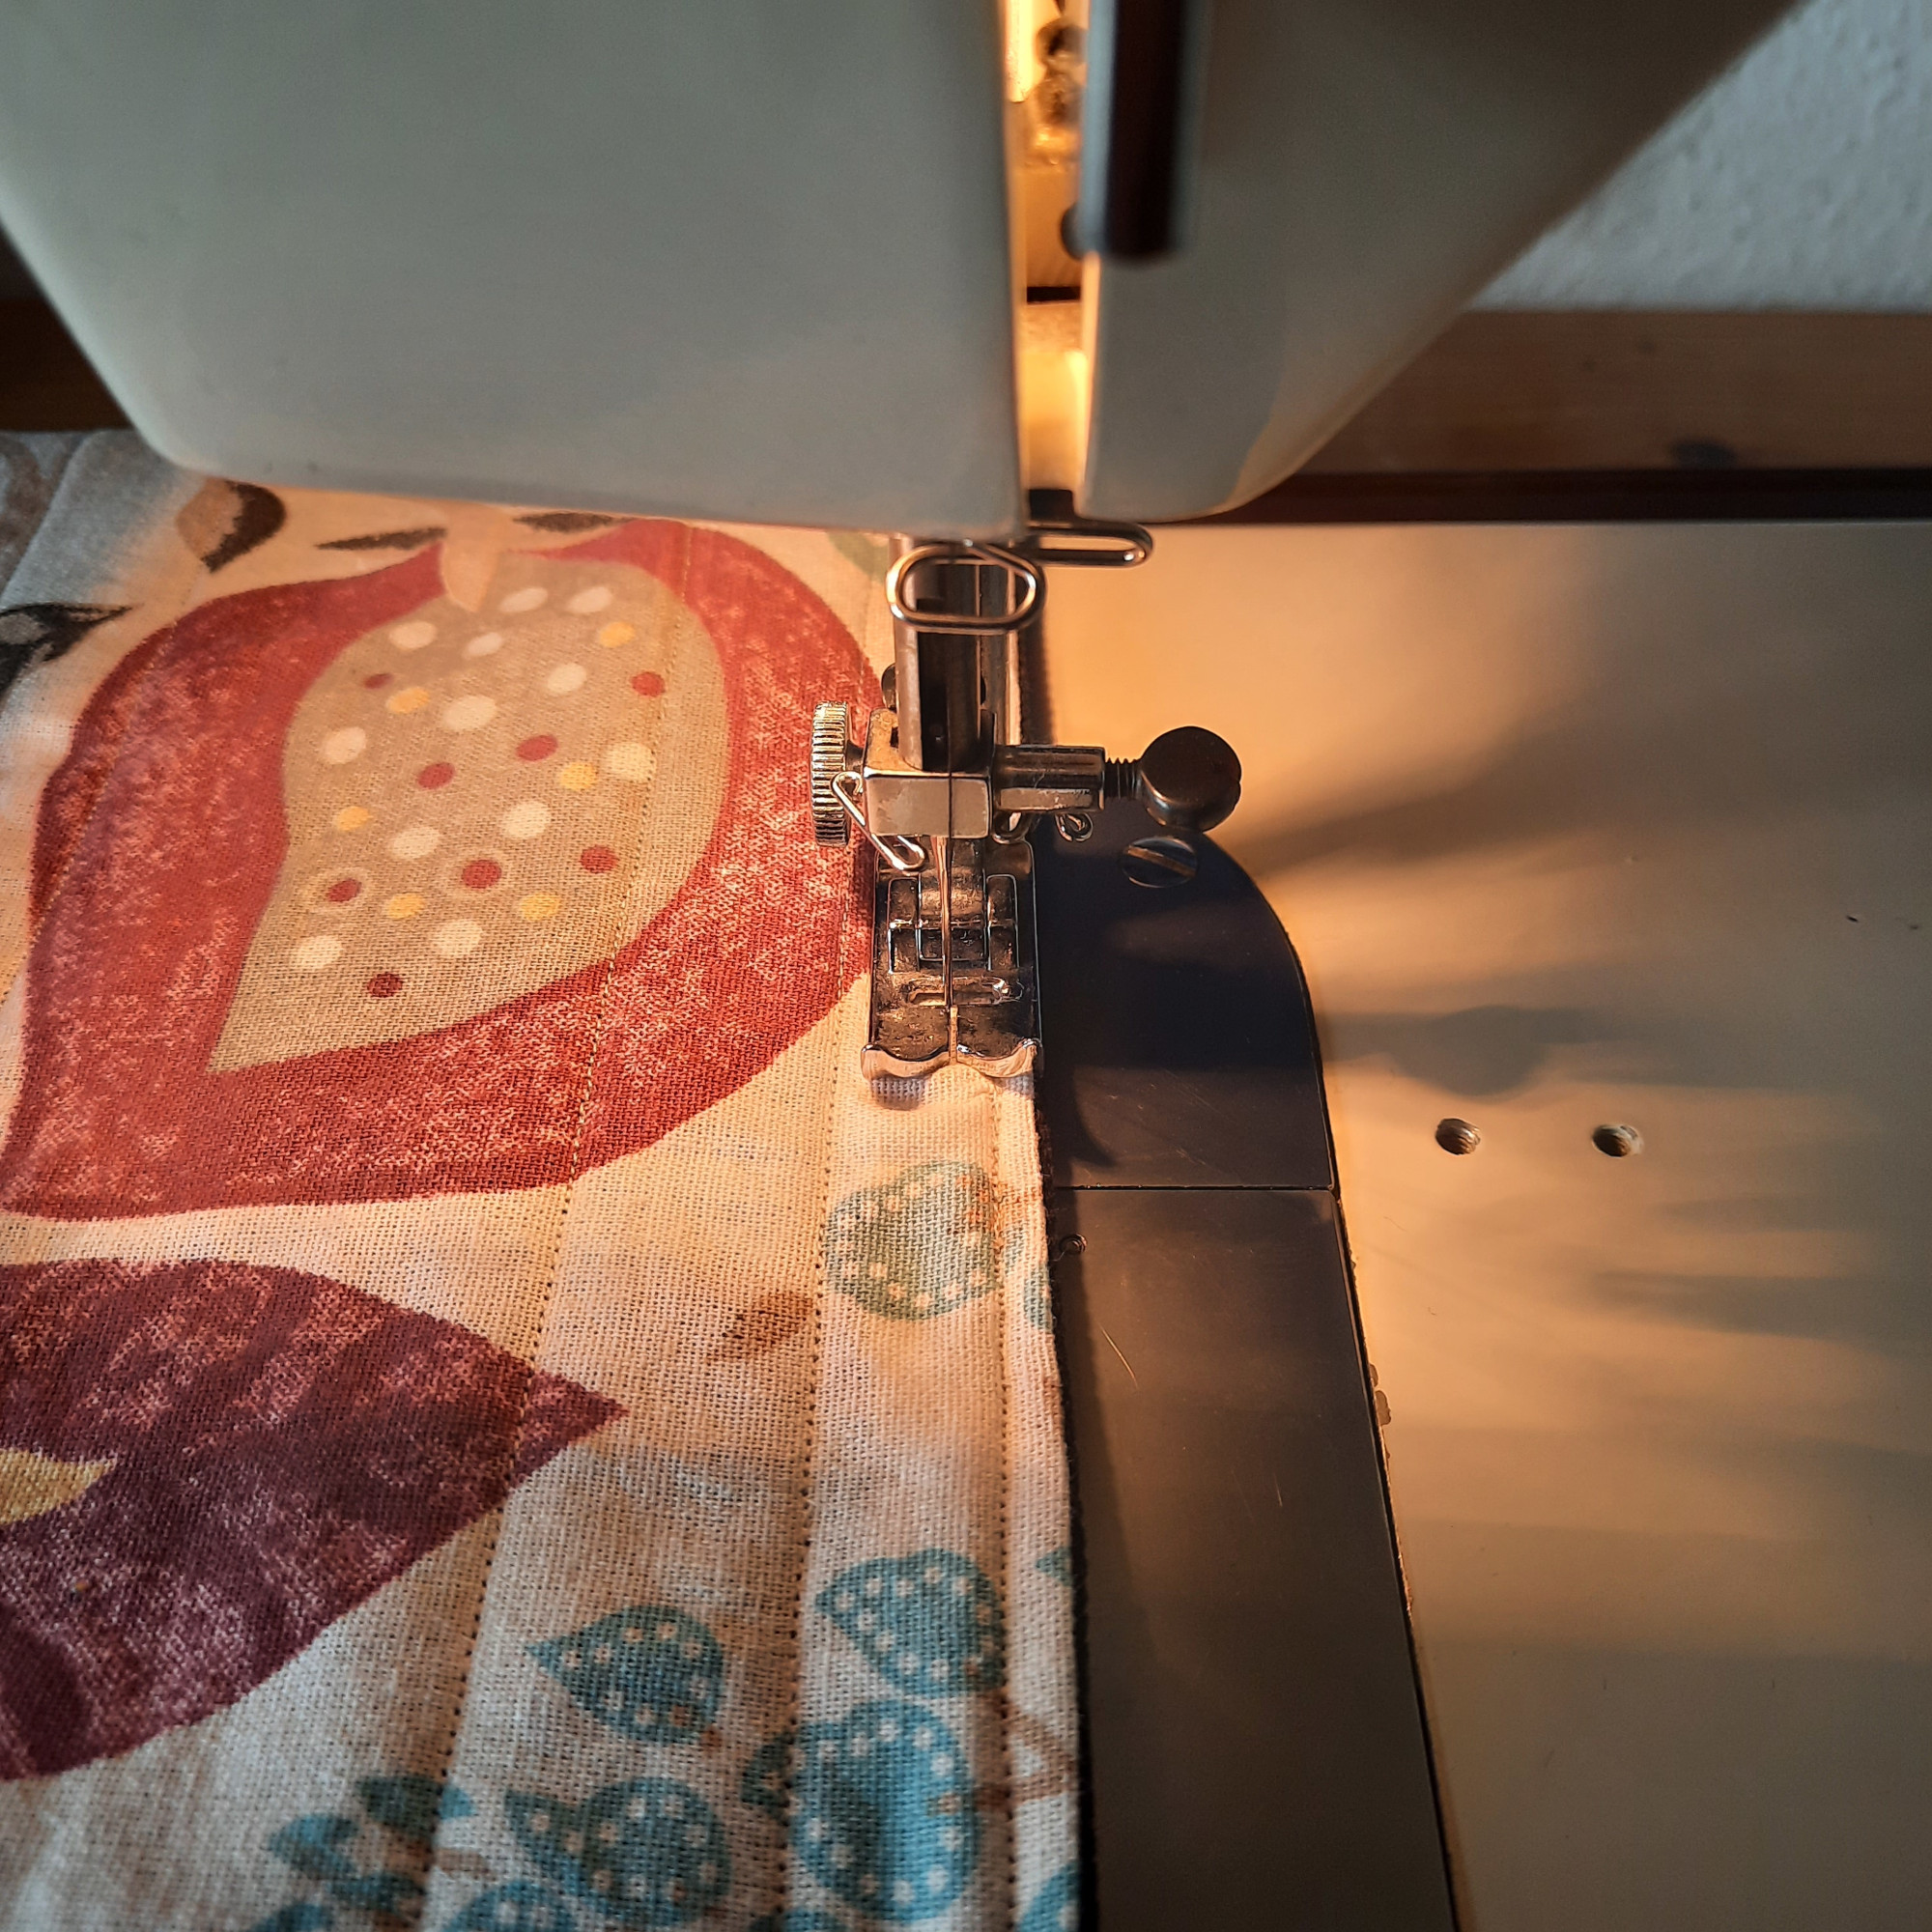
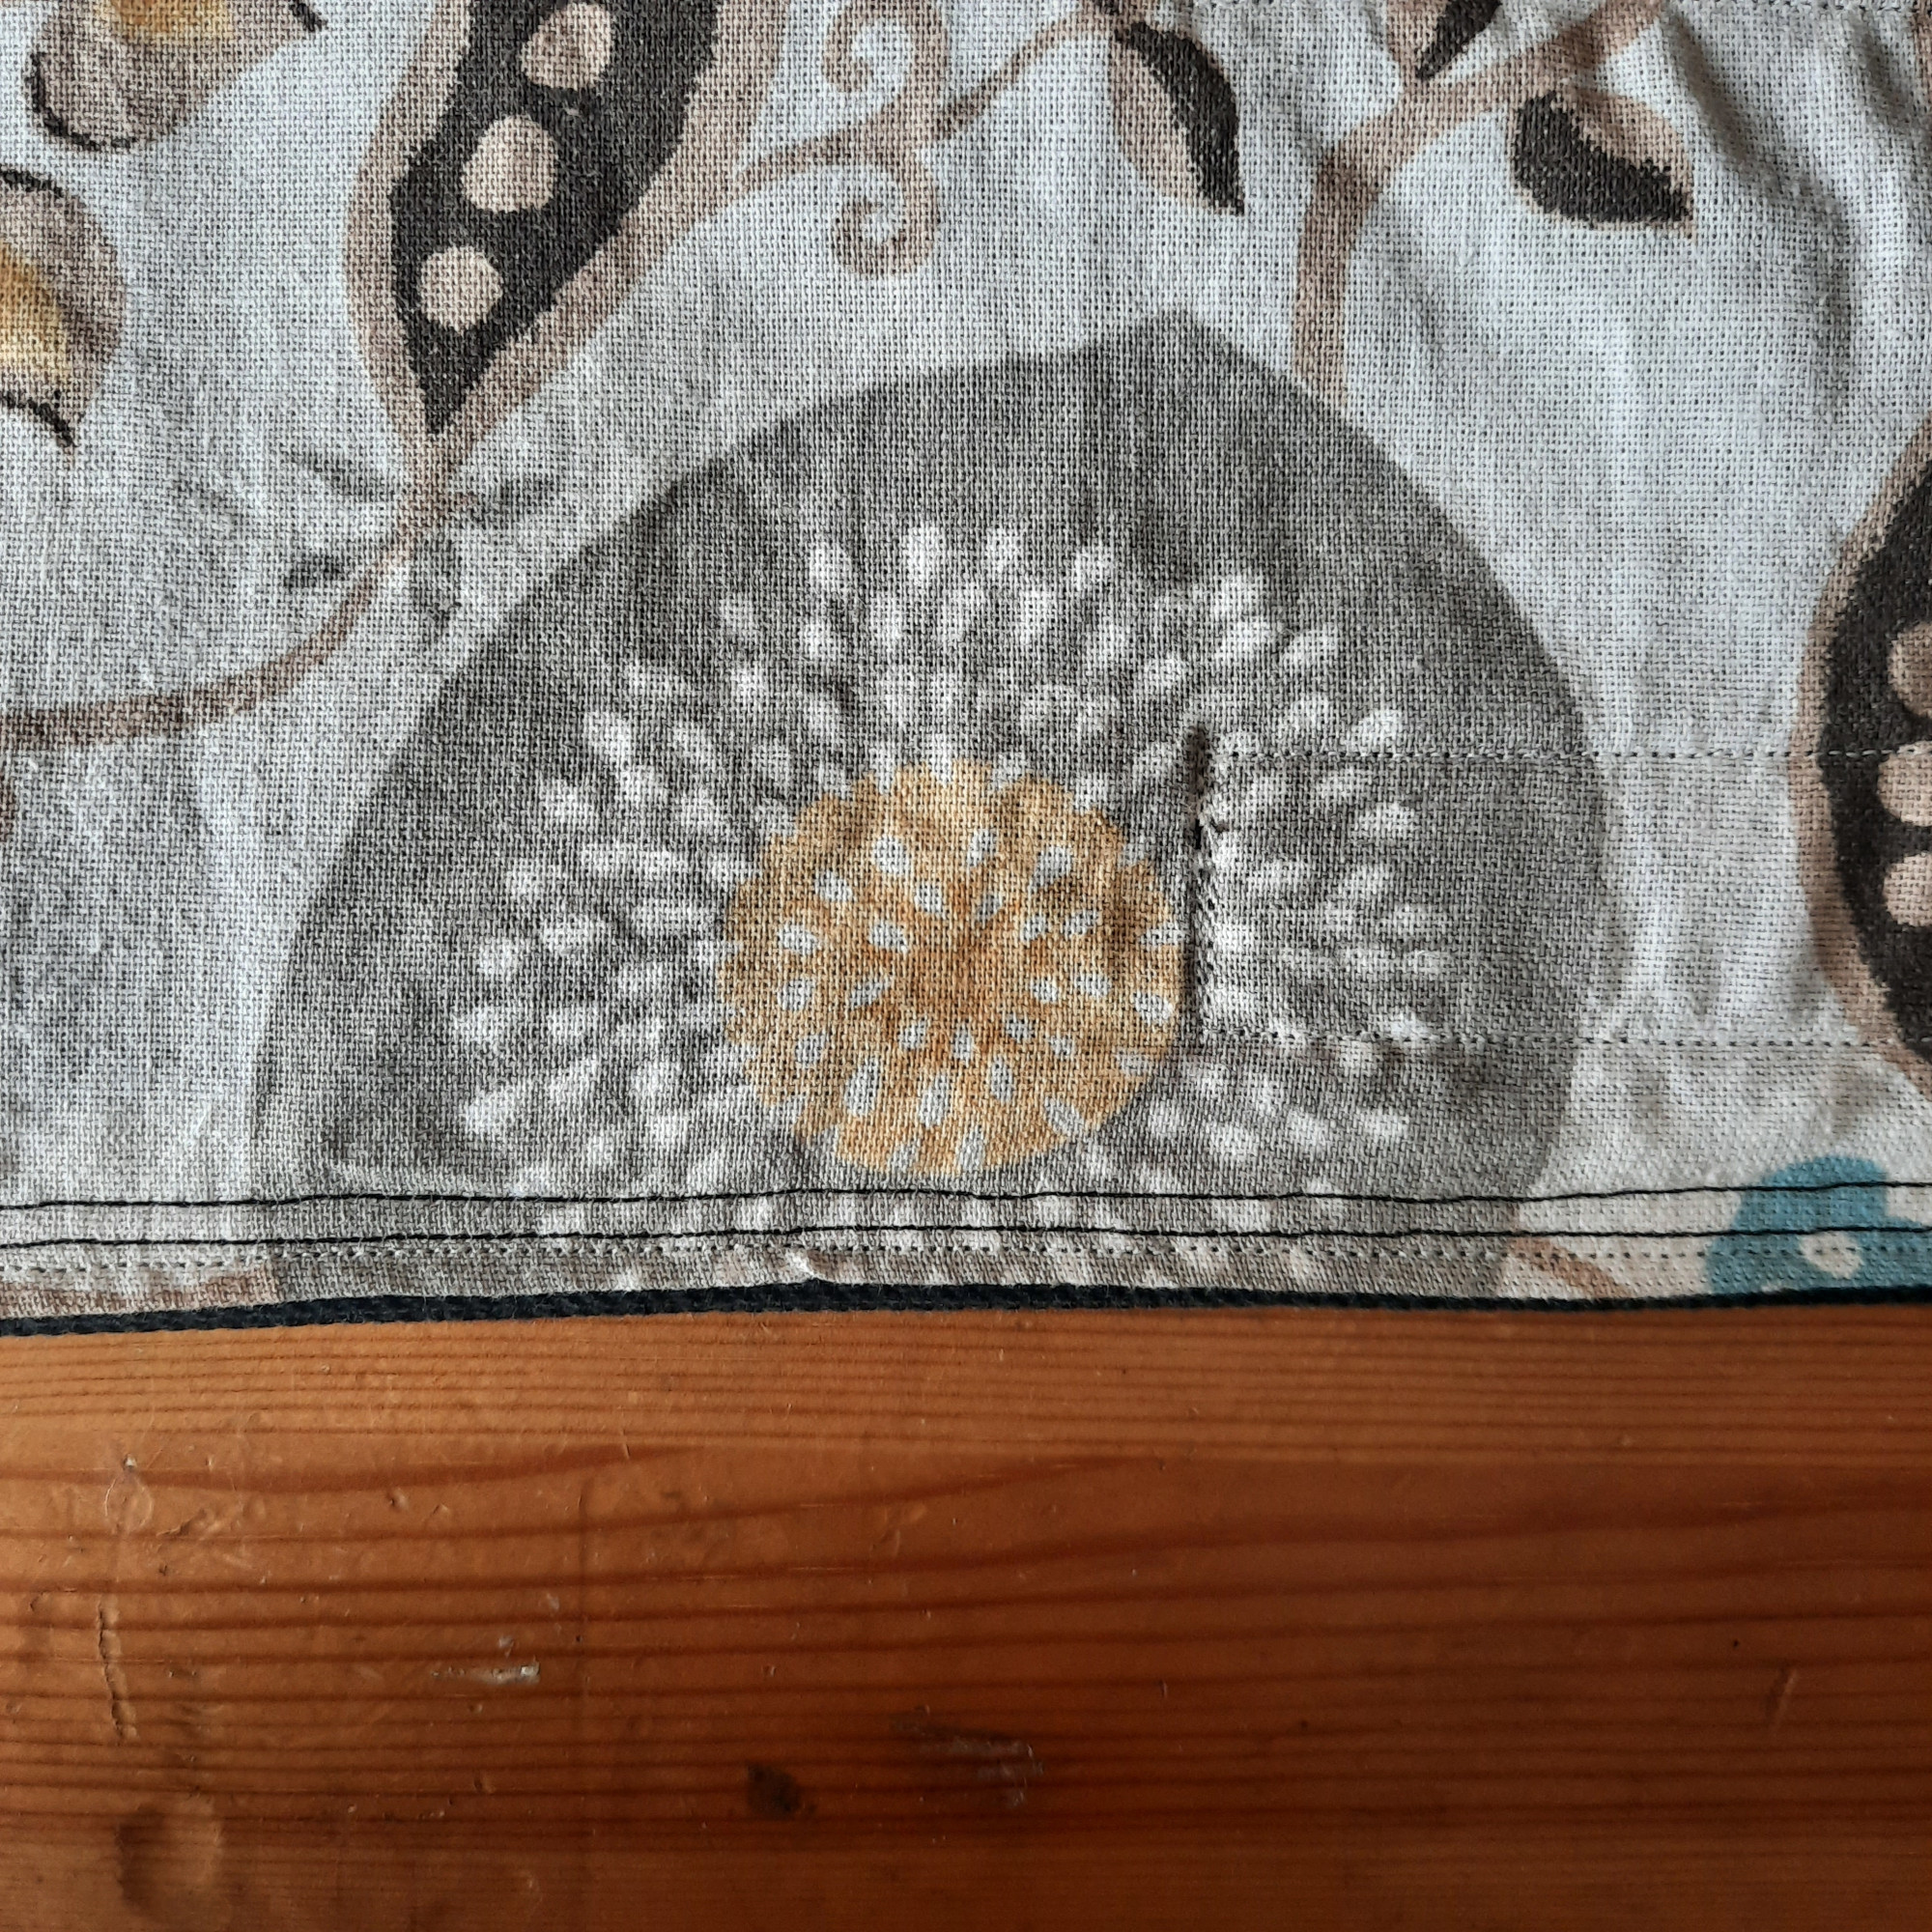
Step 6
Sew along the edges of the rectangle. This way nothing can slip later and the unstitched section gets closed. It is a good idea to choose the upper and lower thread of the sewing machine to match the colors of the inner and outer fabric.
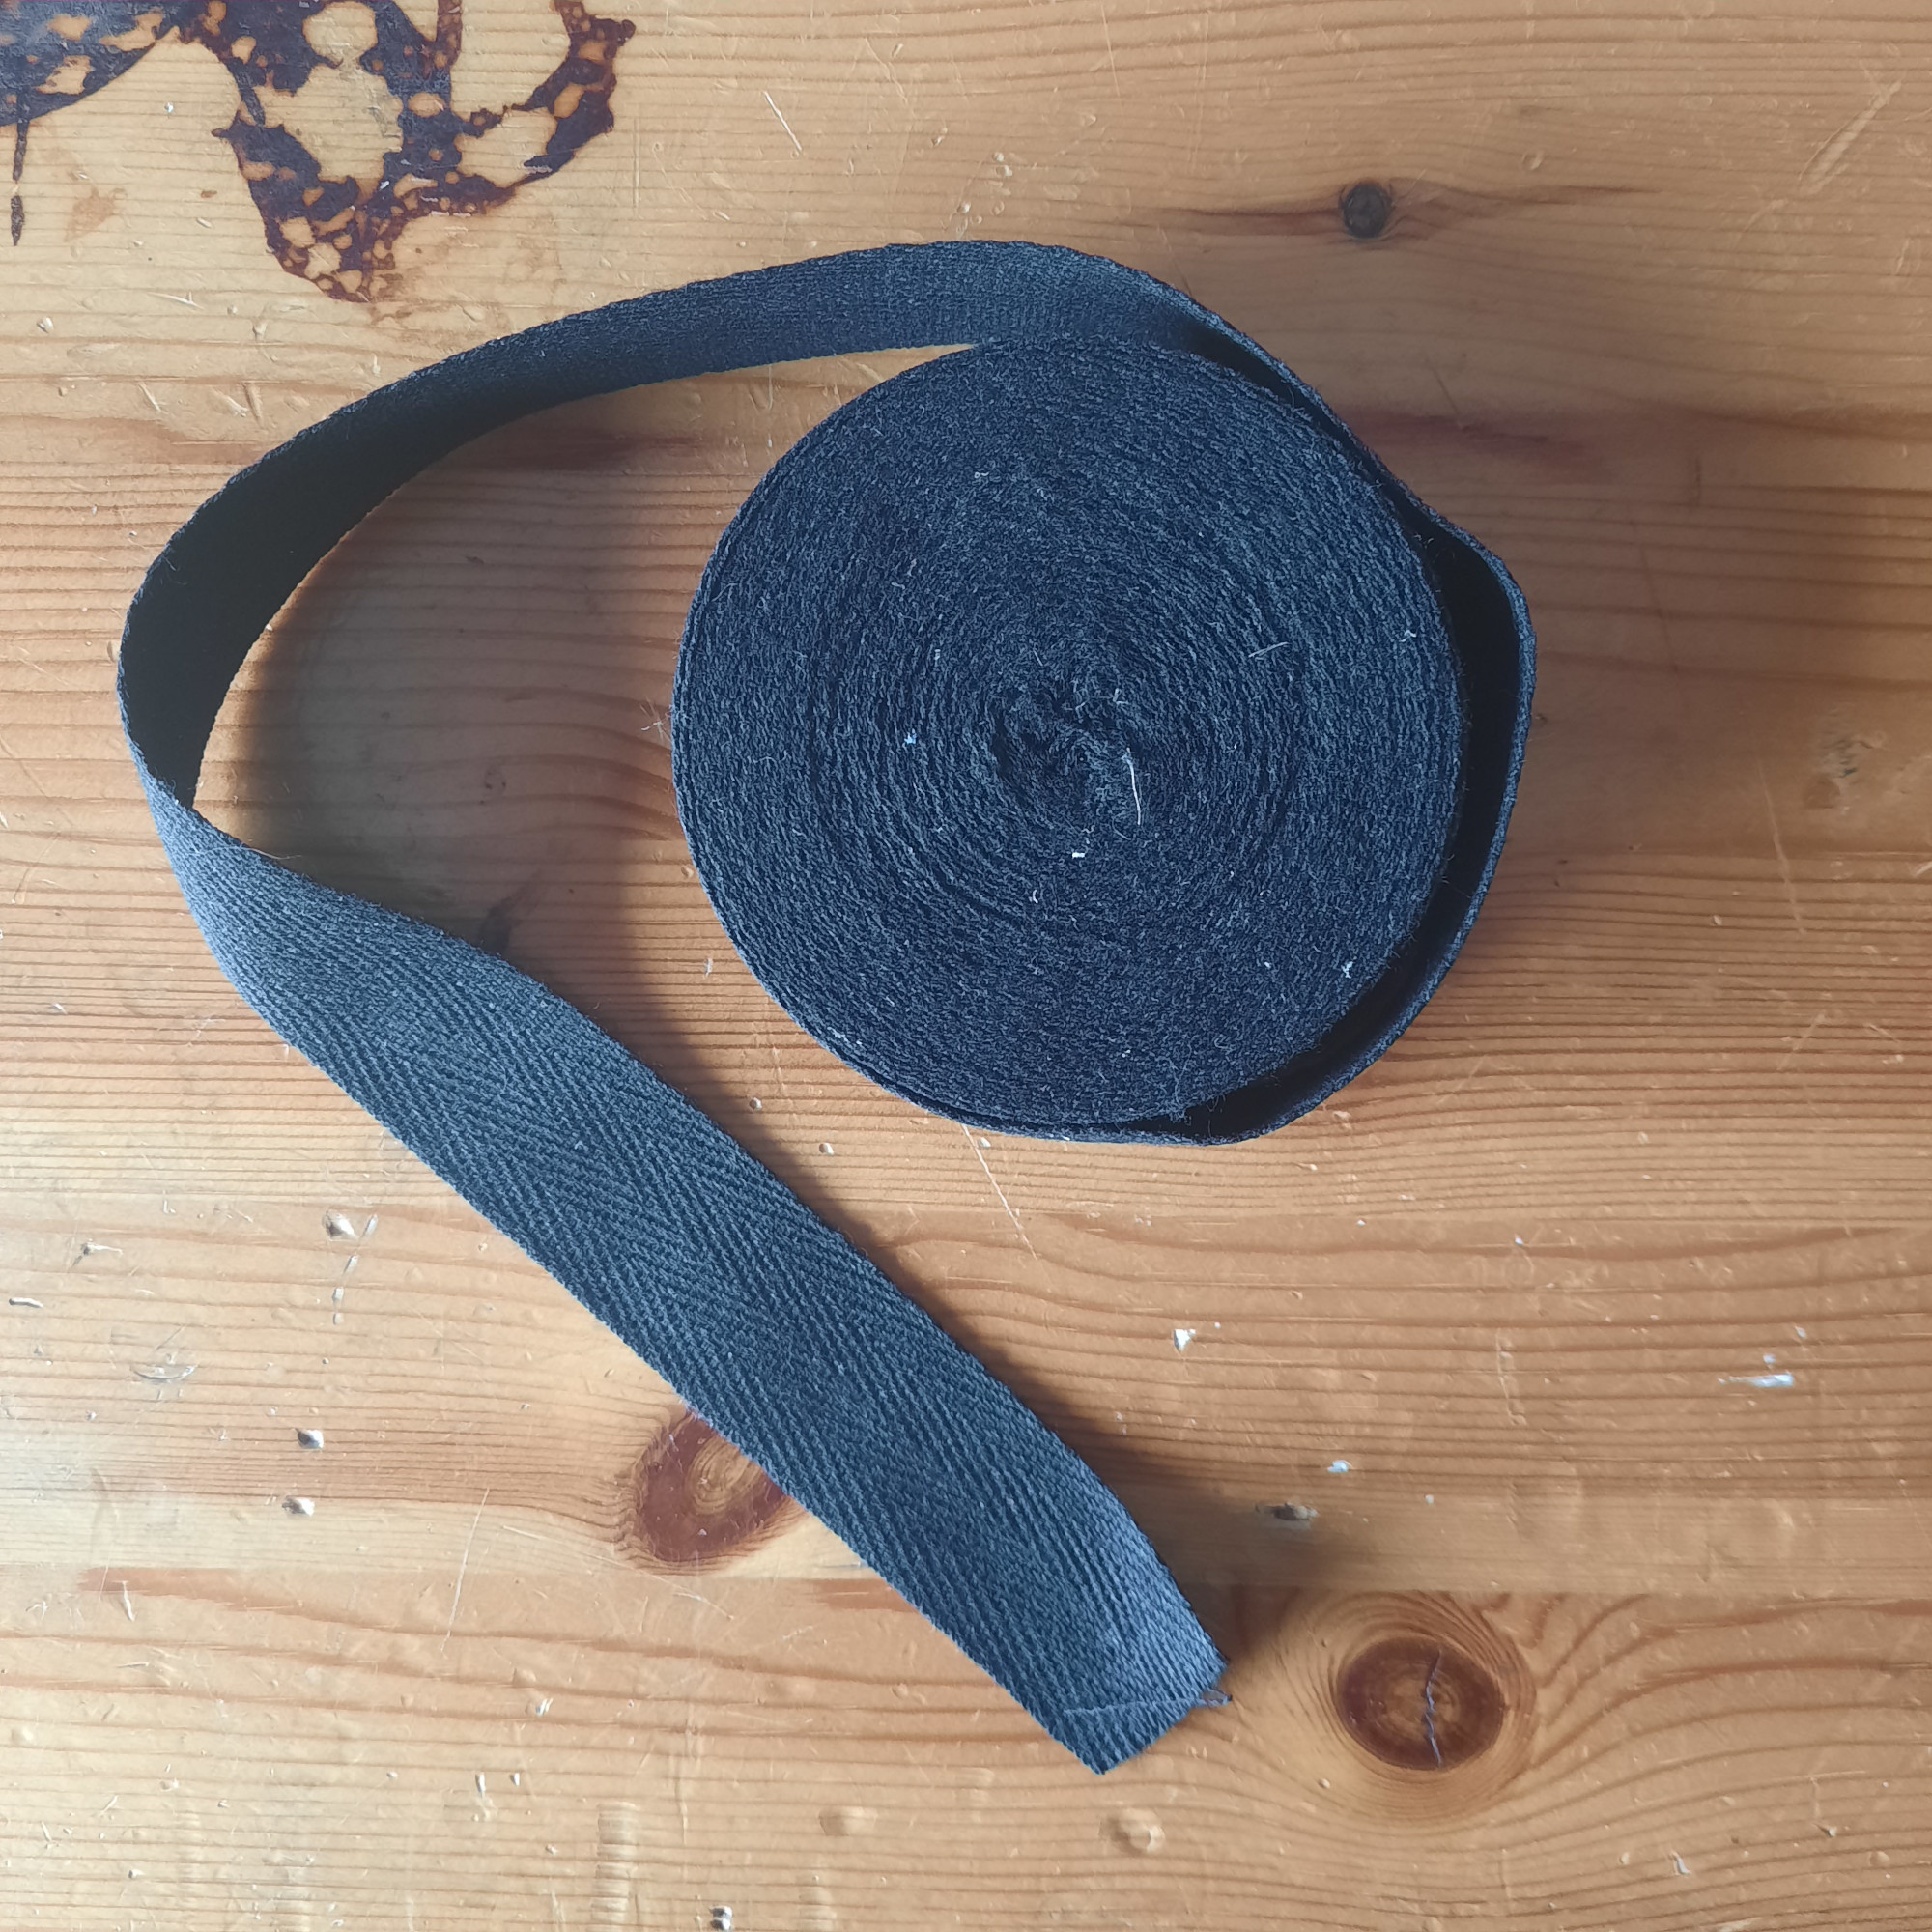
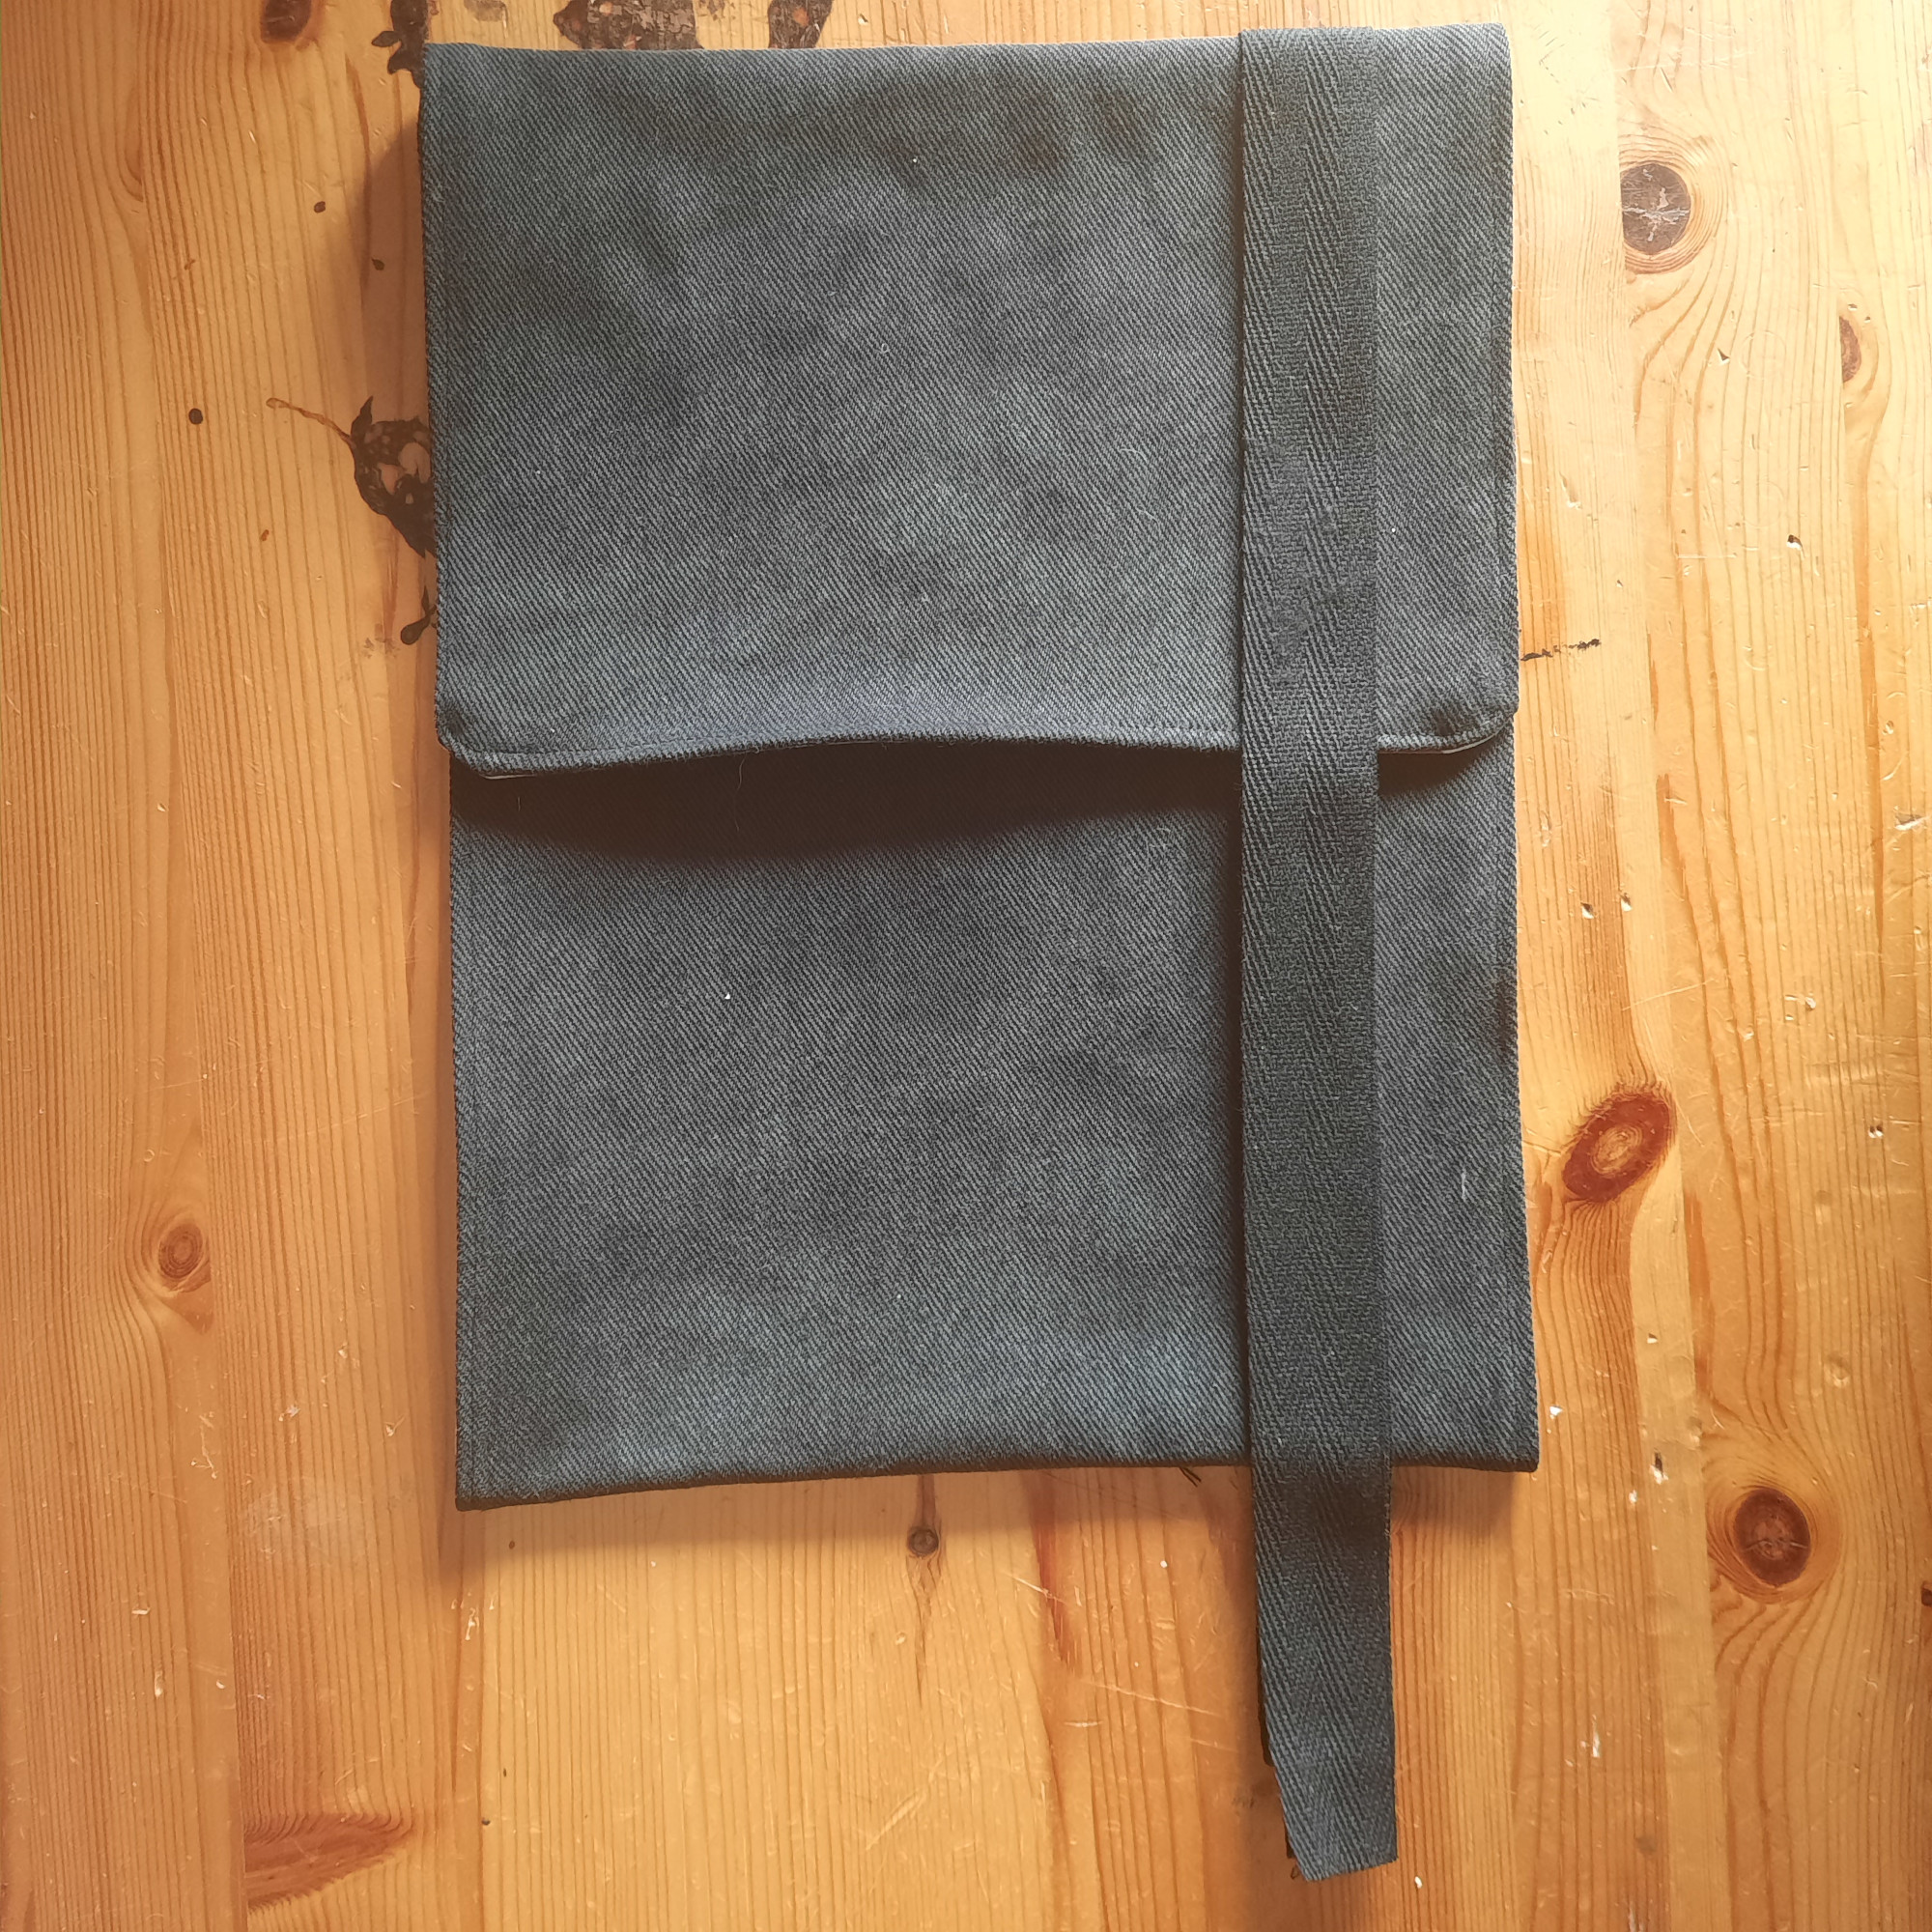
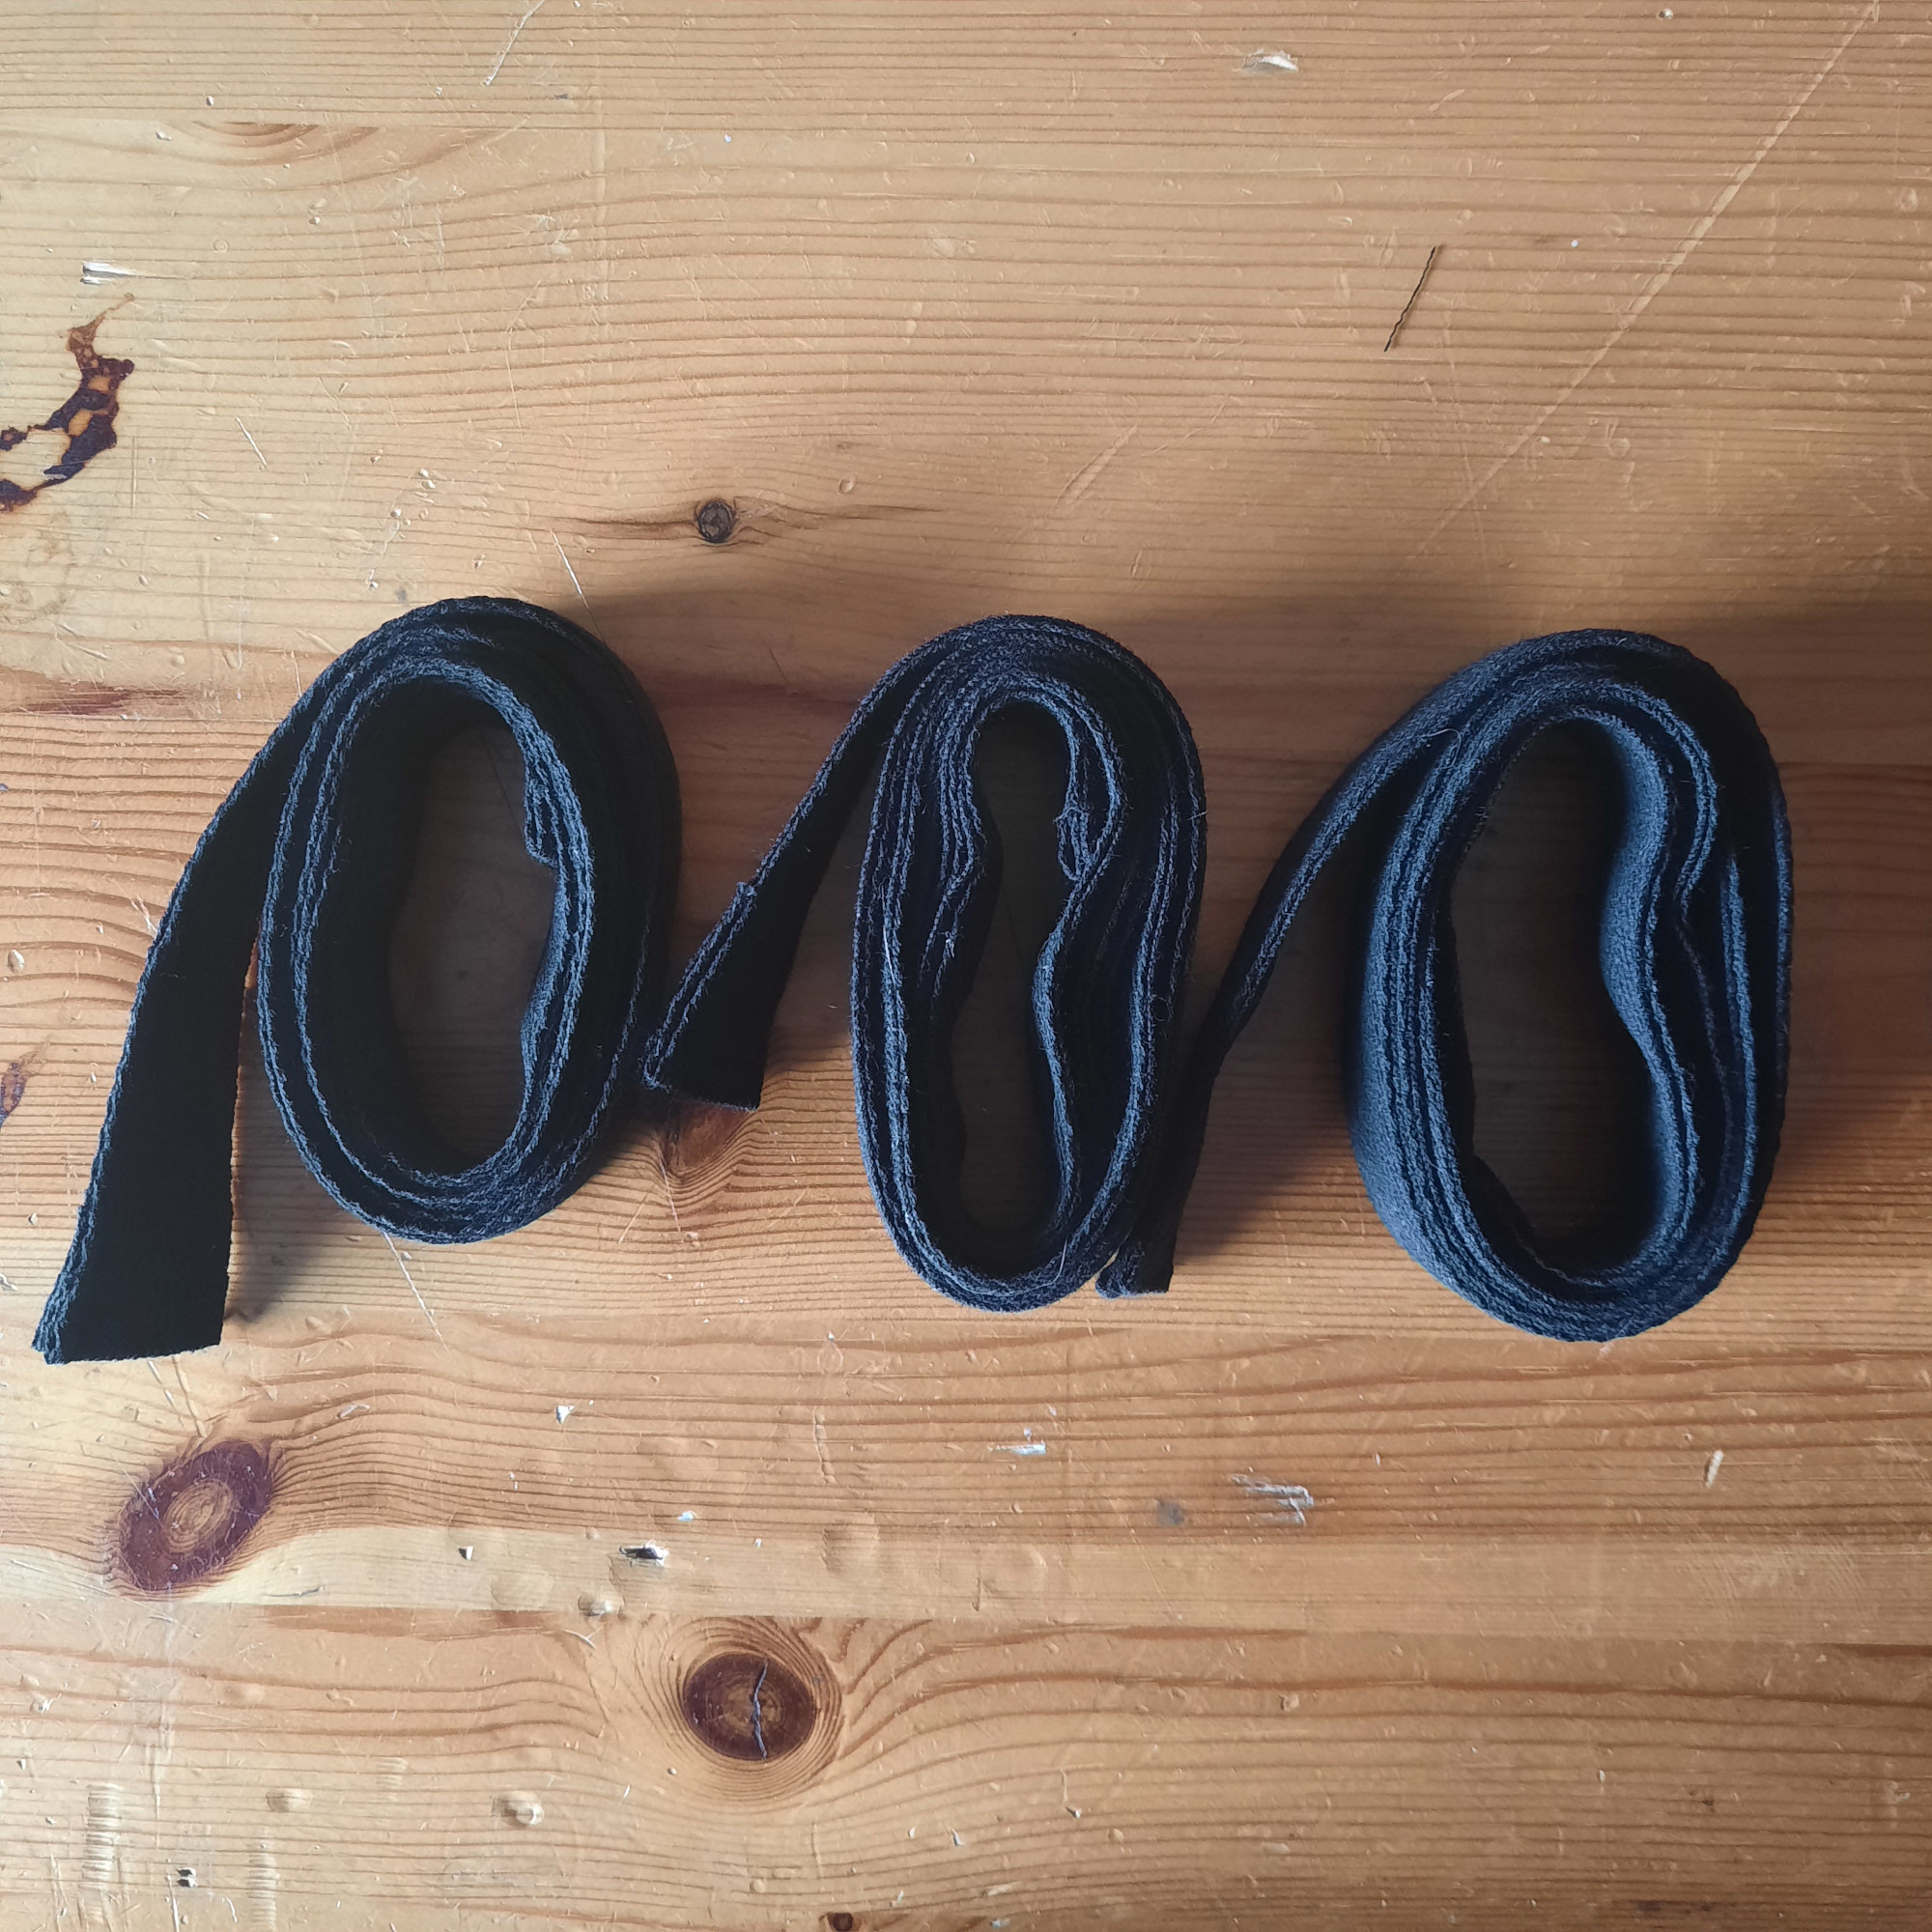
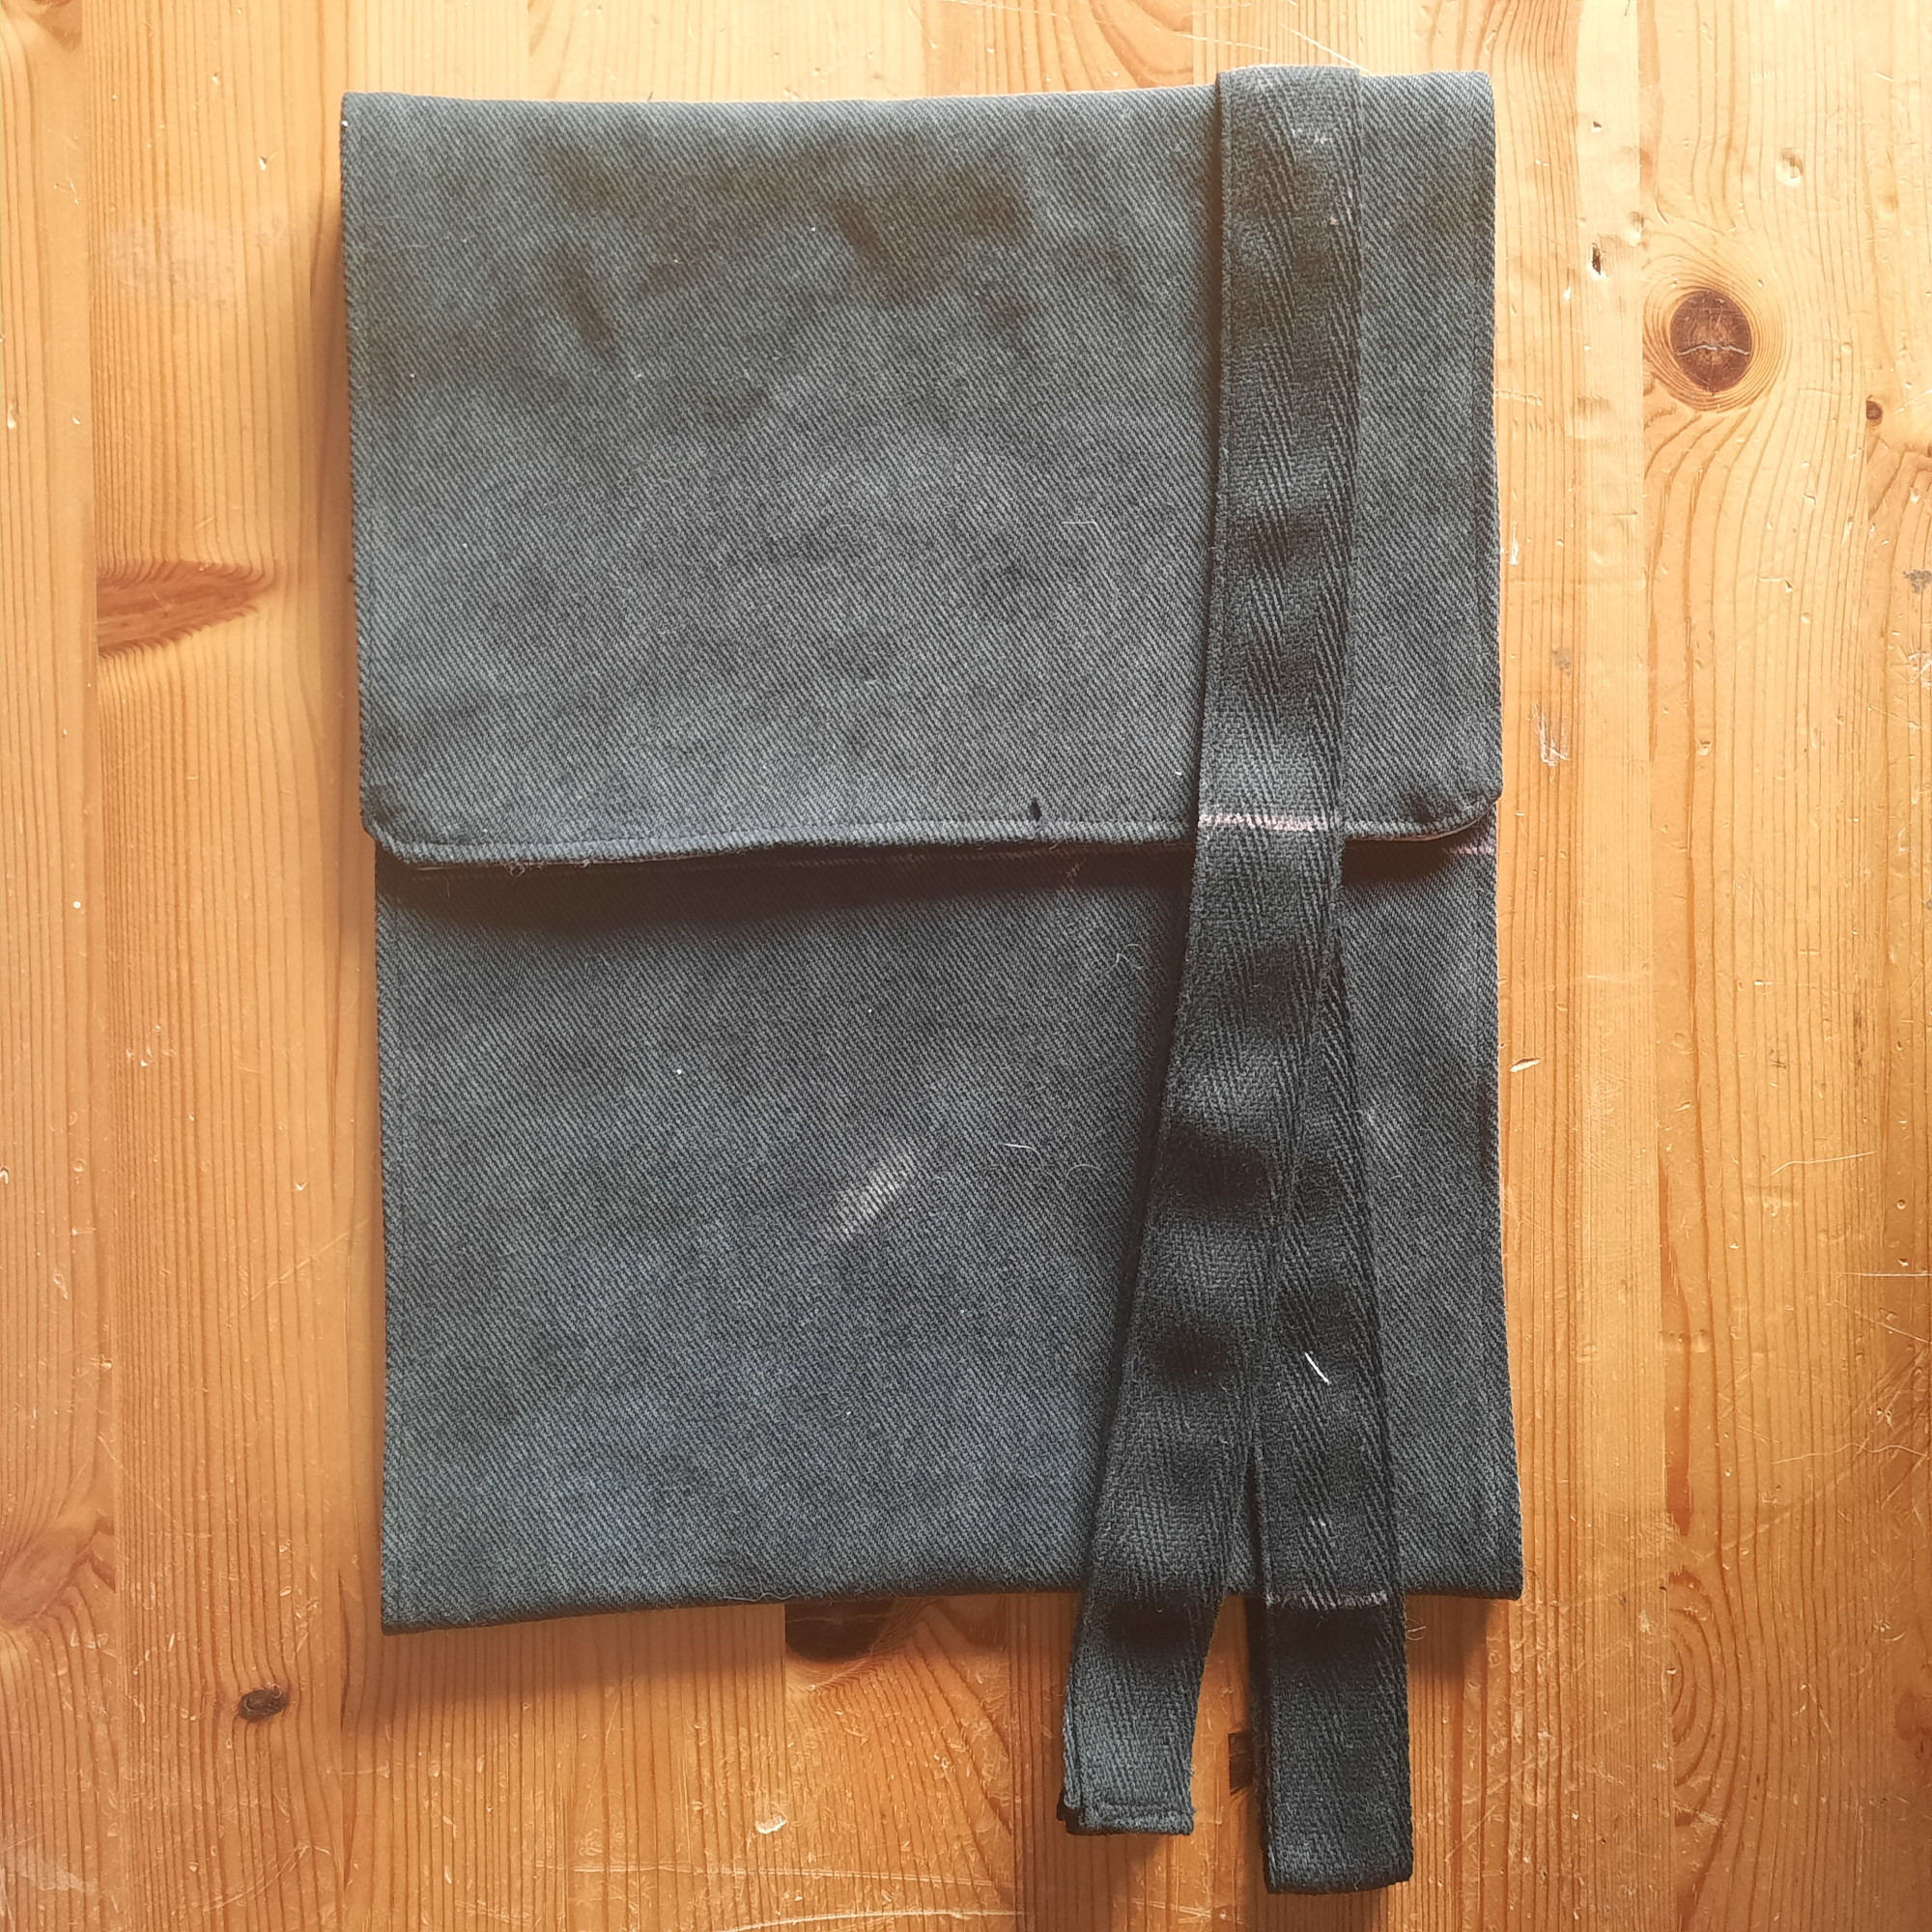
Step 7
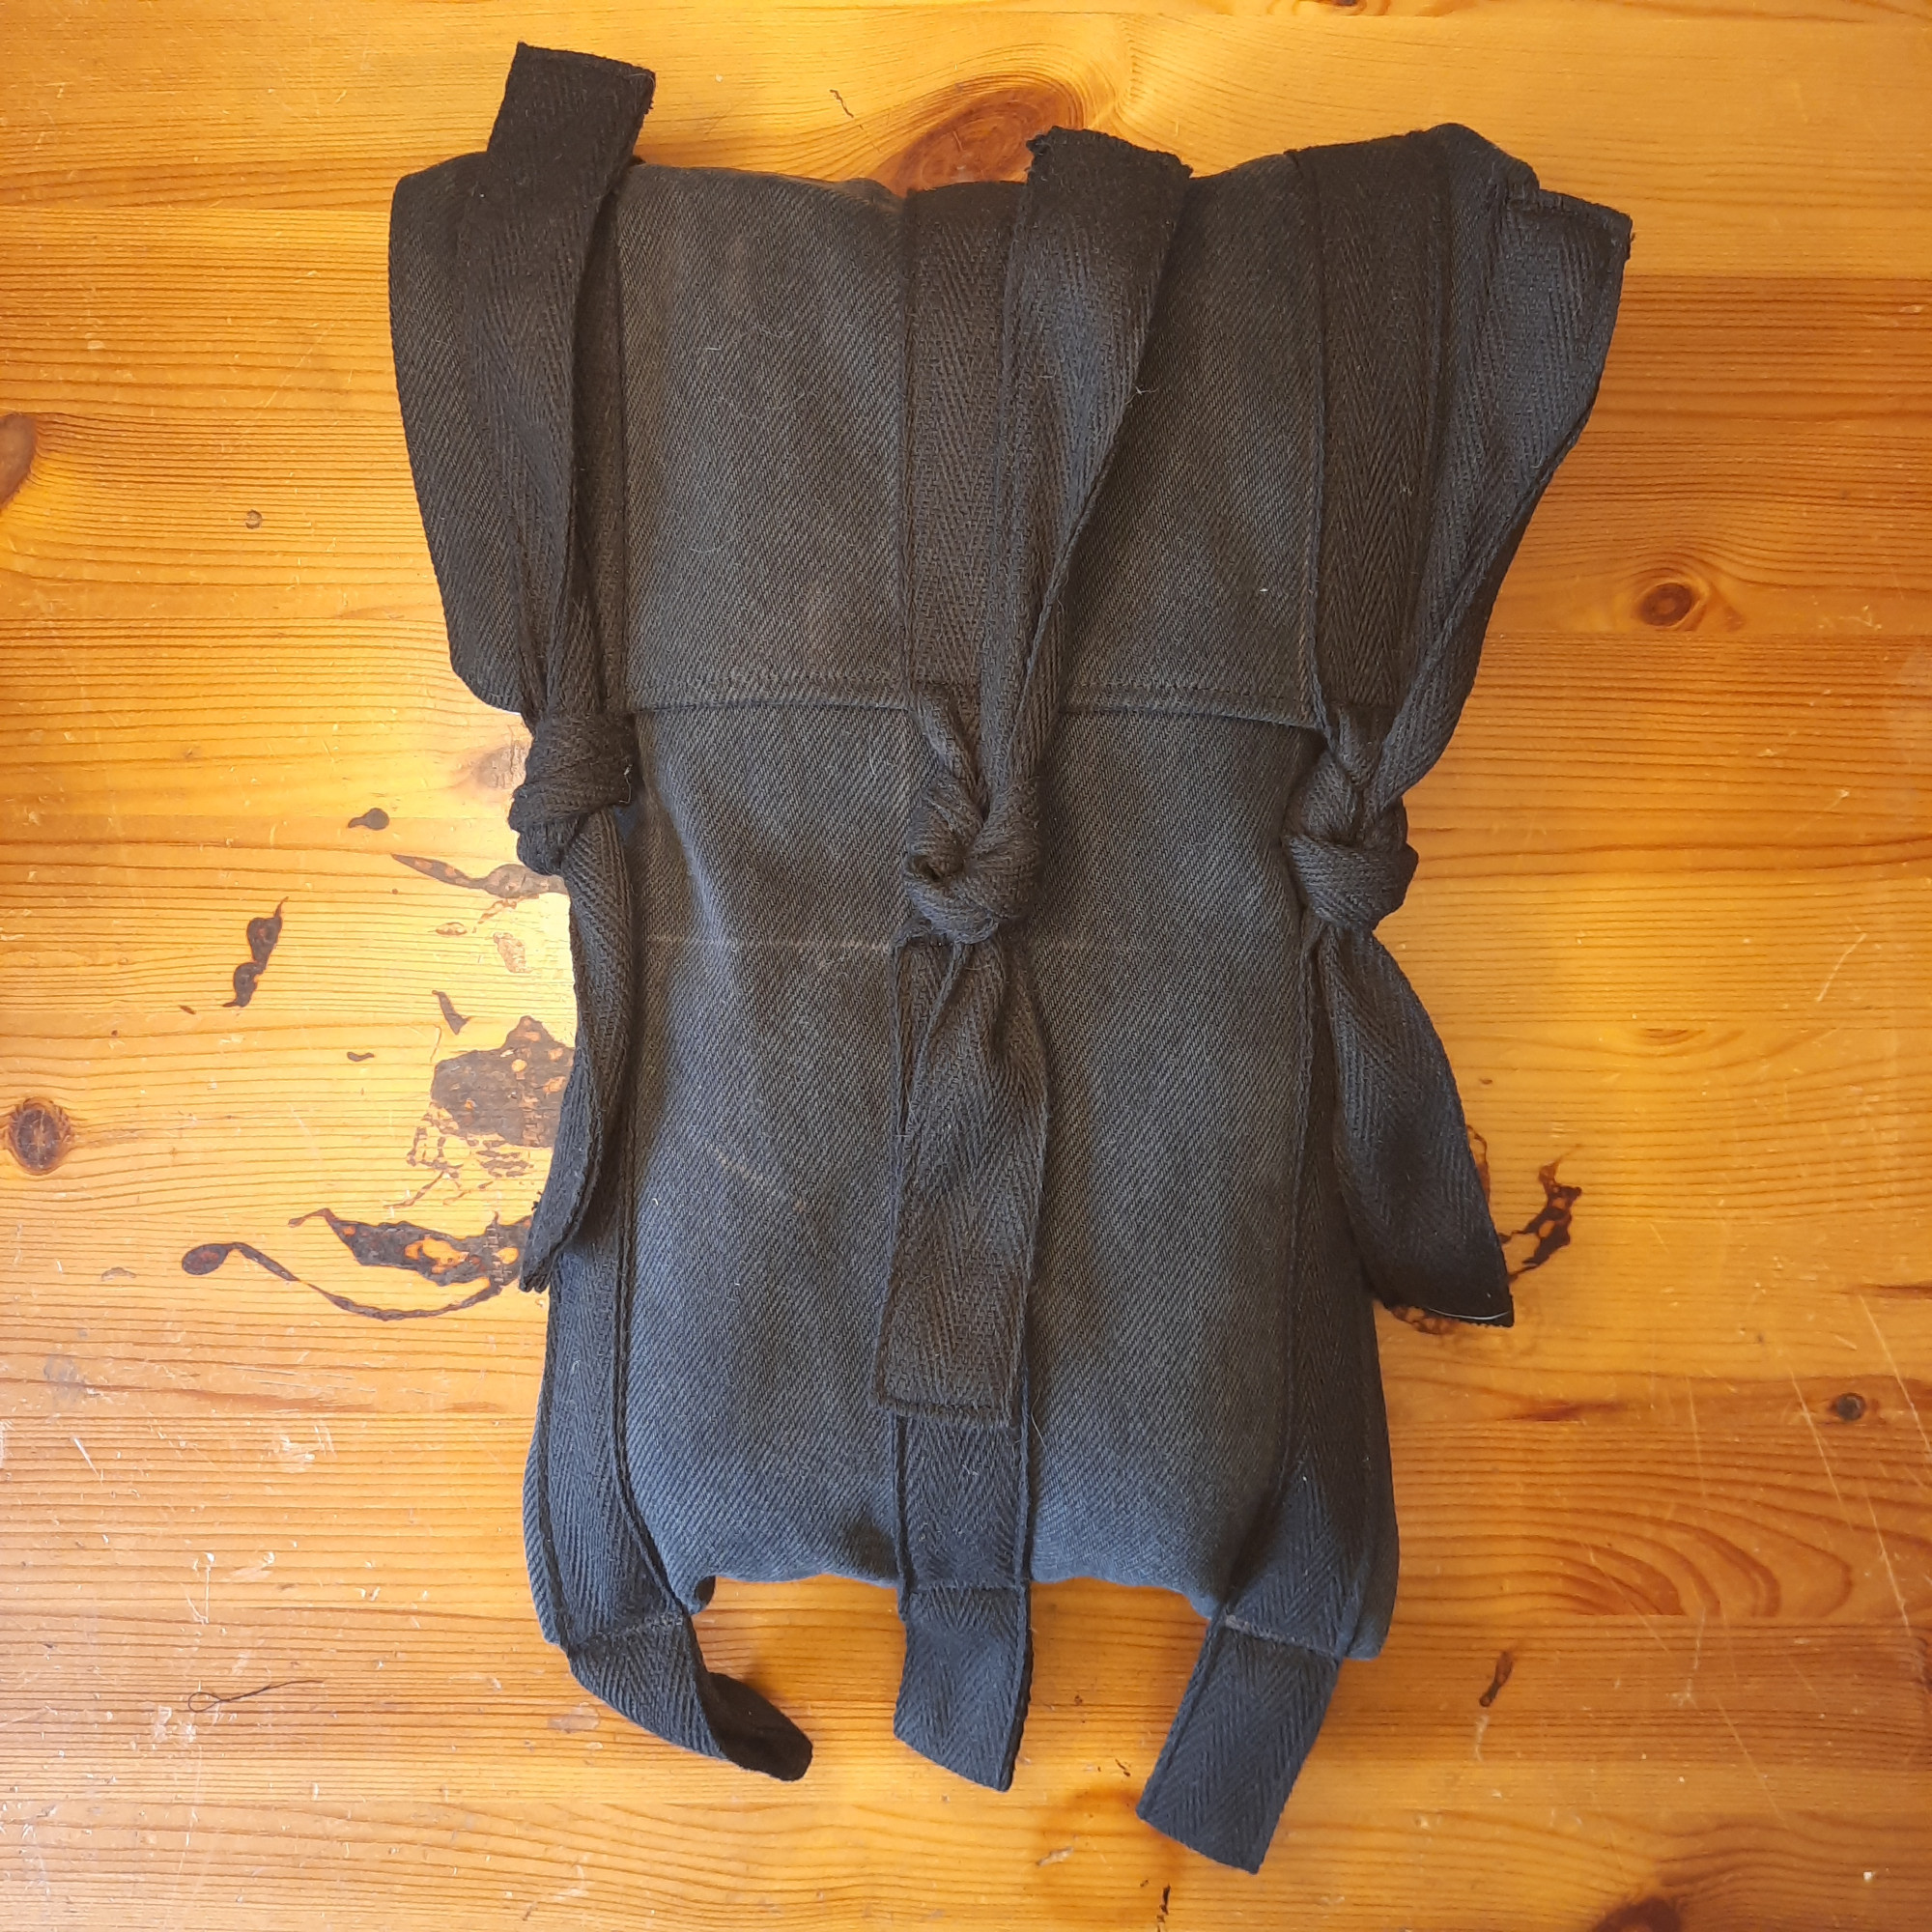
Next, cut the straps that will become the bag's fastening loops. The bag can also be tied together using the straps. To find the right length, fold the rectangle of fabric into a bag as shown in the picture. The bag itself should be twice as long its flap. The strap is then wrapped around it in the same way as it will later run around the finished bag: Starting at the top edge of the bag, it runs along the back to 2" below the bottom edge, from there along the front of the bag to the middle, where the flap ends, and finally back down to the loop formed on the bottom edge. From the top edge, the strap also runs along the front down to the bottom loop. In the case of the bag shown in the pictures, the straps are 44" long.
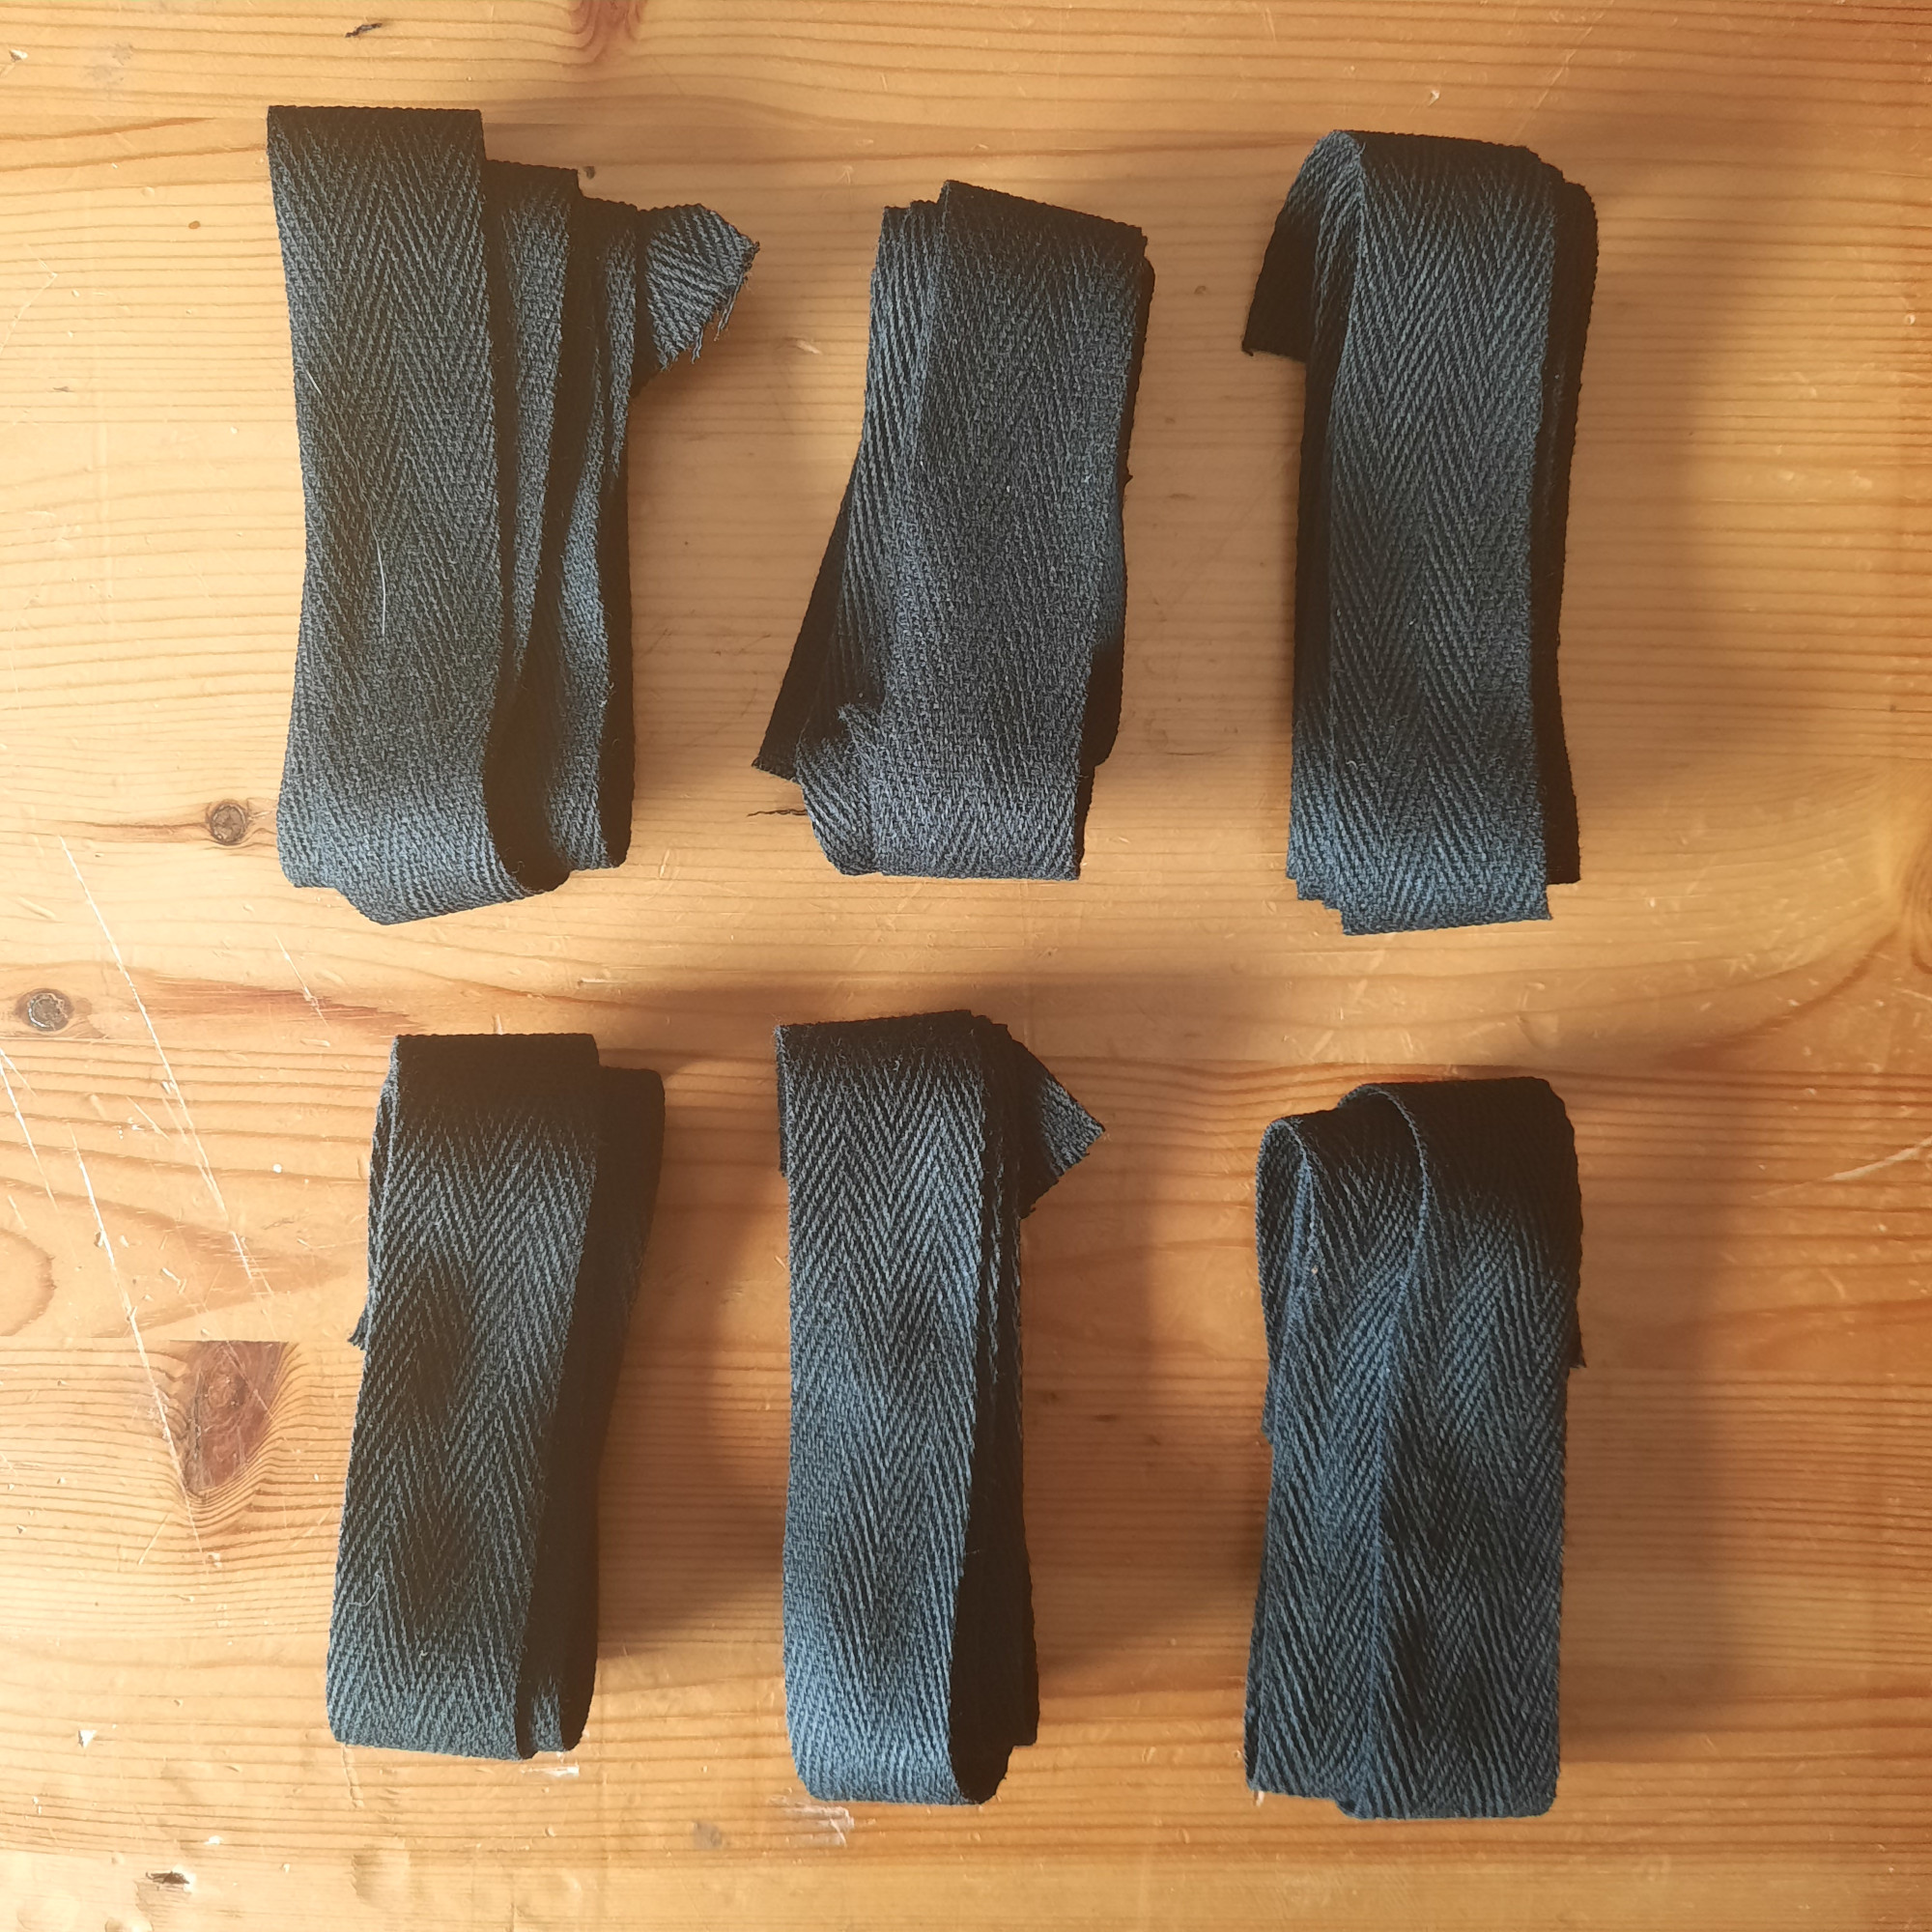
Step 8
Since the straps I used were a little too thin, sewed two of them together. The cutting edges were folded inwards to prevent them from fraying.
Step 9
Step 10
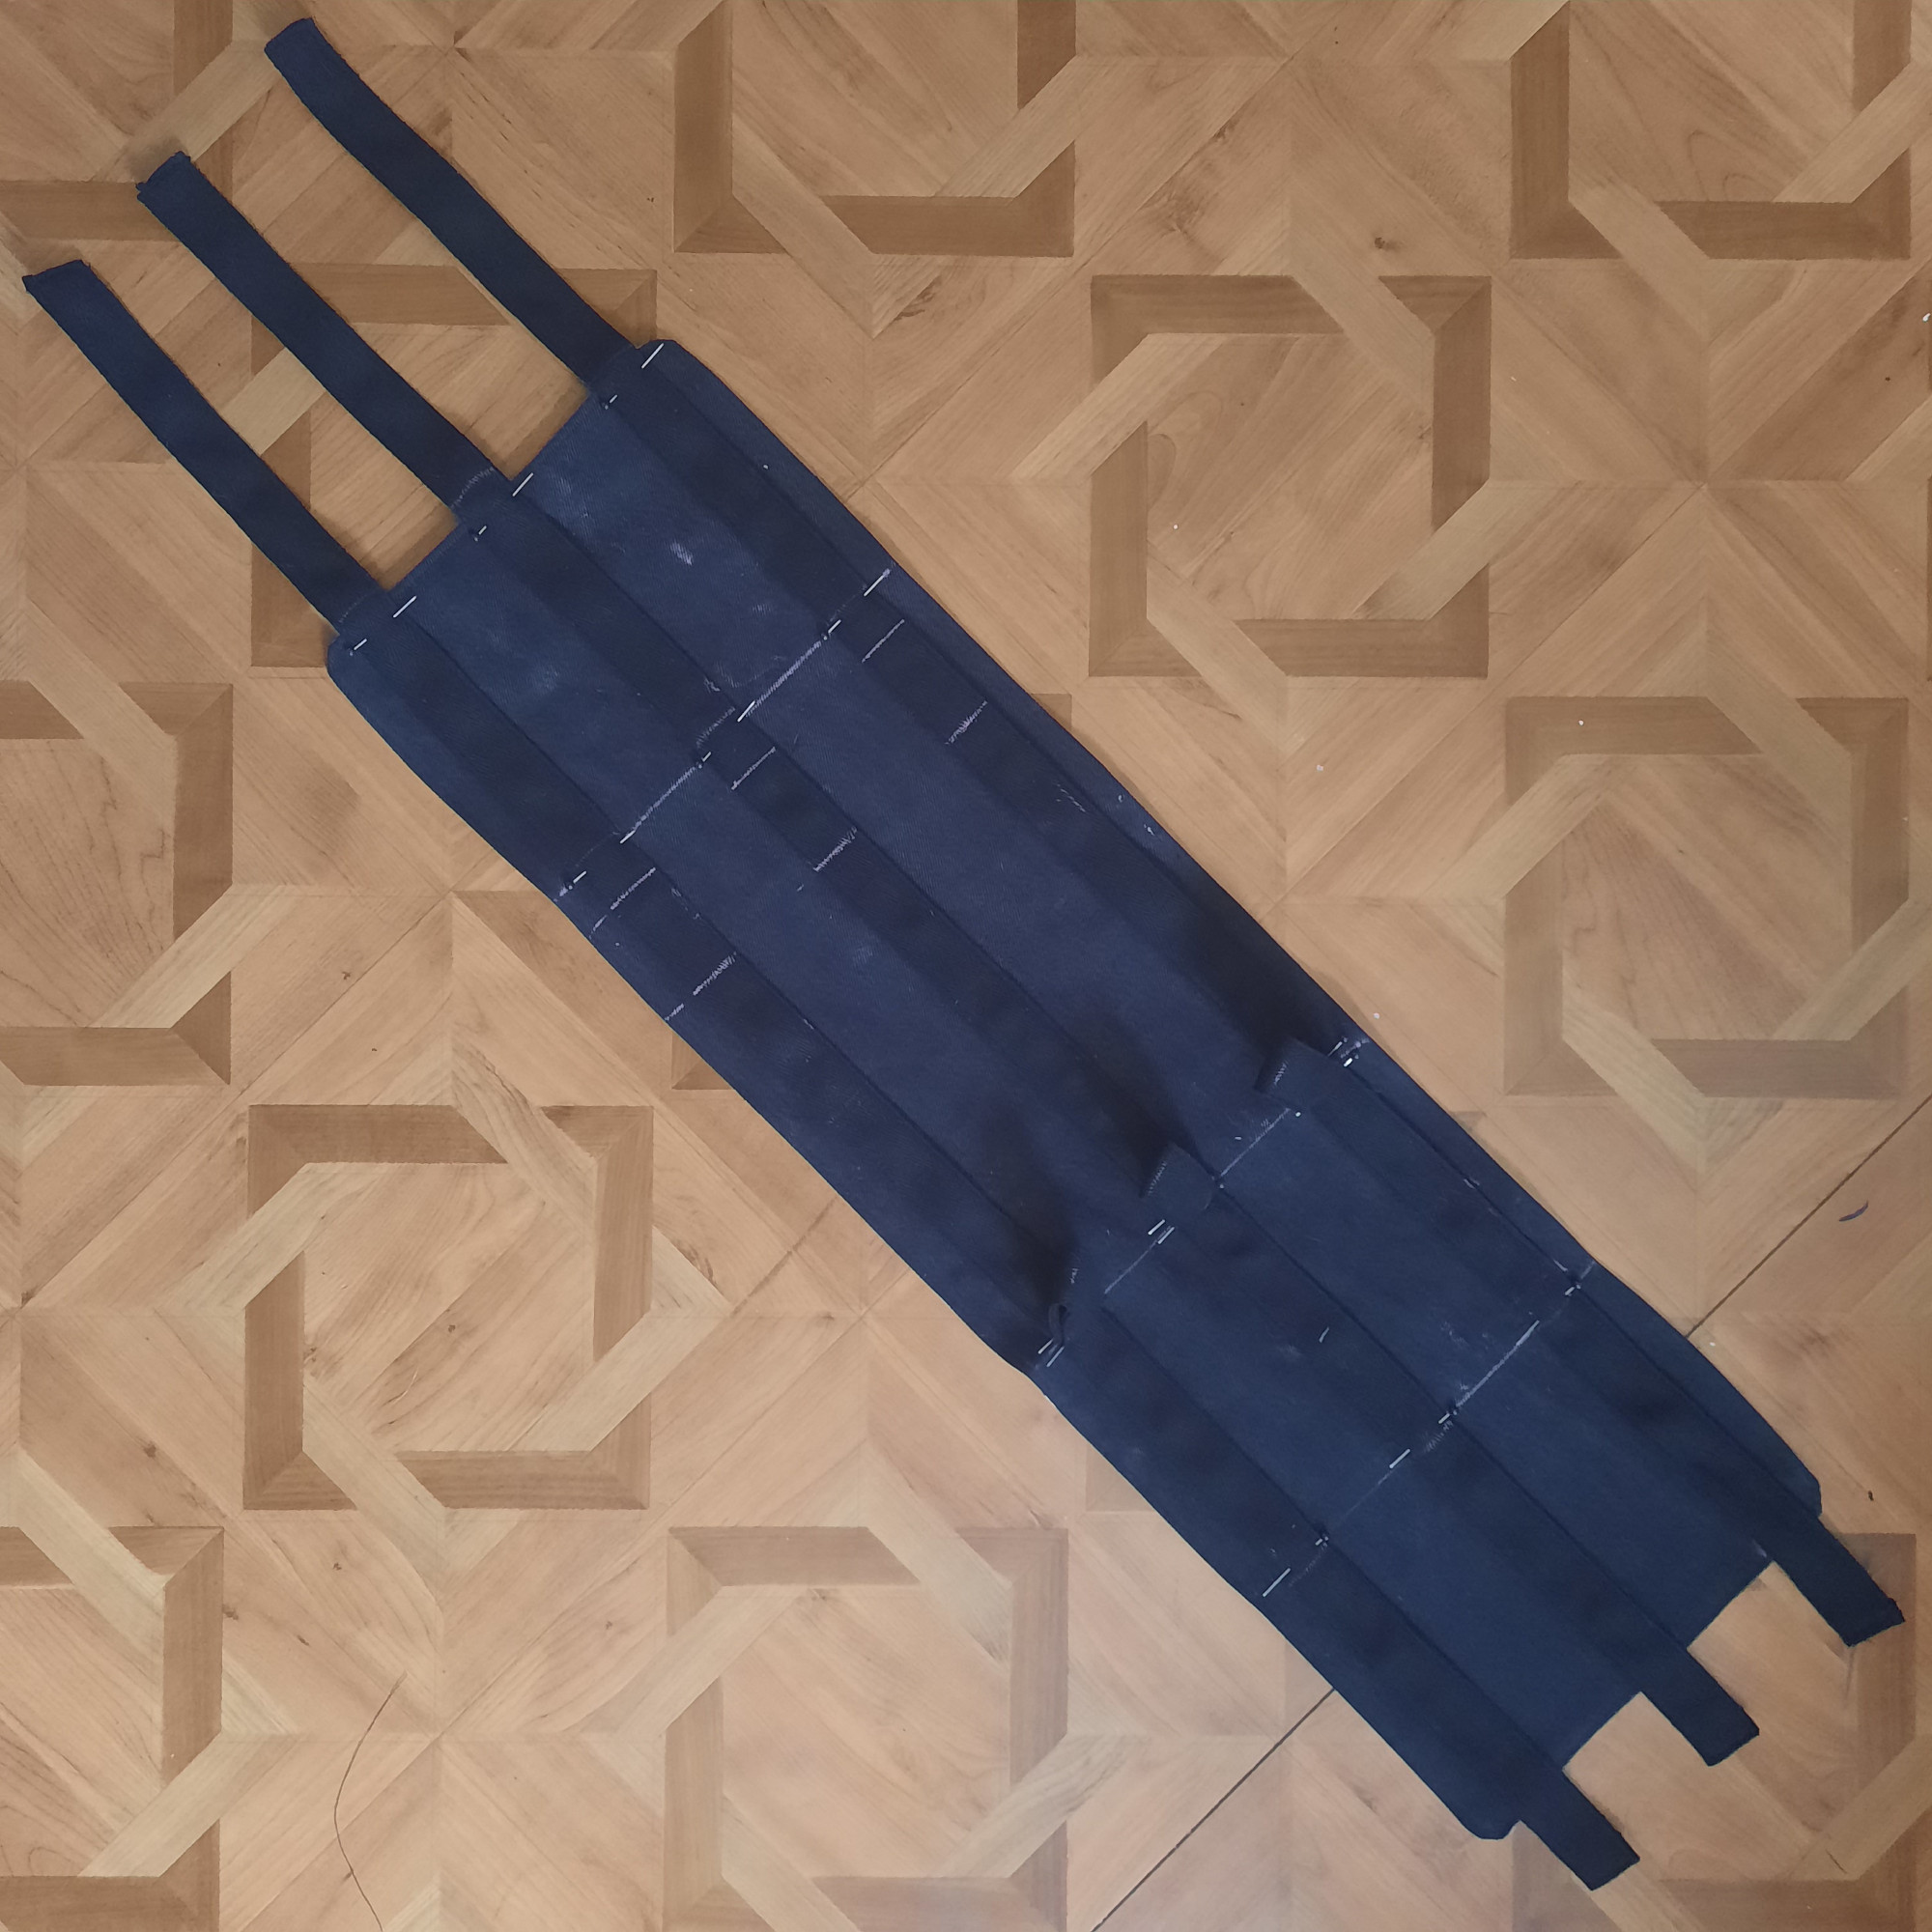
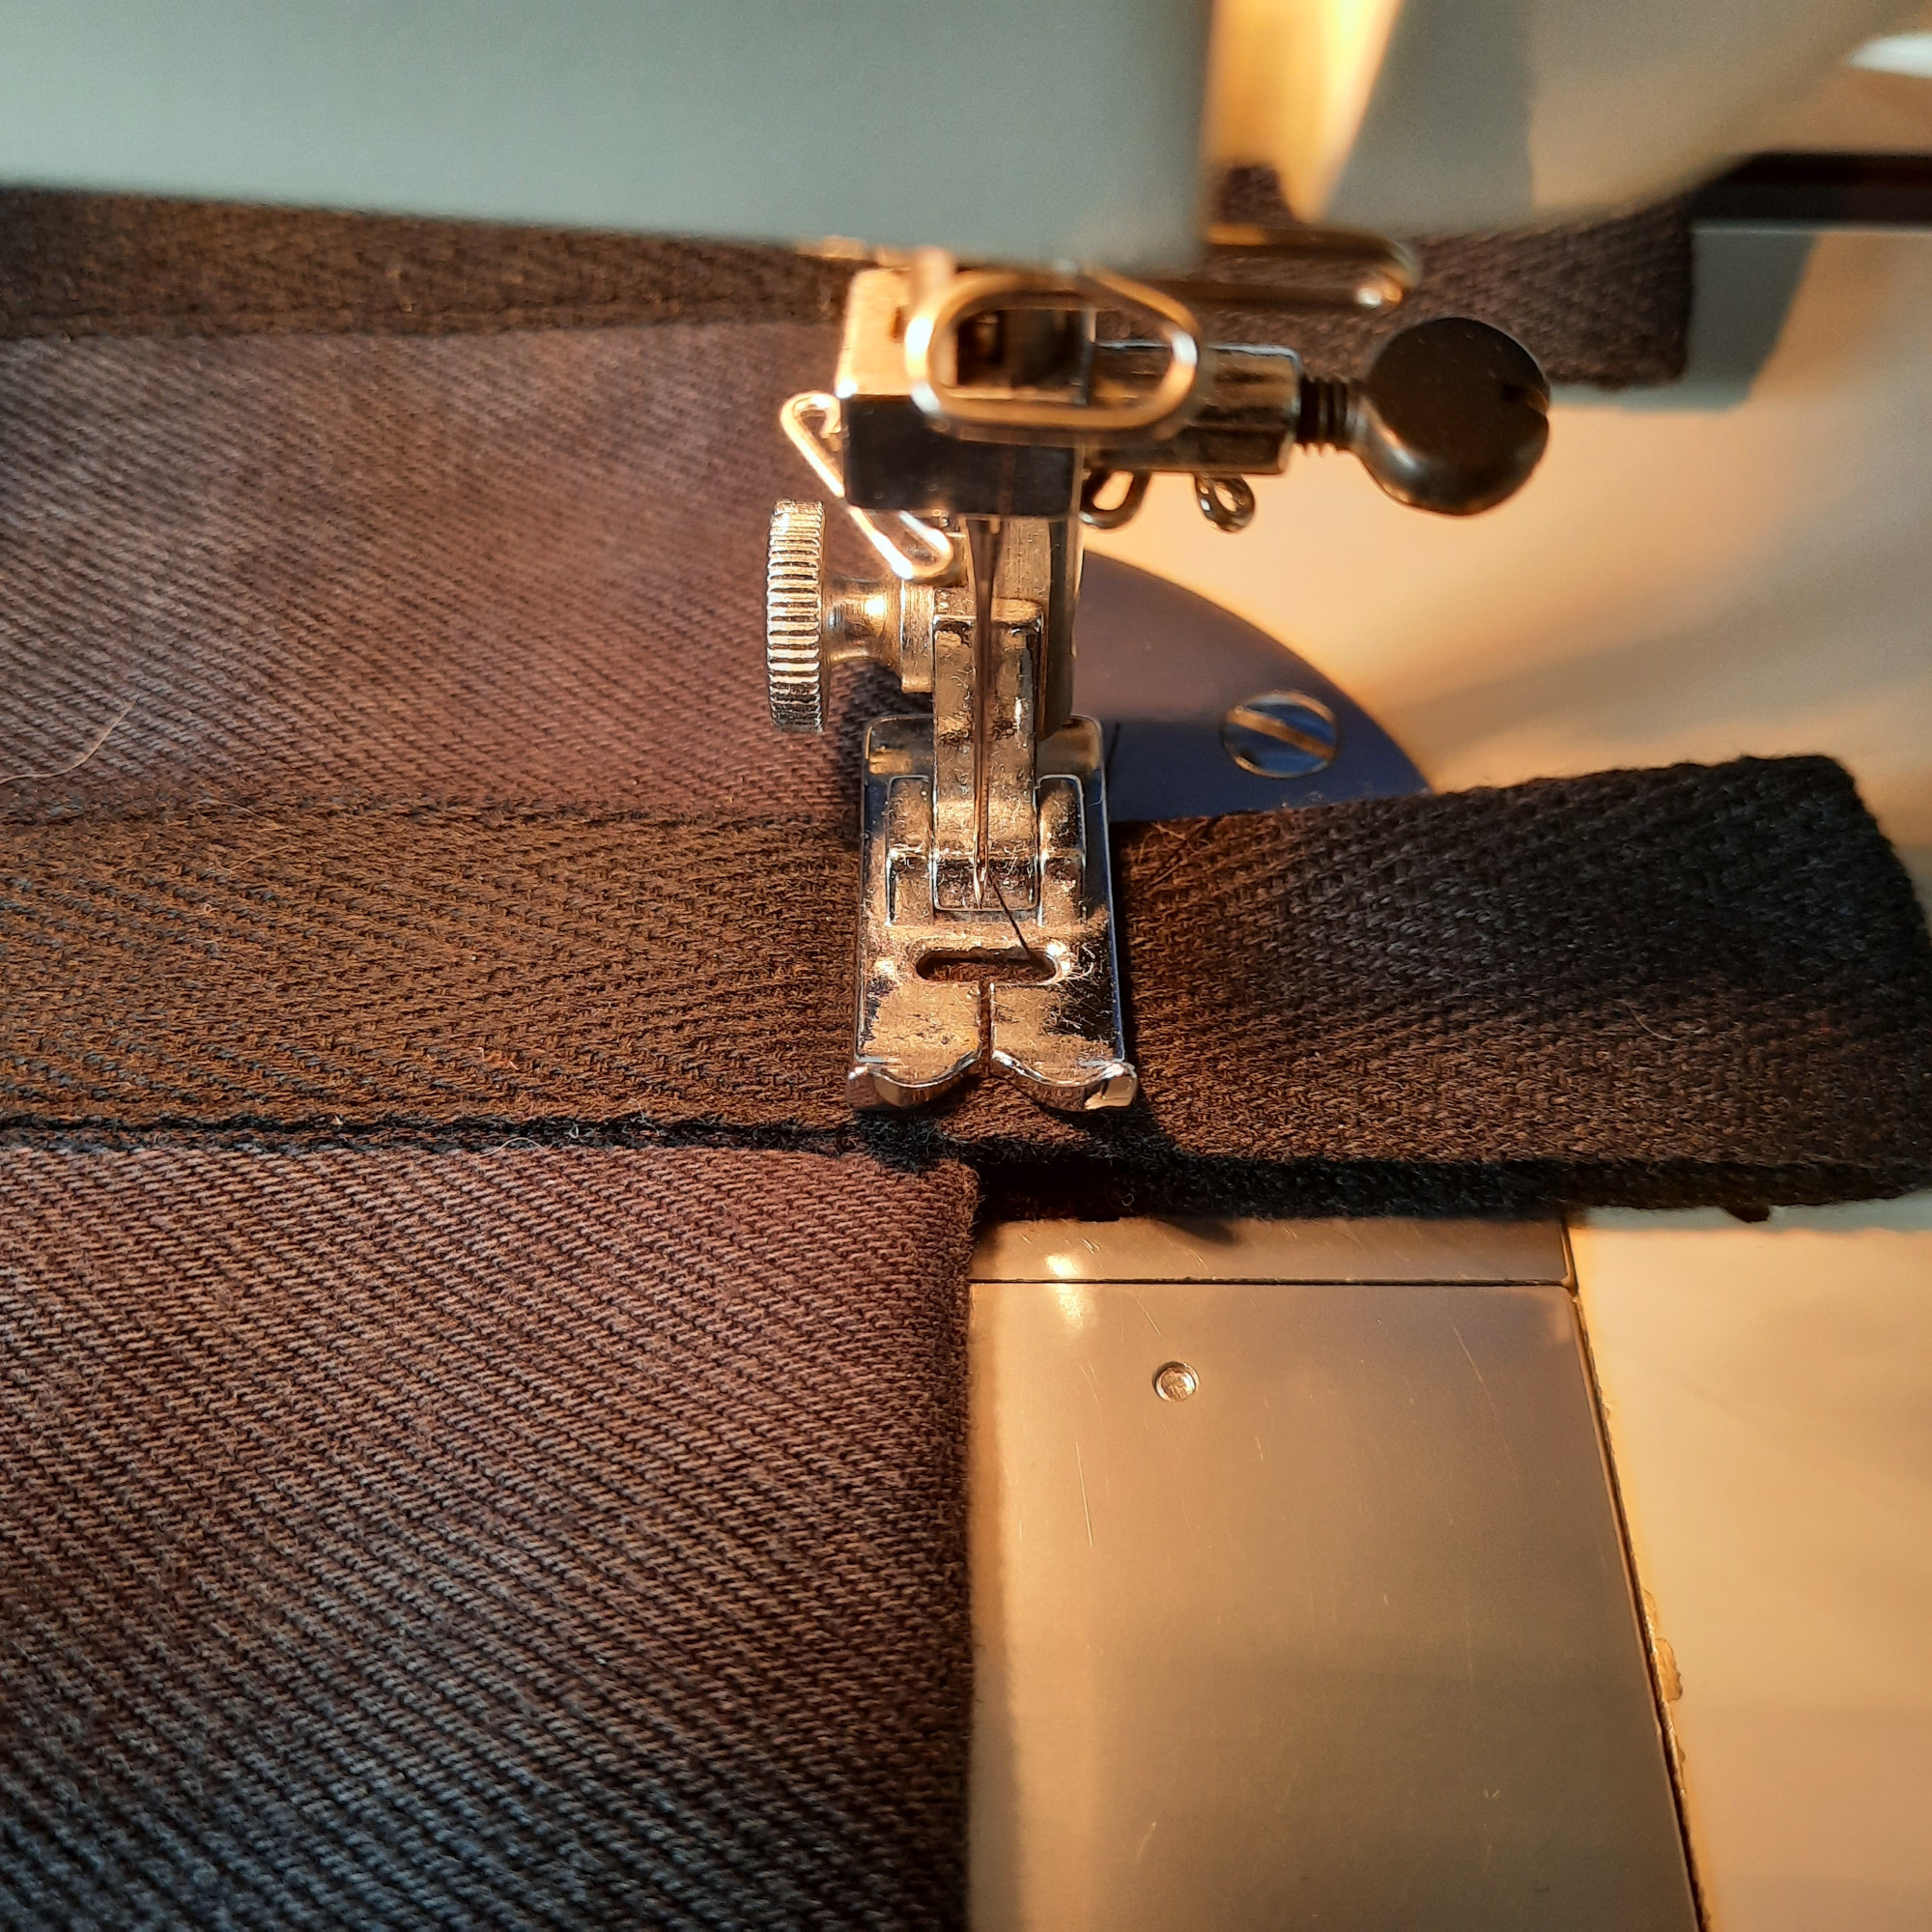
Place one of the straps around the folded fabric rectangle, just as before, in order to mark on the strap where you are going to sew. Transfer these markings to the other straps and finally fix them to the bag with pins according to your markings. The bag shown in the pictures has three straps, one in the middle and the other two on the edges of the fabric rectangle. For a narrower bag, two sturdy straps are already sufficient.
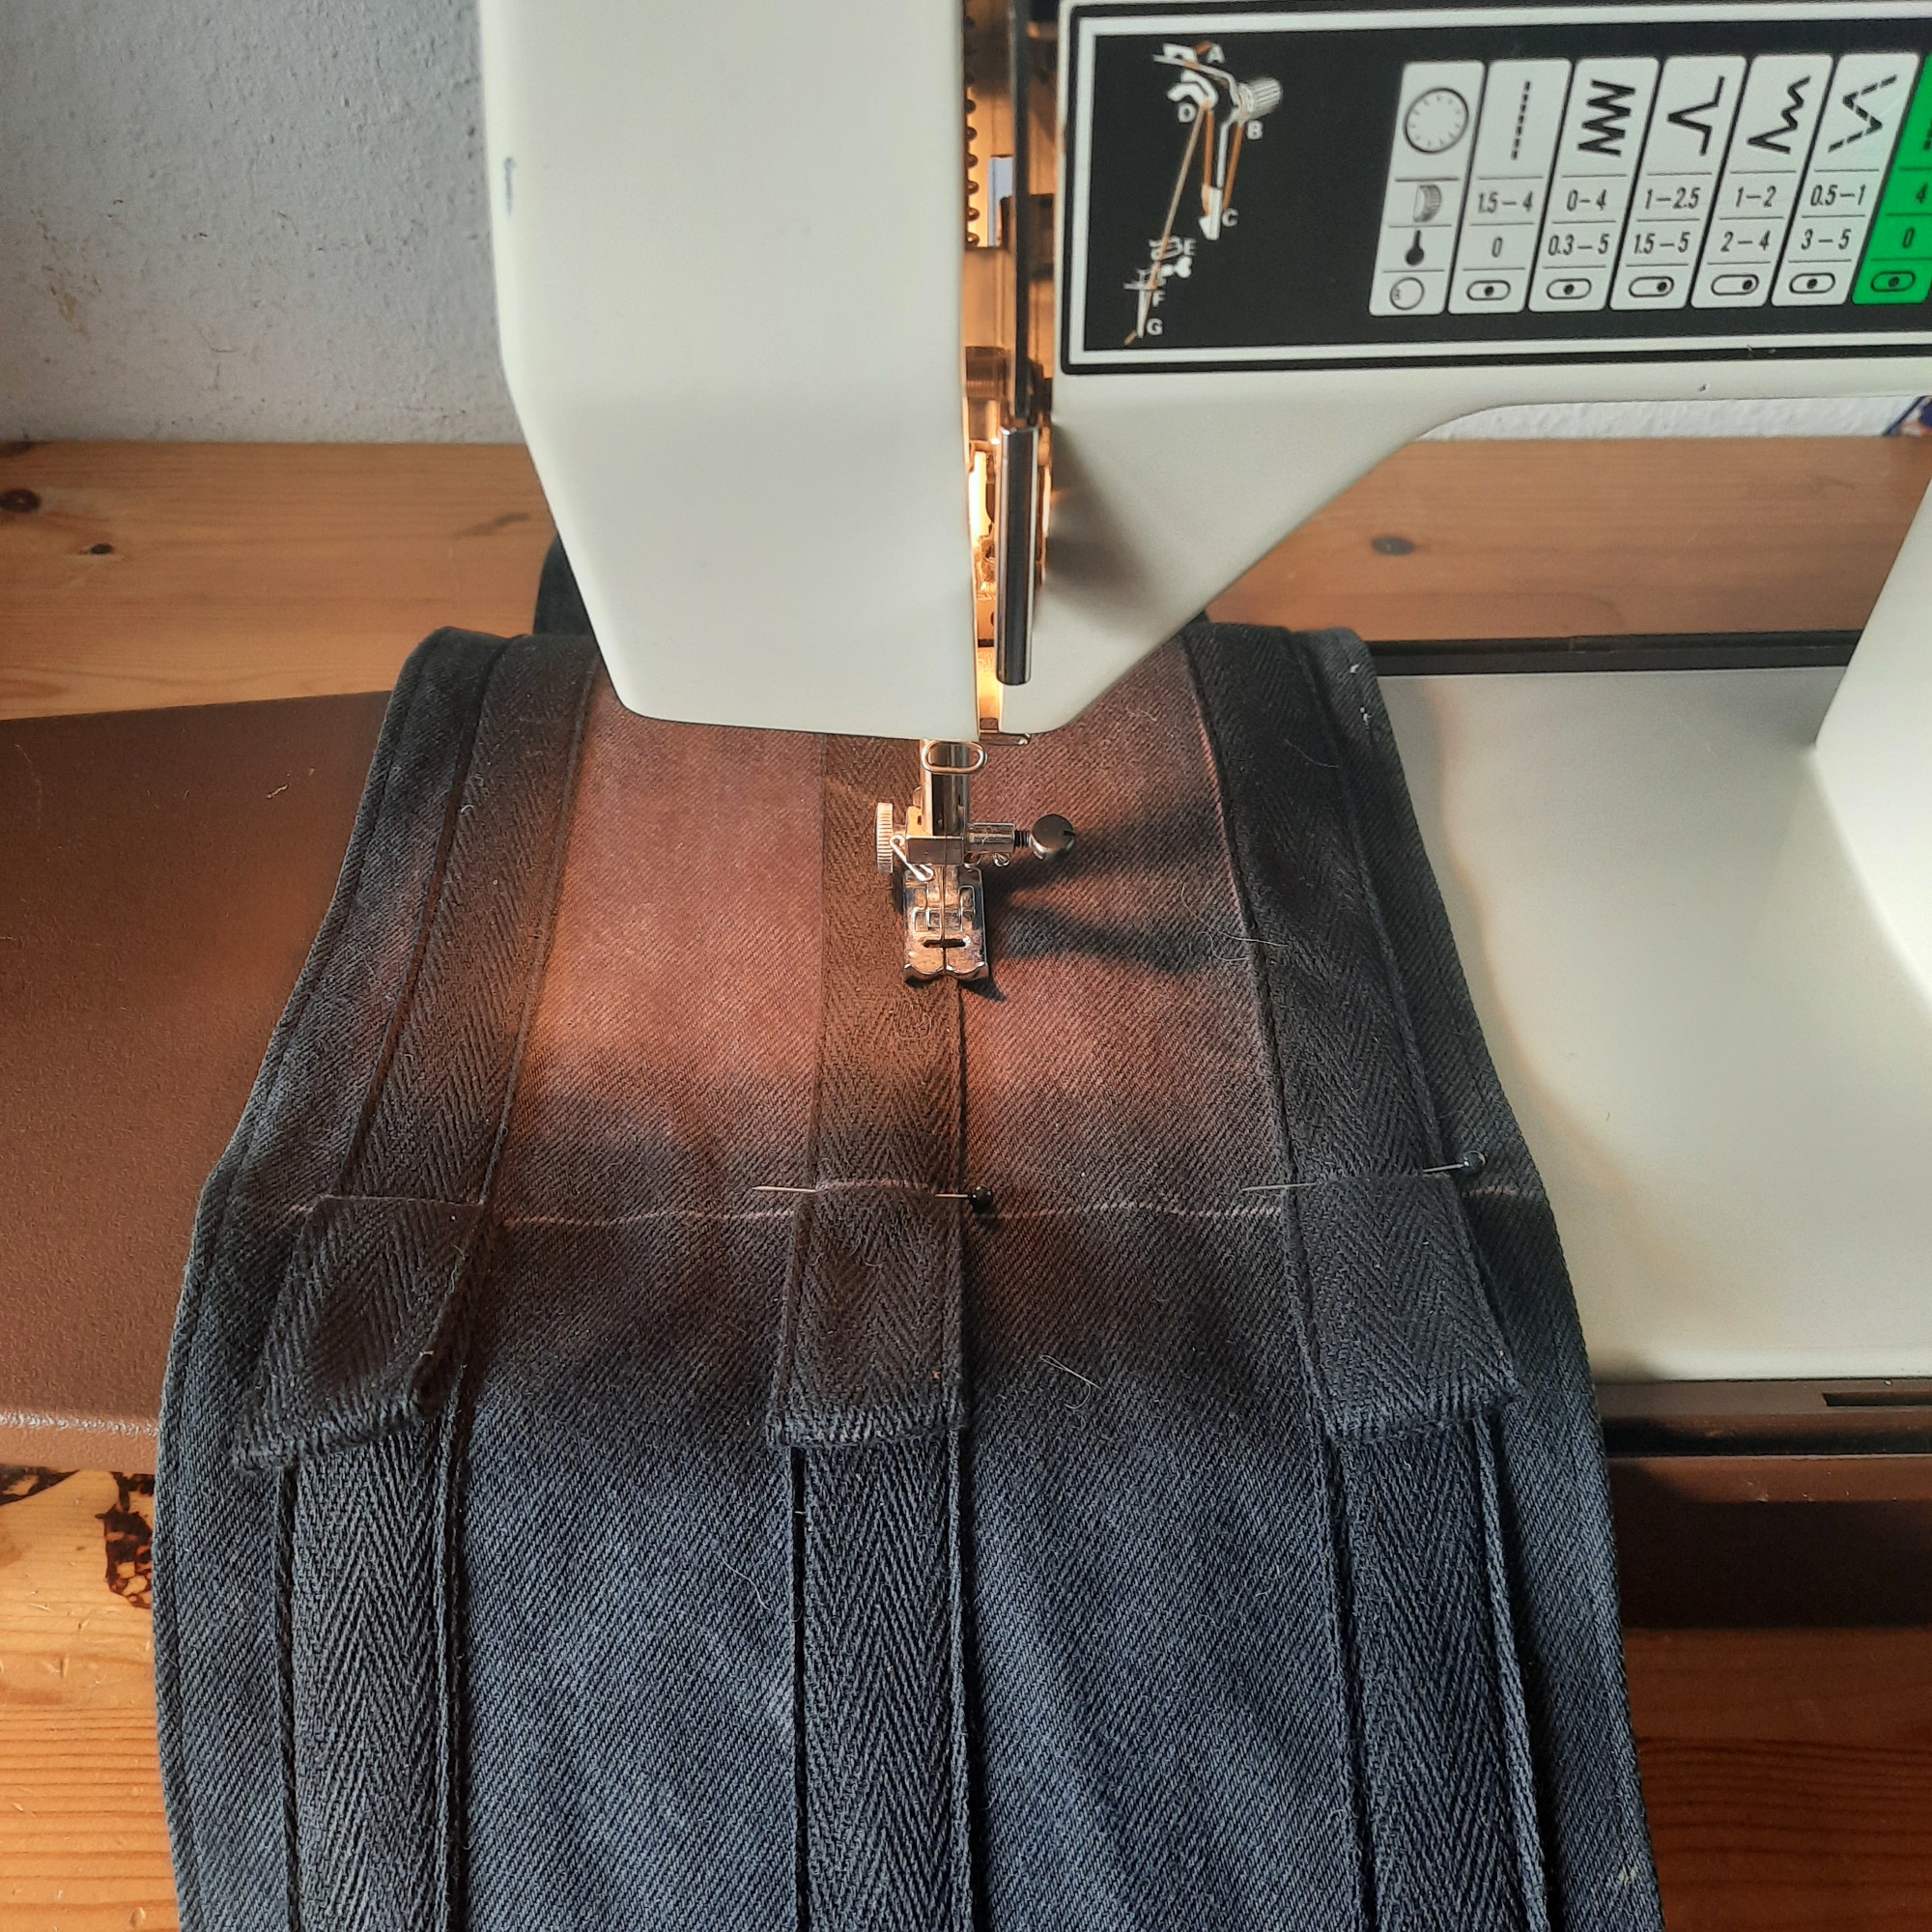
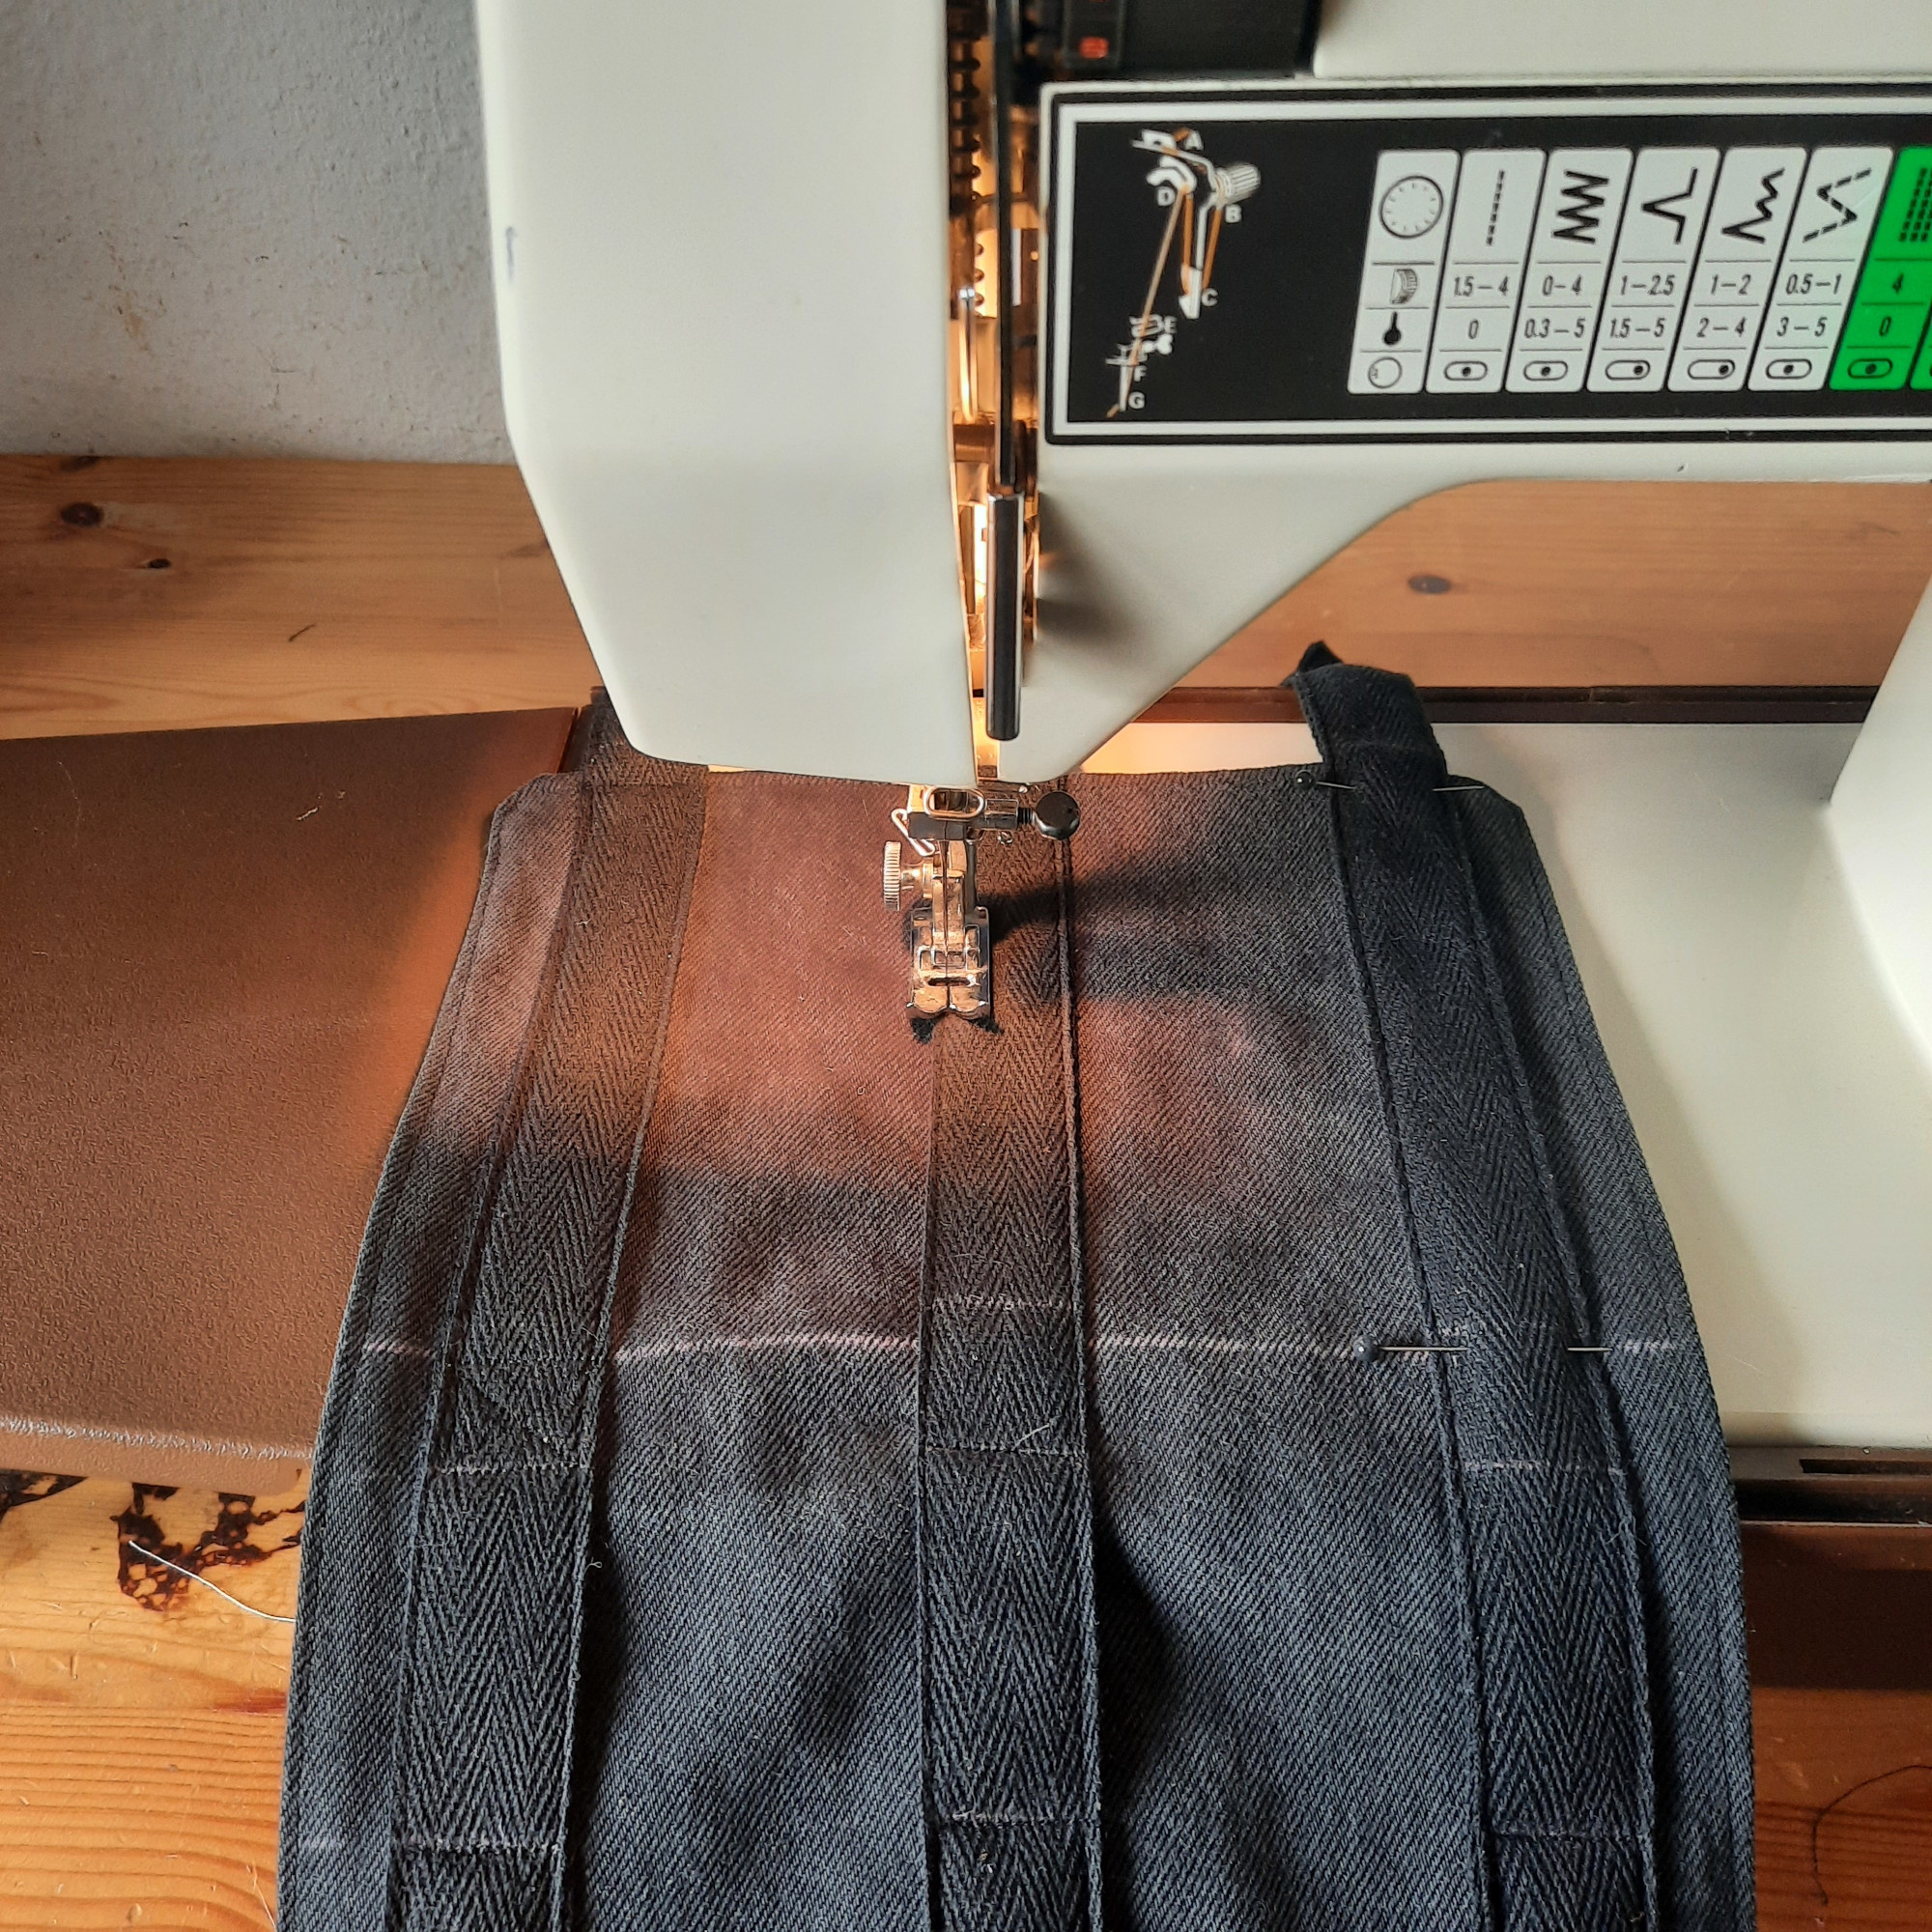
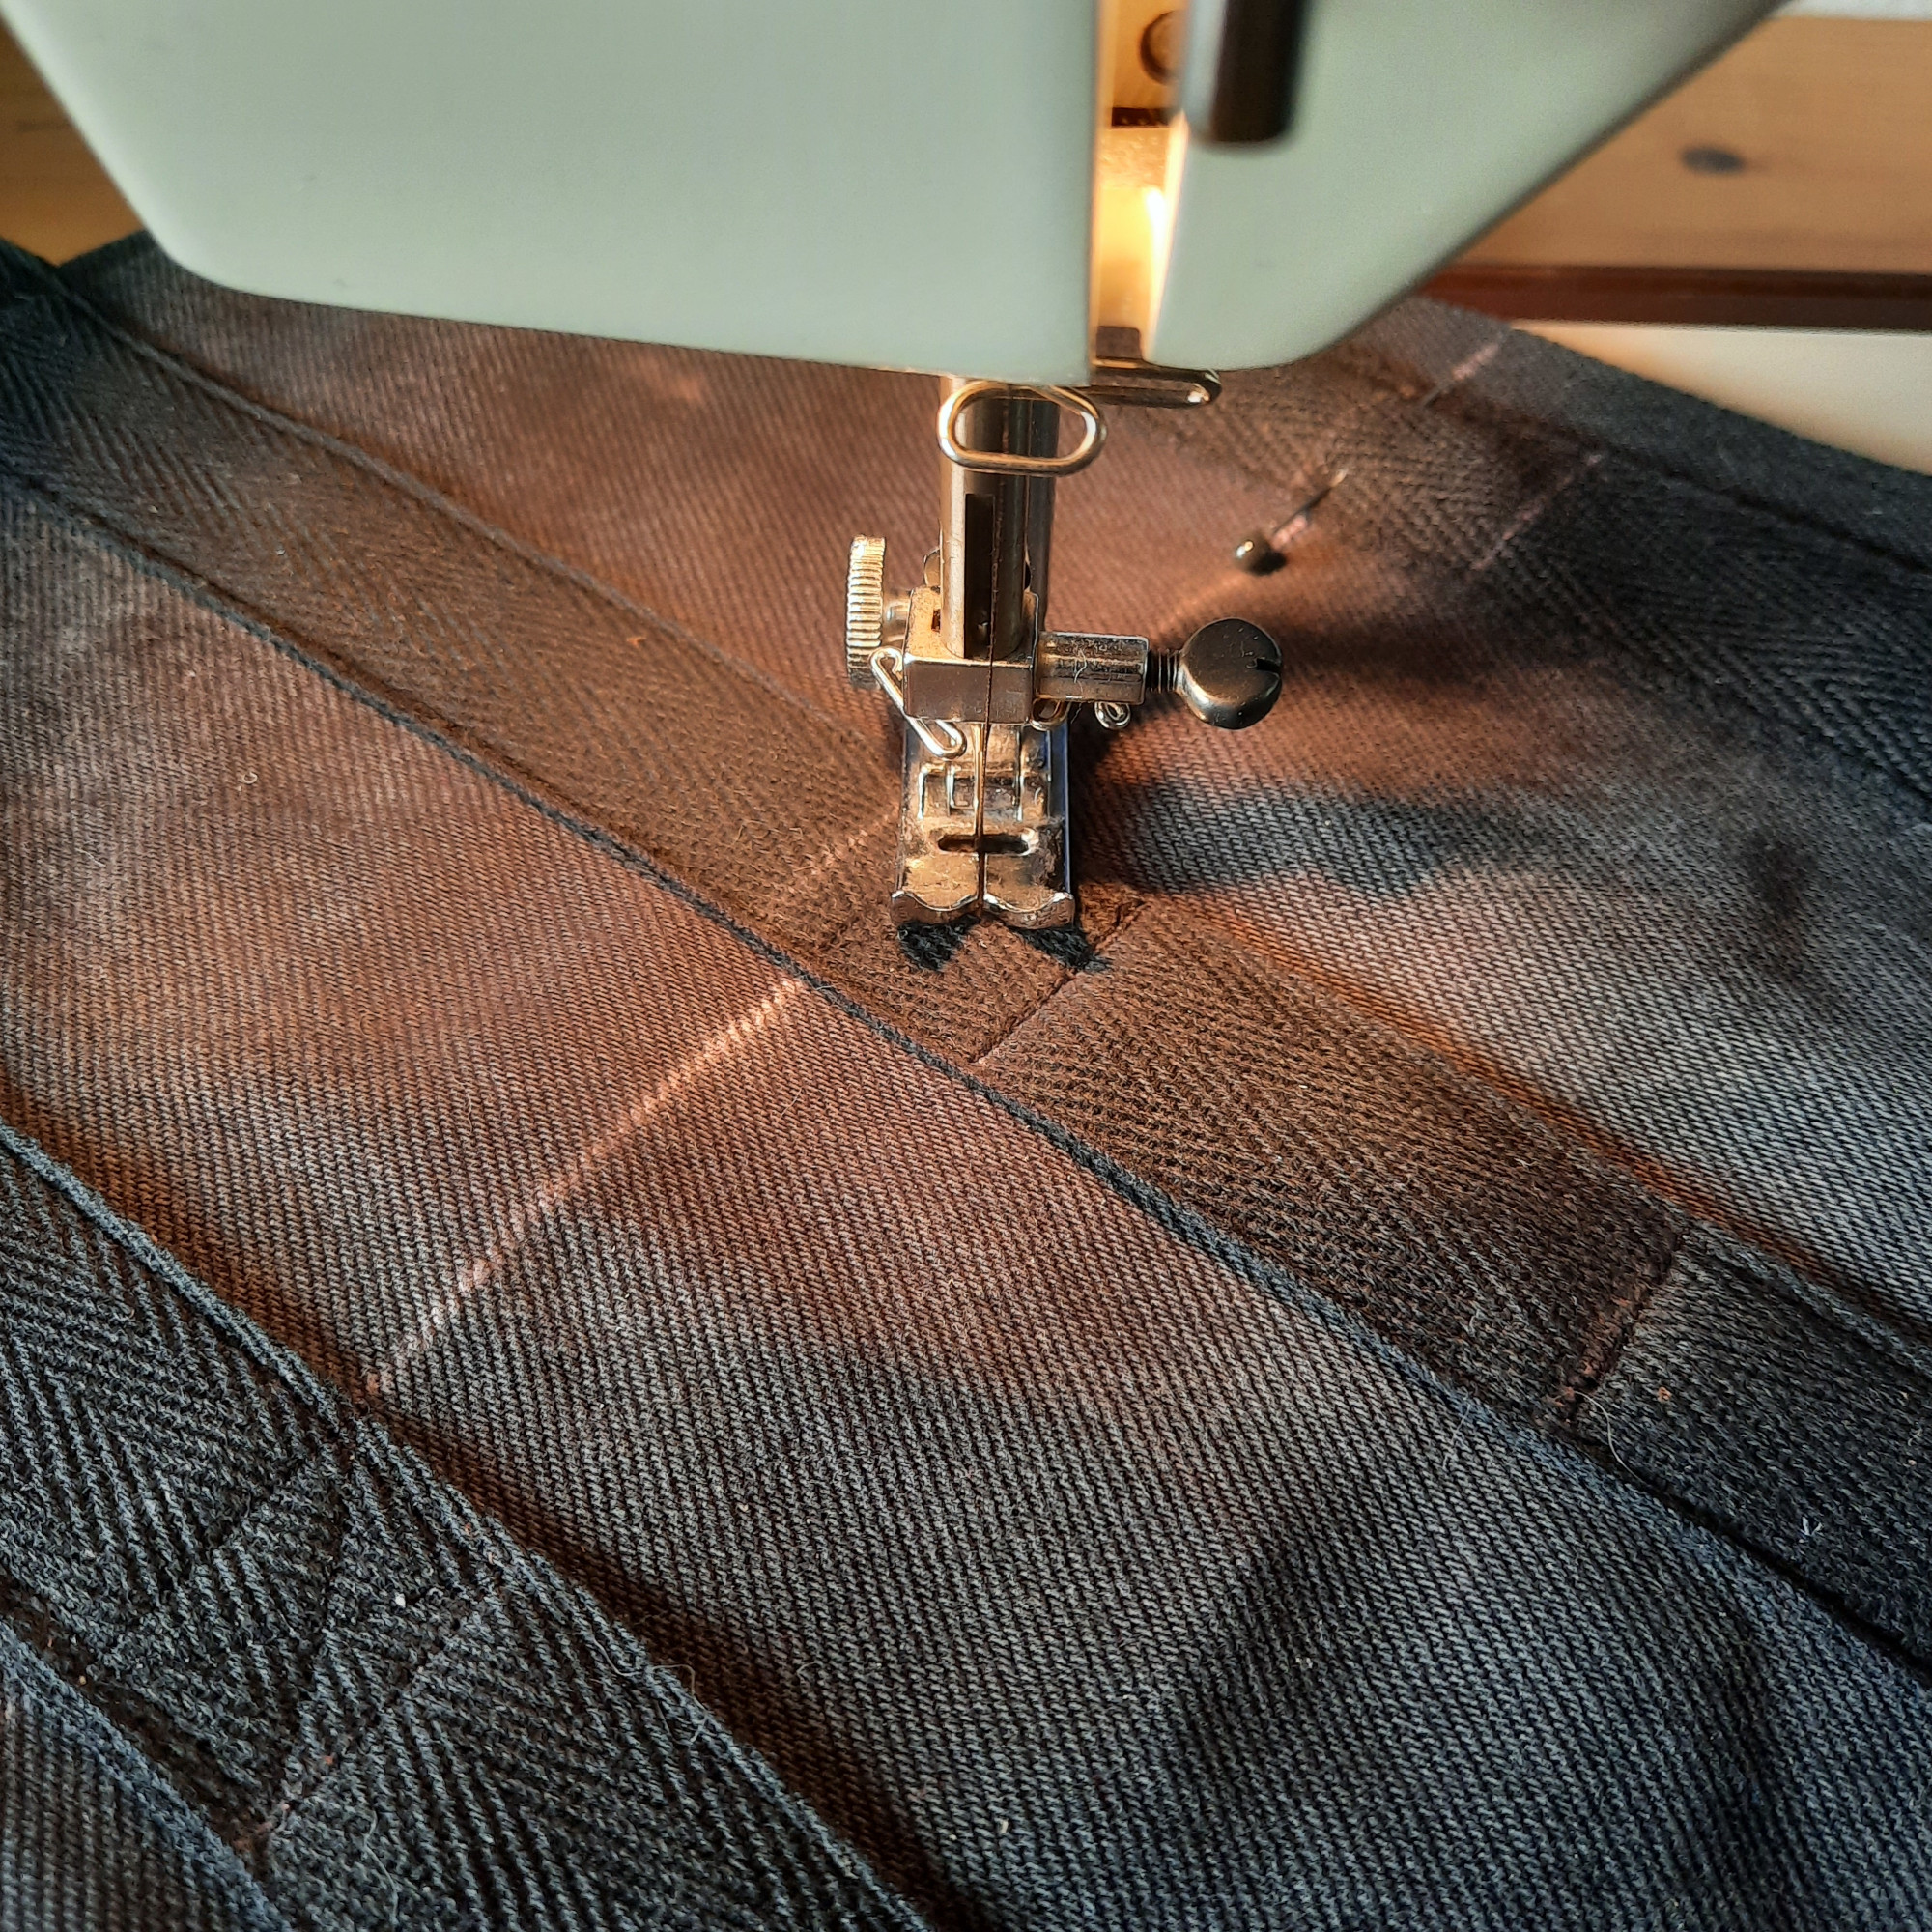
Step 11
Now it's almost done! The fabric rectangle with the sewn-on straps is now folded back into a bag, but this time with the future inside facing out. The flap is not folded inwards, but outwards. Sew the edges at both sides of the bag. This seam will not be visible later, but you still might want to choose the color of the outer fabric for the seam threads. These seams will have to hold the weight of your projectiles later. To reinforce them, a second, parallel seam can be added.
Step 12
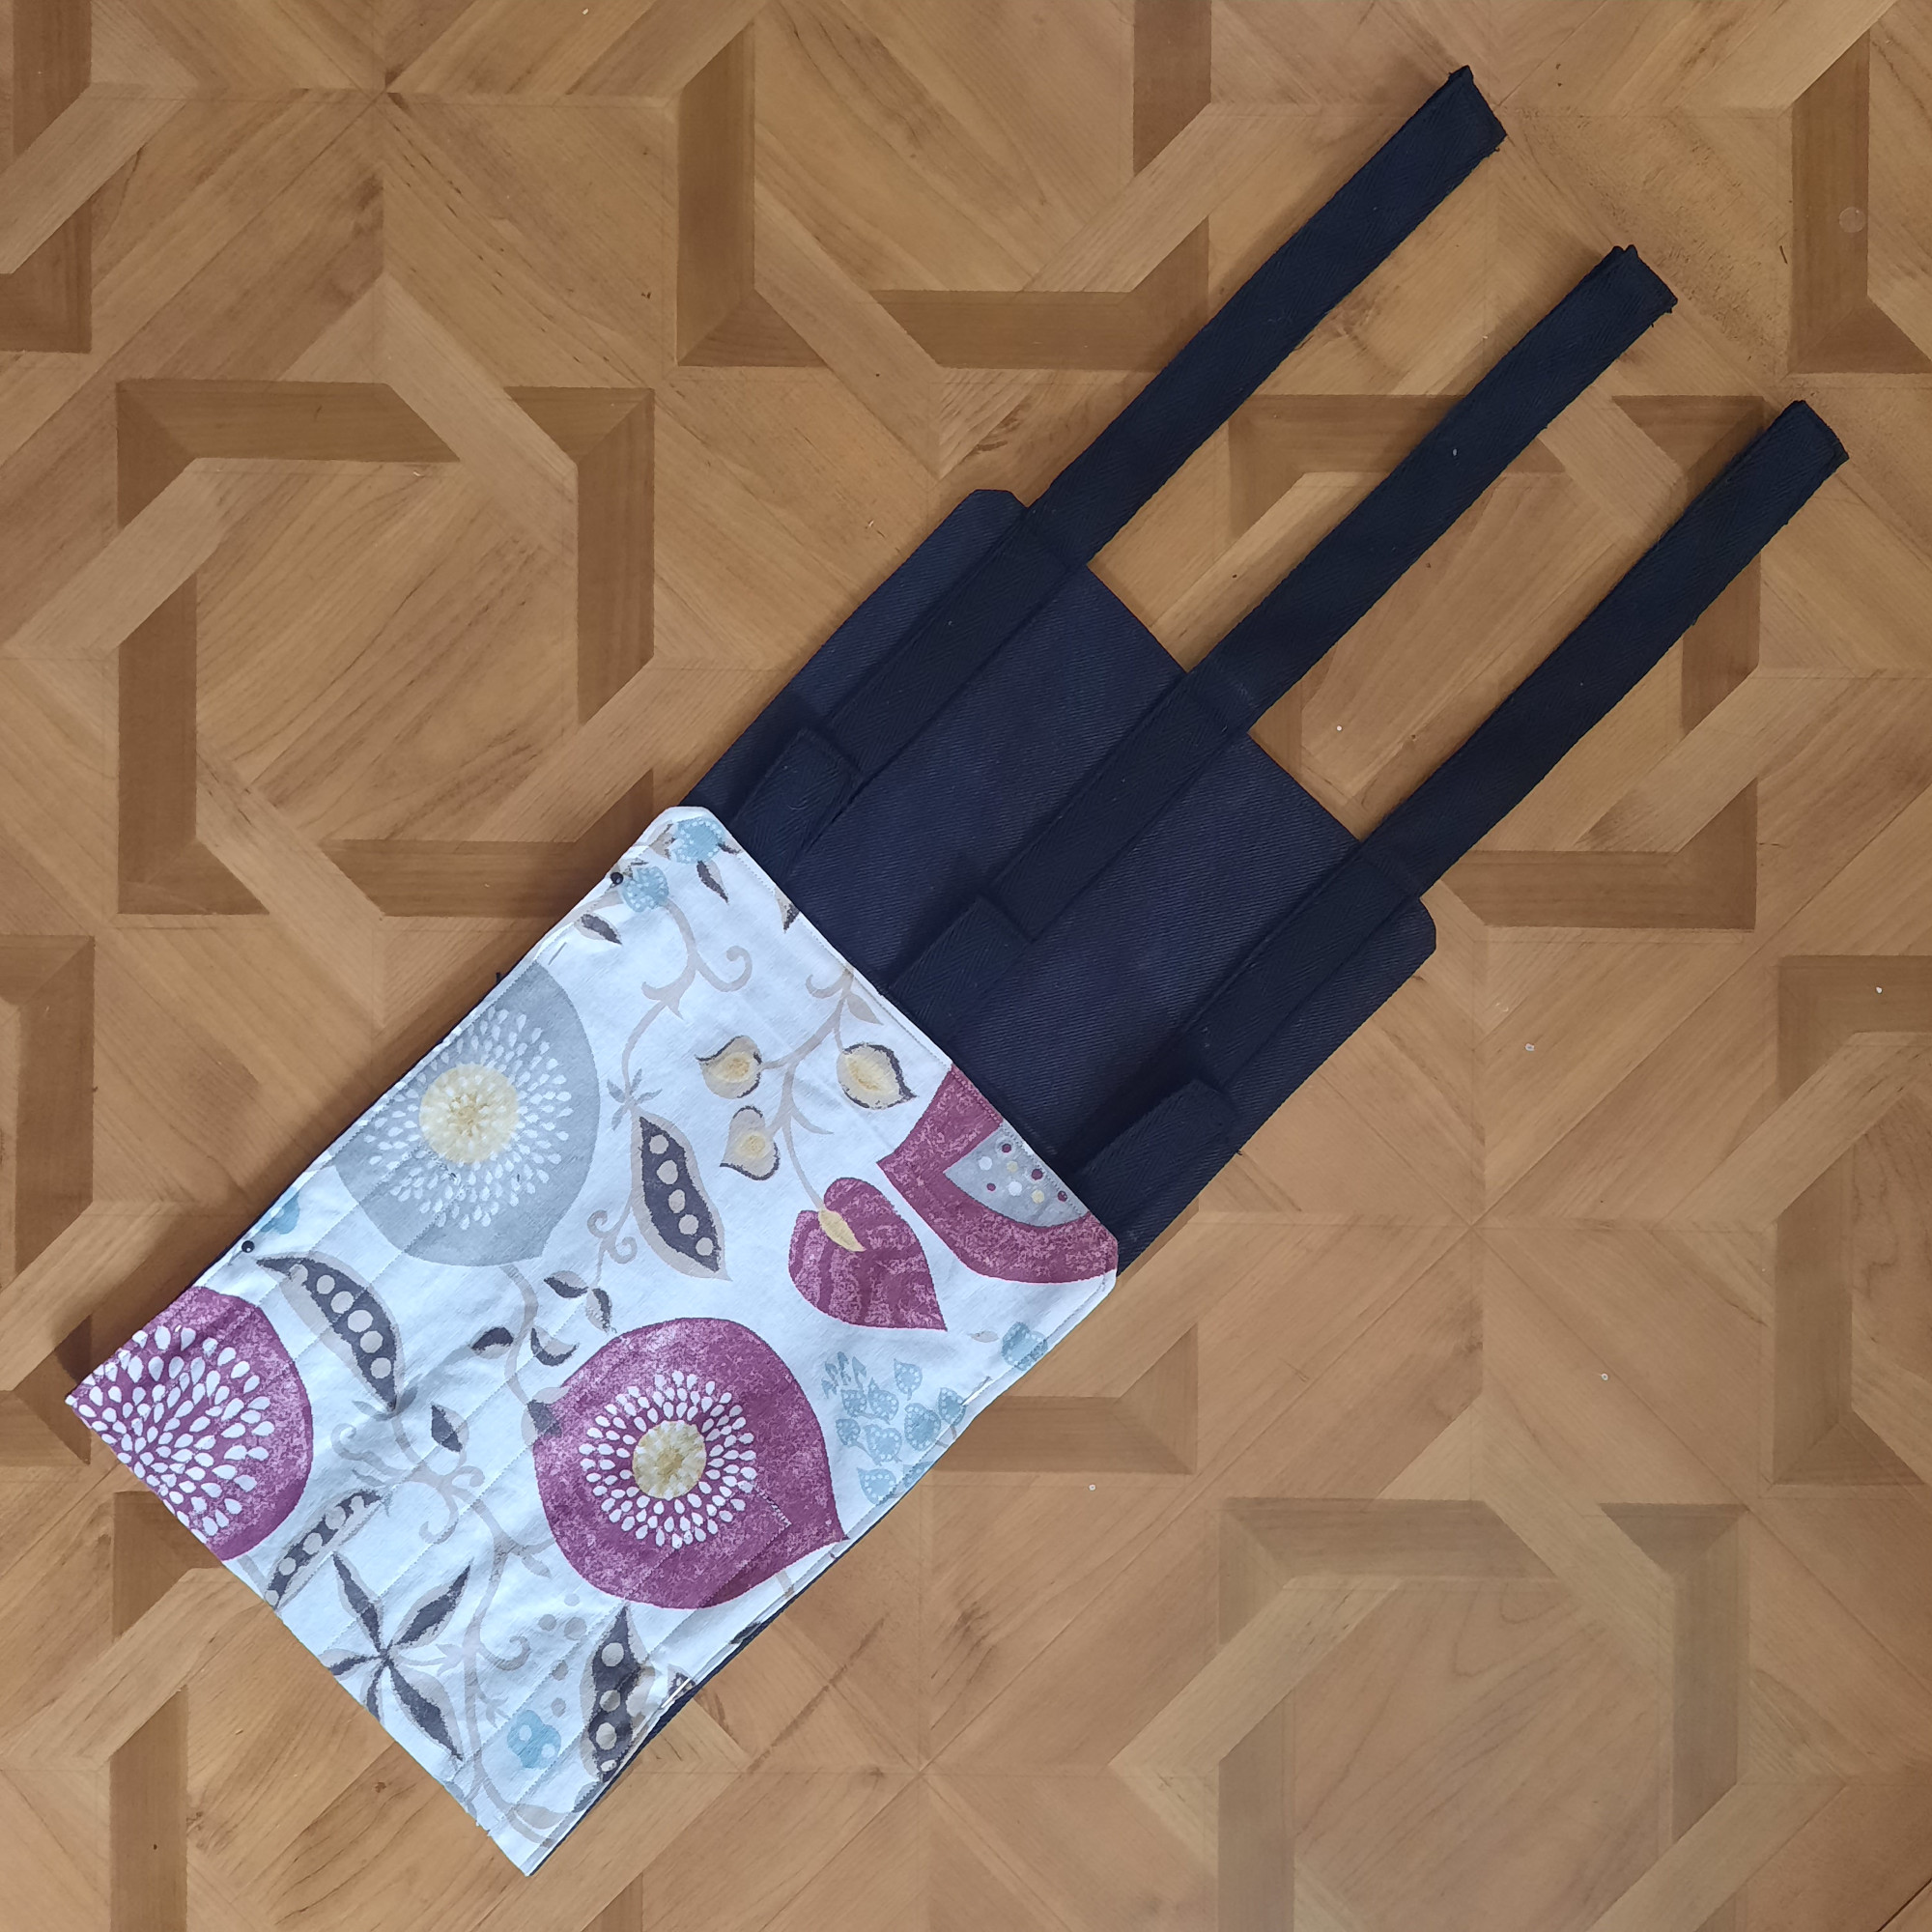
Finally, after the bag has been turned inside out, the lower loops are sewn directly under the bottom edge of the bag. This helps to relieve the pressure on the seams between the straps and the bag.
Finished!