Back-braiding a loop
Instead of a simple knot at the end of the release cord, which allows to attach a replaceable cracker, you can make a small loop for the same purpose. While this is much more tedious, it allows the cracker to point in the same direction as the release cord, which slightly improves the unfolding of the sing on release. This page shows how to create such a loop by back-braiding, using the example of a sling braided with five strands.
Step 1
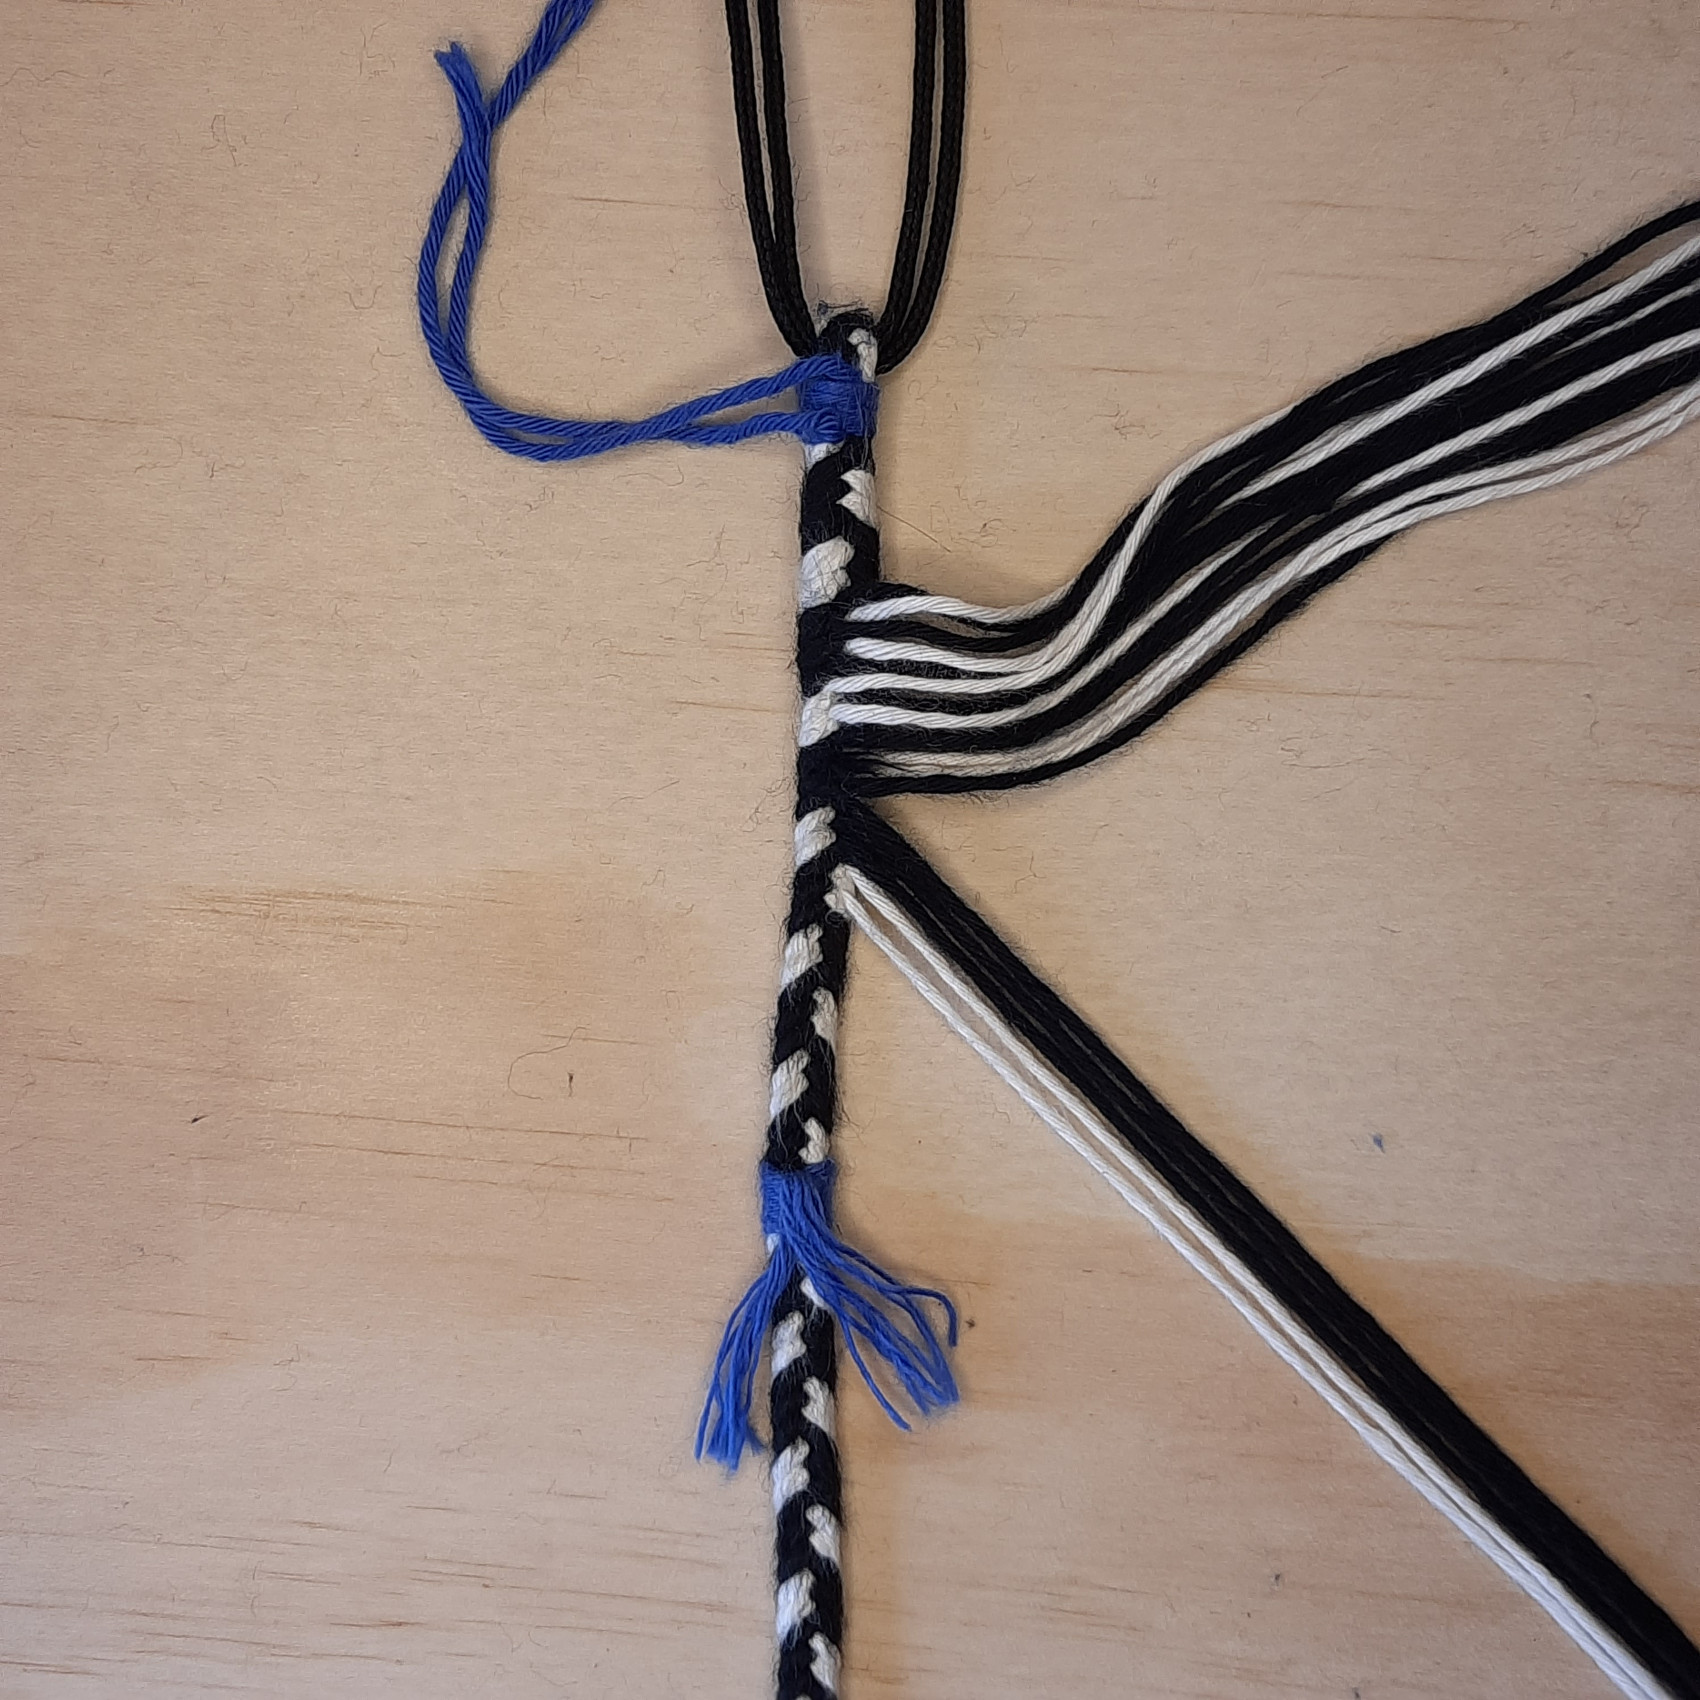
First, braid the release cord to the desired length and add some additional length for the loop. In the picture, the spot where the release cord is held is marked with a piece of blue yarn.
Step 2
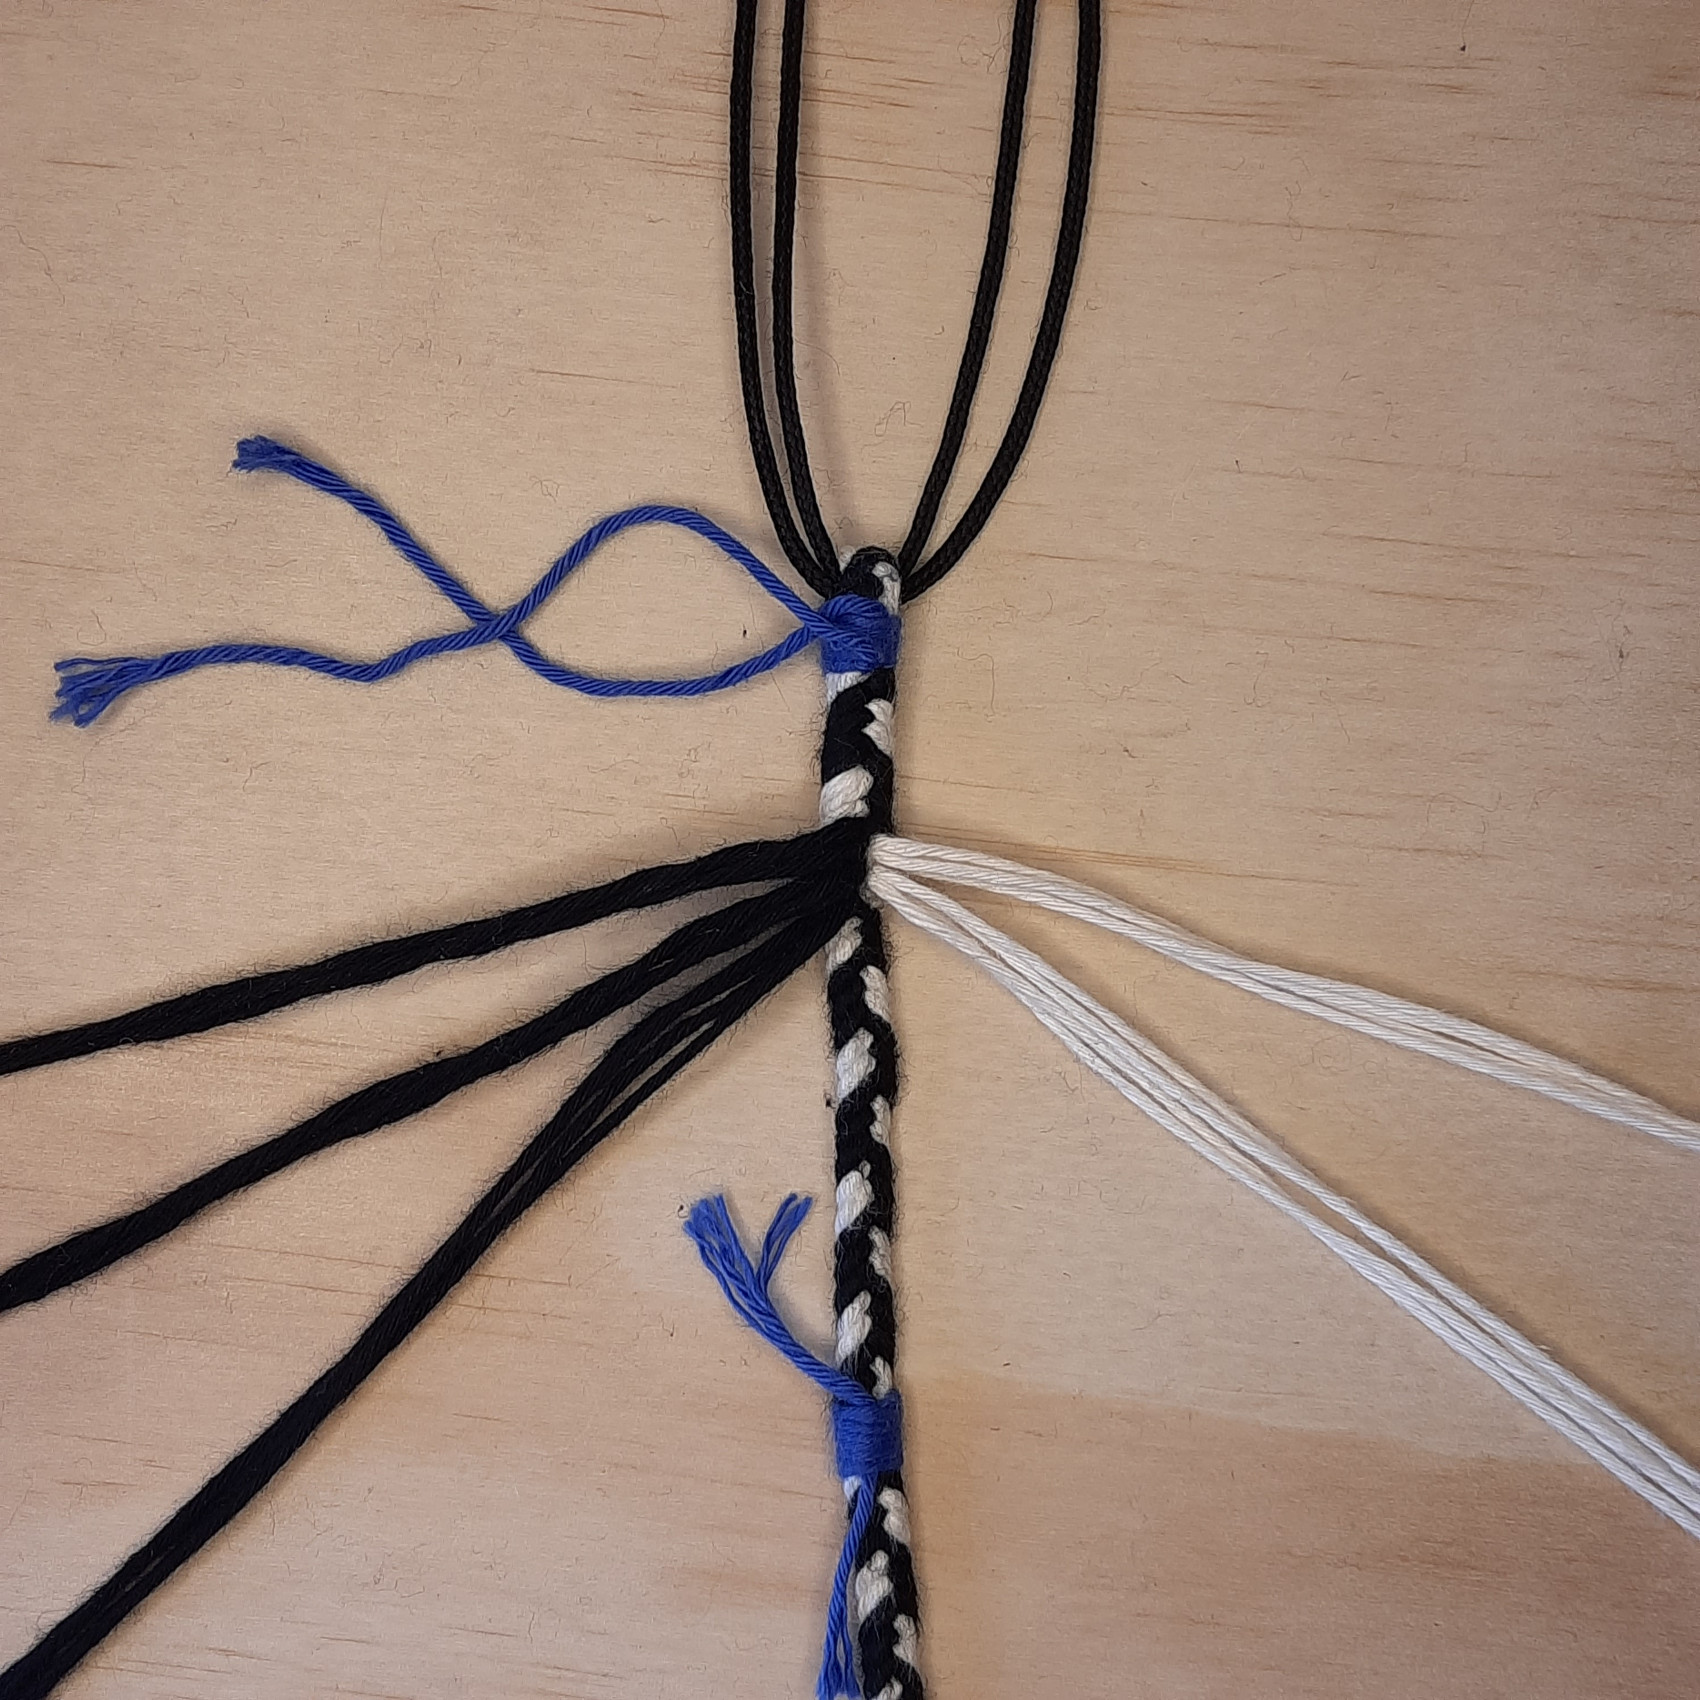
Fold the end of the release cord to a loop and wrap it tightly with a piece of string to prevent it from slipping. Sort the strands at the loose end of the braid. You can thread another string through the loop to tie it e.g. to your leg. That helps in the following steps.
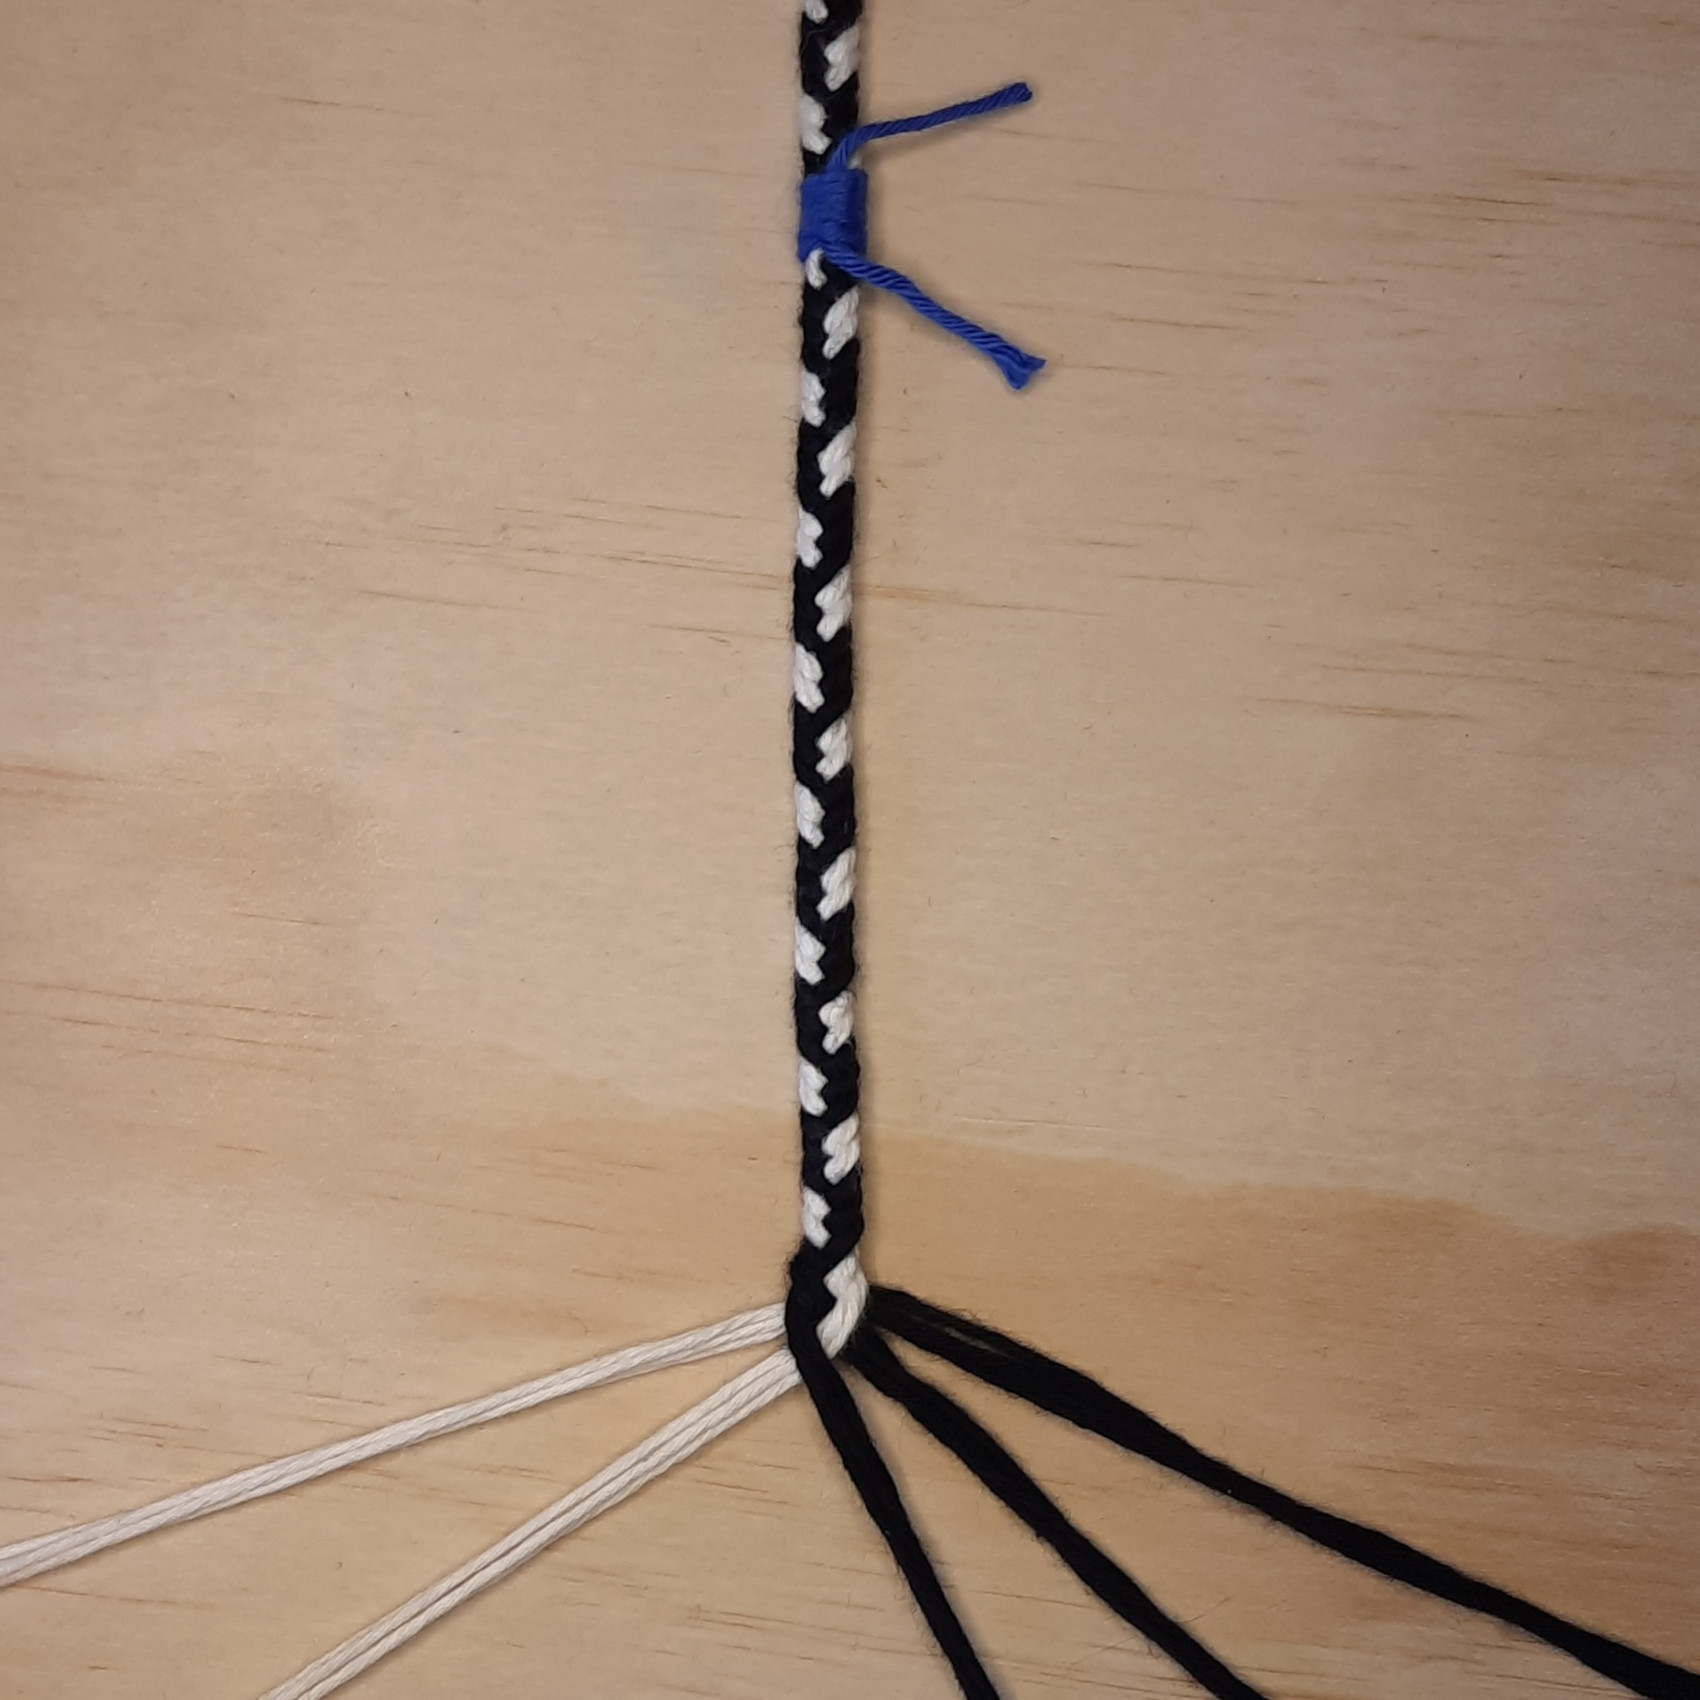
Step 3
The strands are now threaded through the braid in the same order as when braiding using a needle with a blunt tip. Push the needle through two adjacent strands in the braid, so that it follows the pattern of the braid. Take care that you push the needle through between the strands. Otherwise, the back-braid will get weaker and uneven.
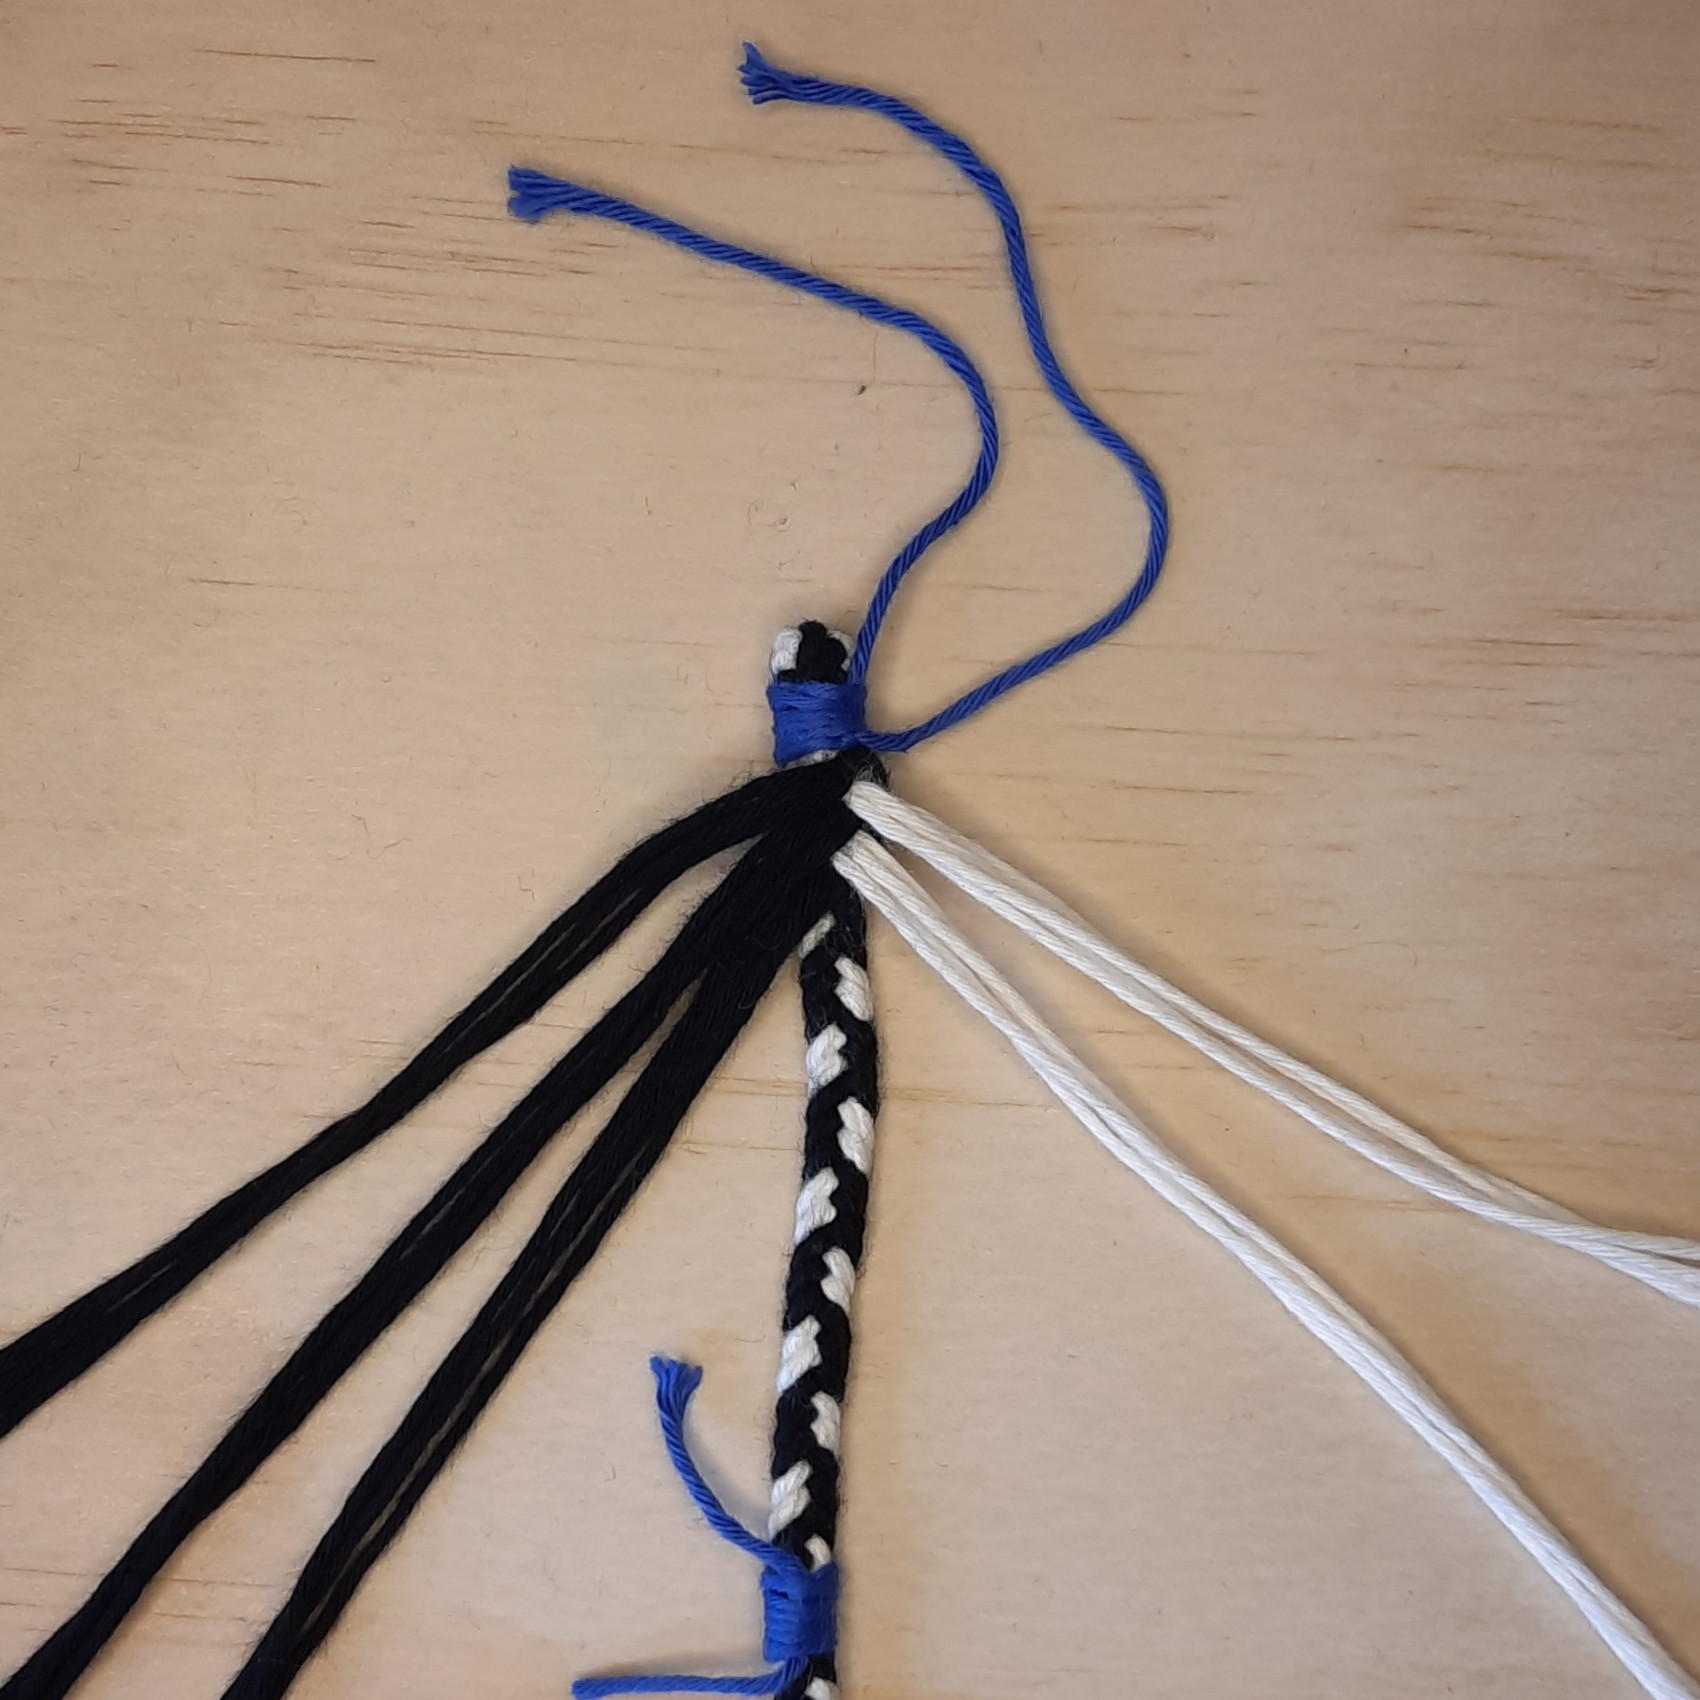
Step 4
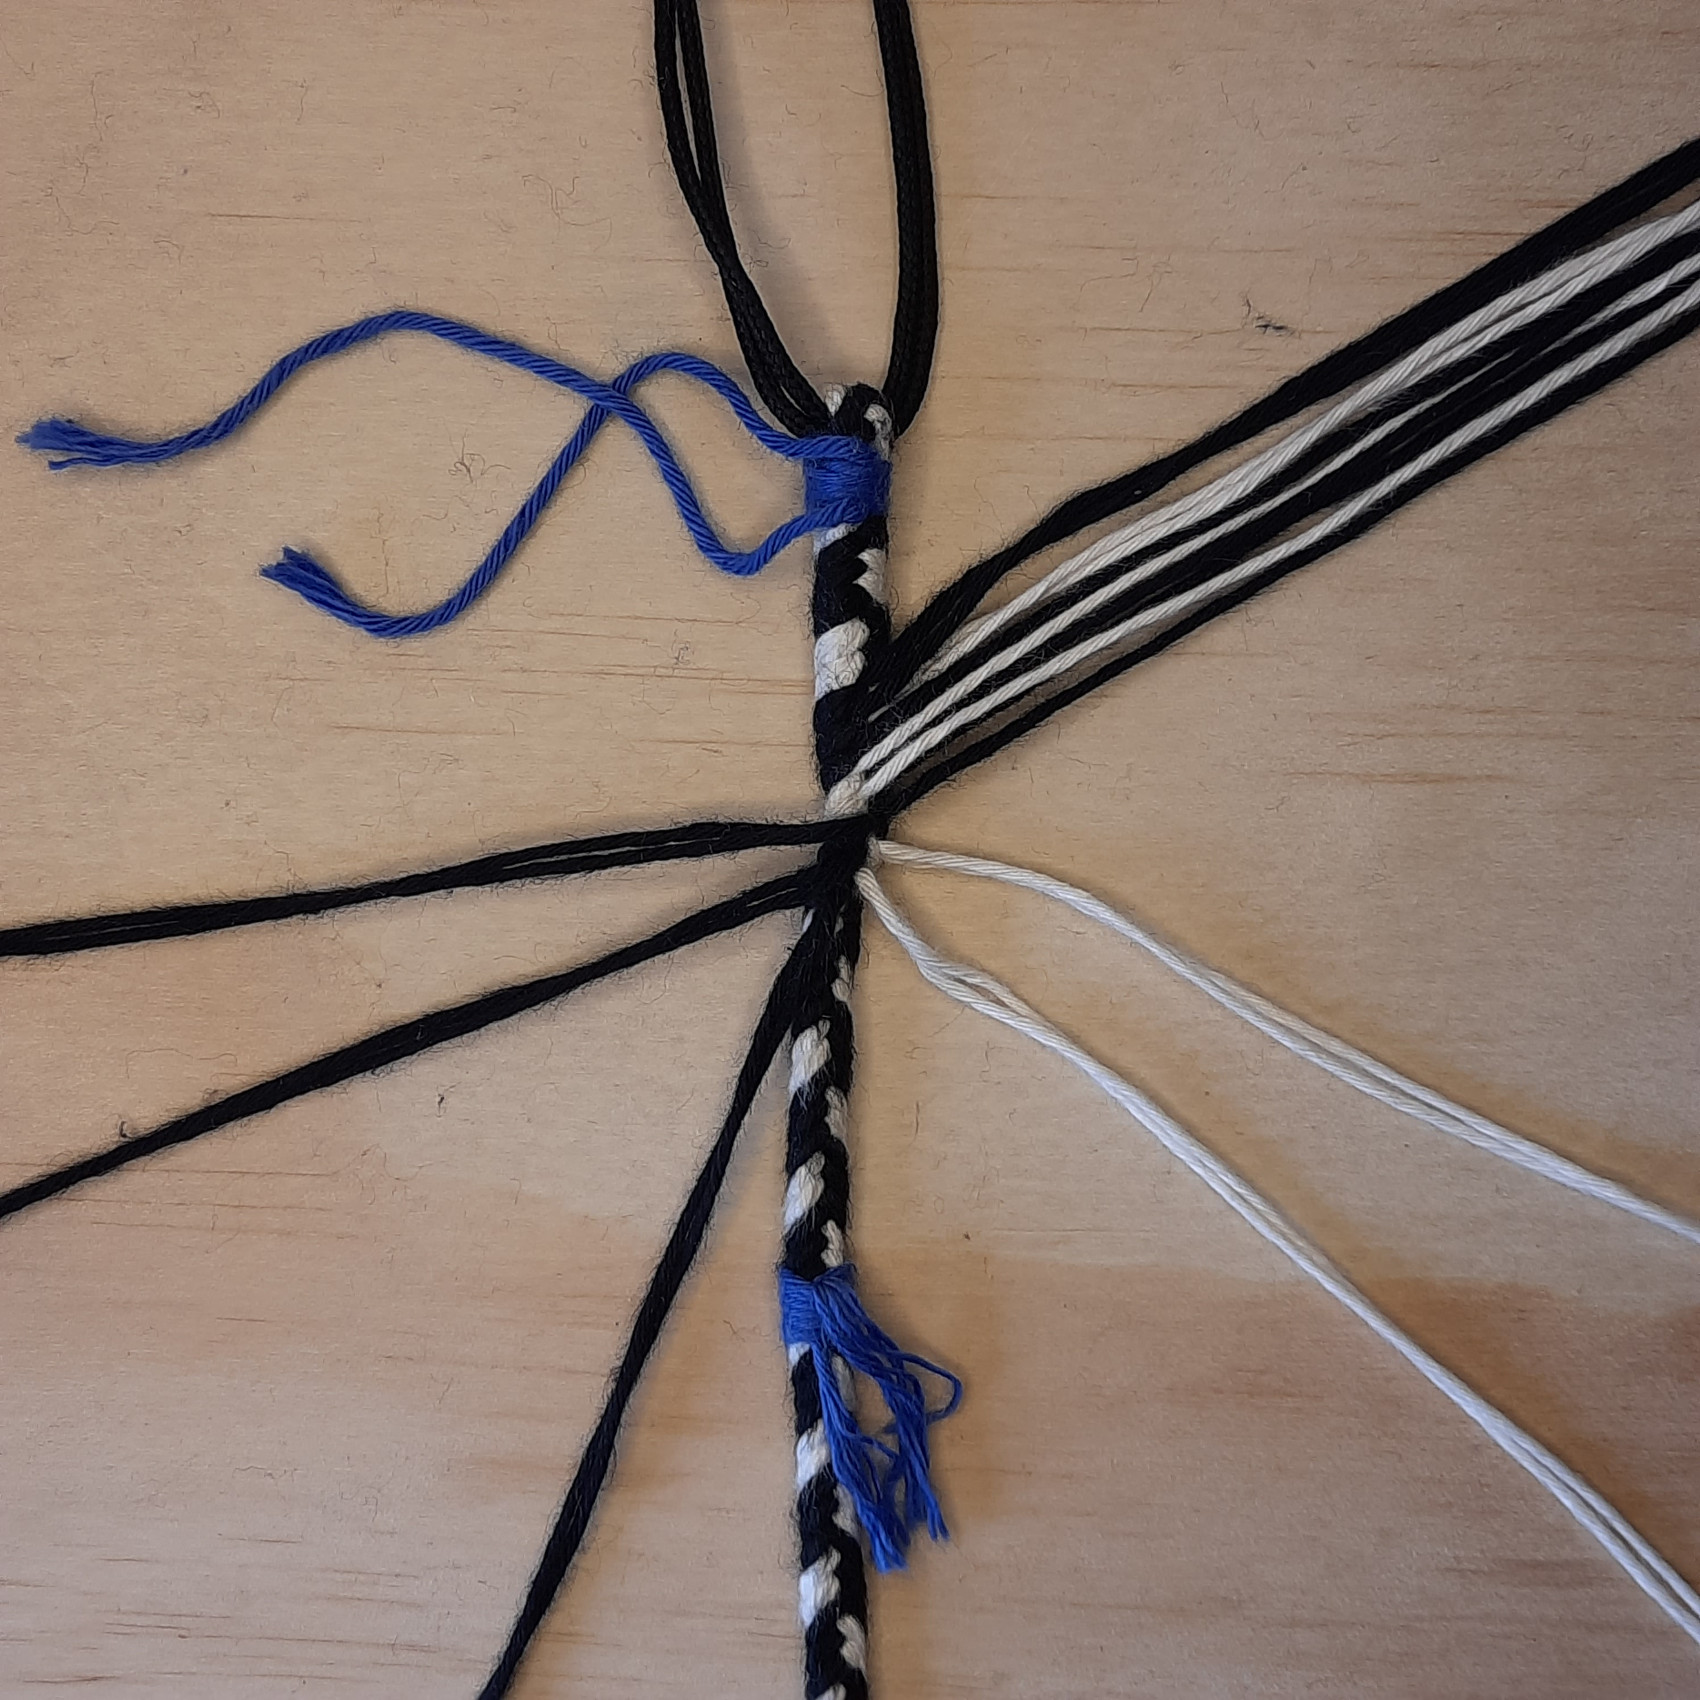
Do this for all five loose strands and pull them tight afterwards.

Step 5
Now, repeat sewing the loose strands further through the braid.
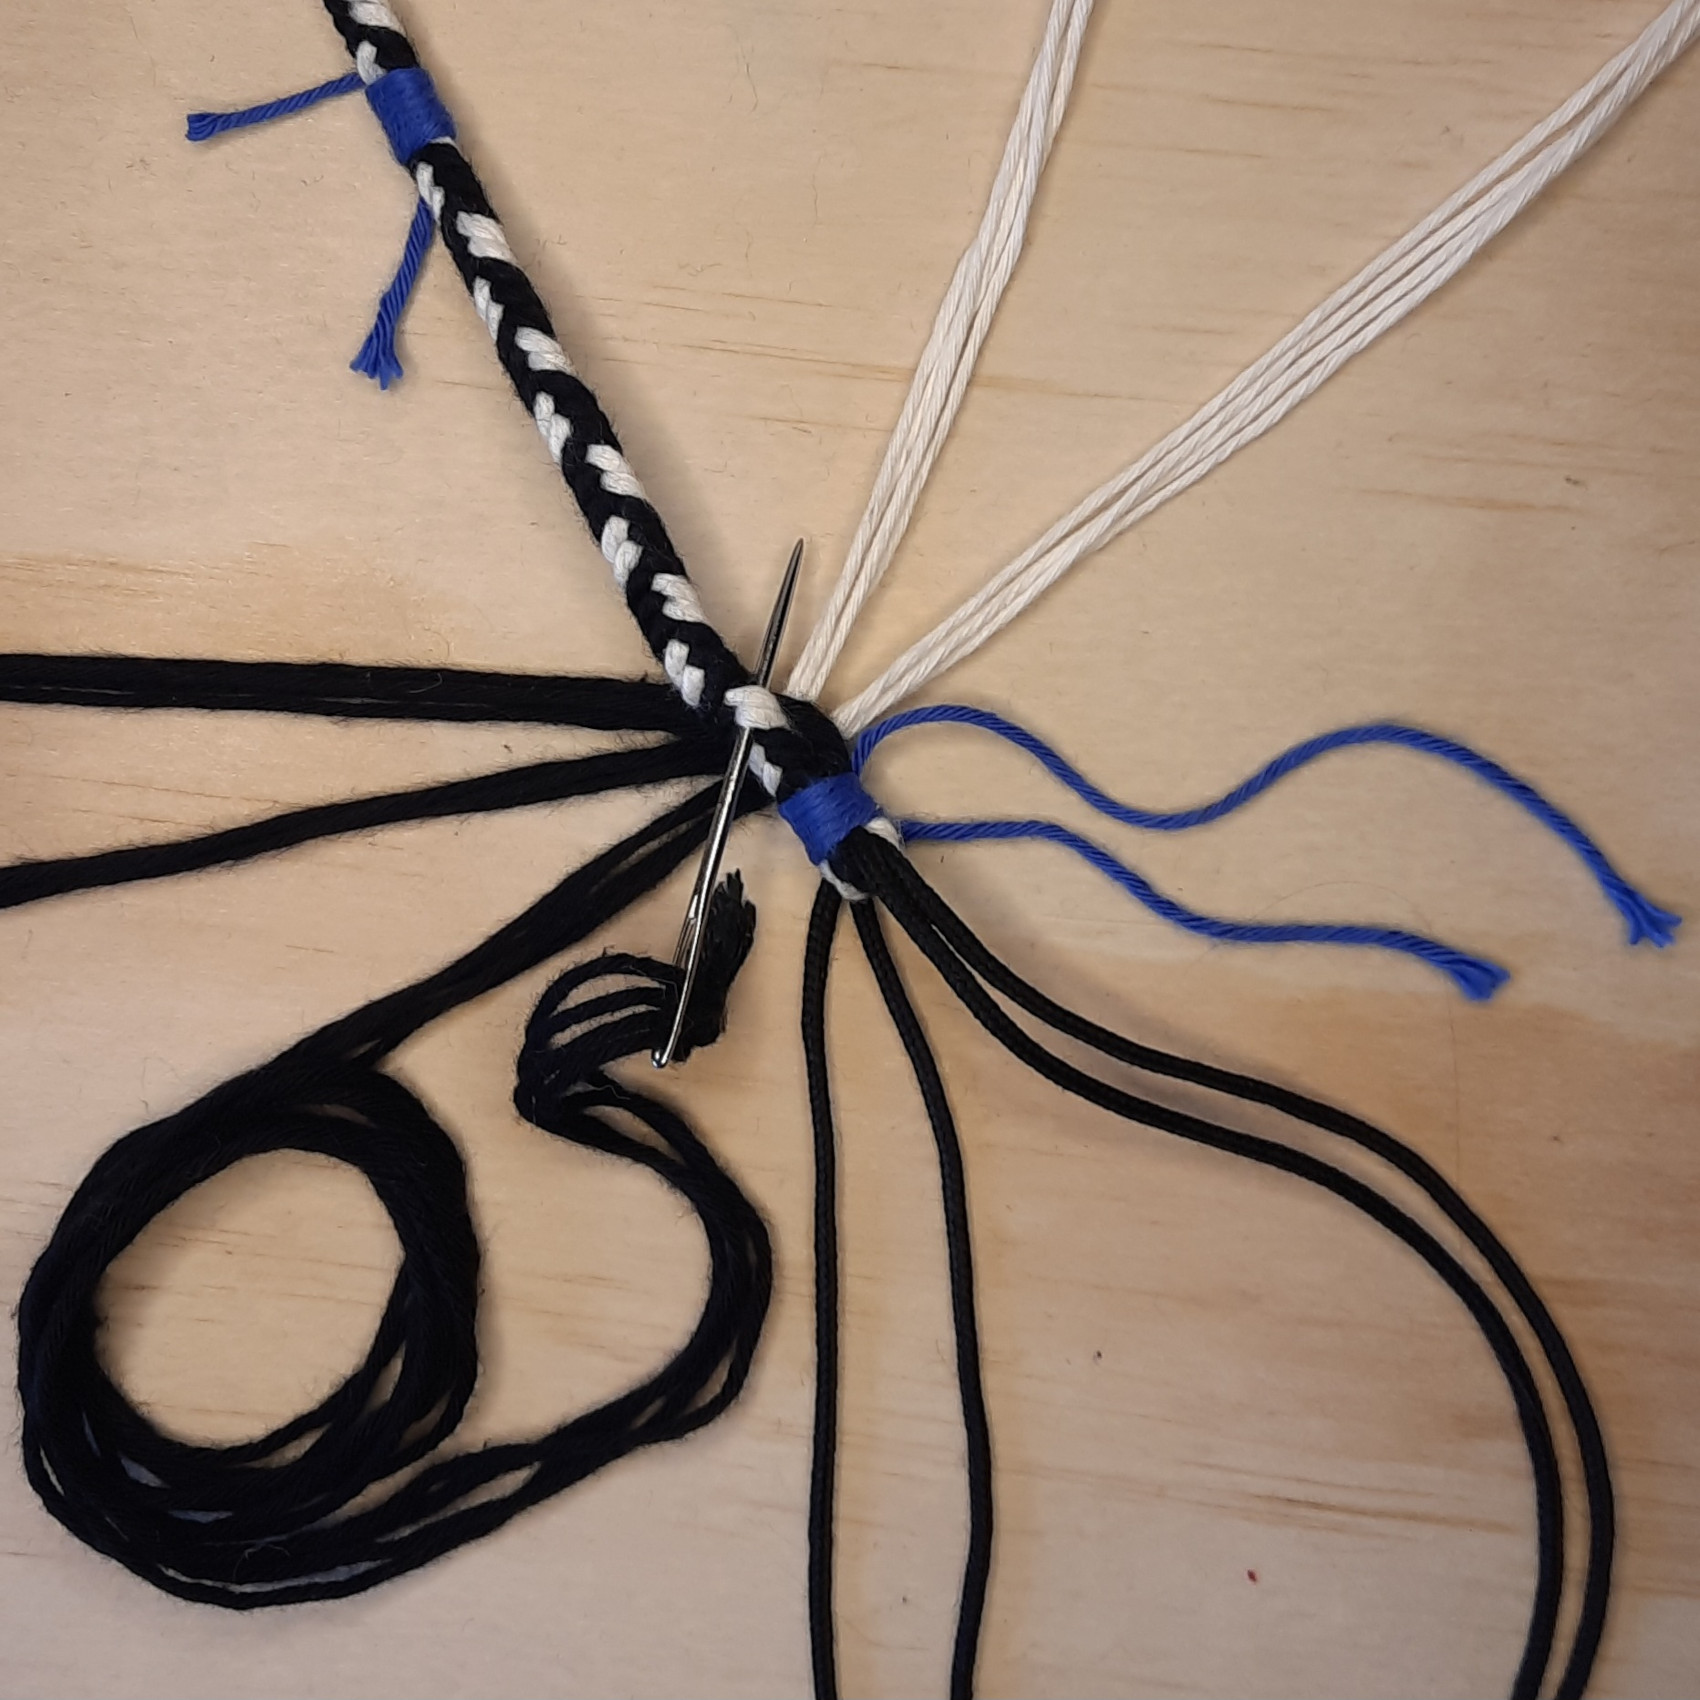
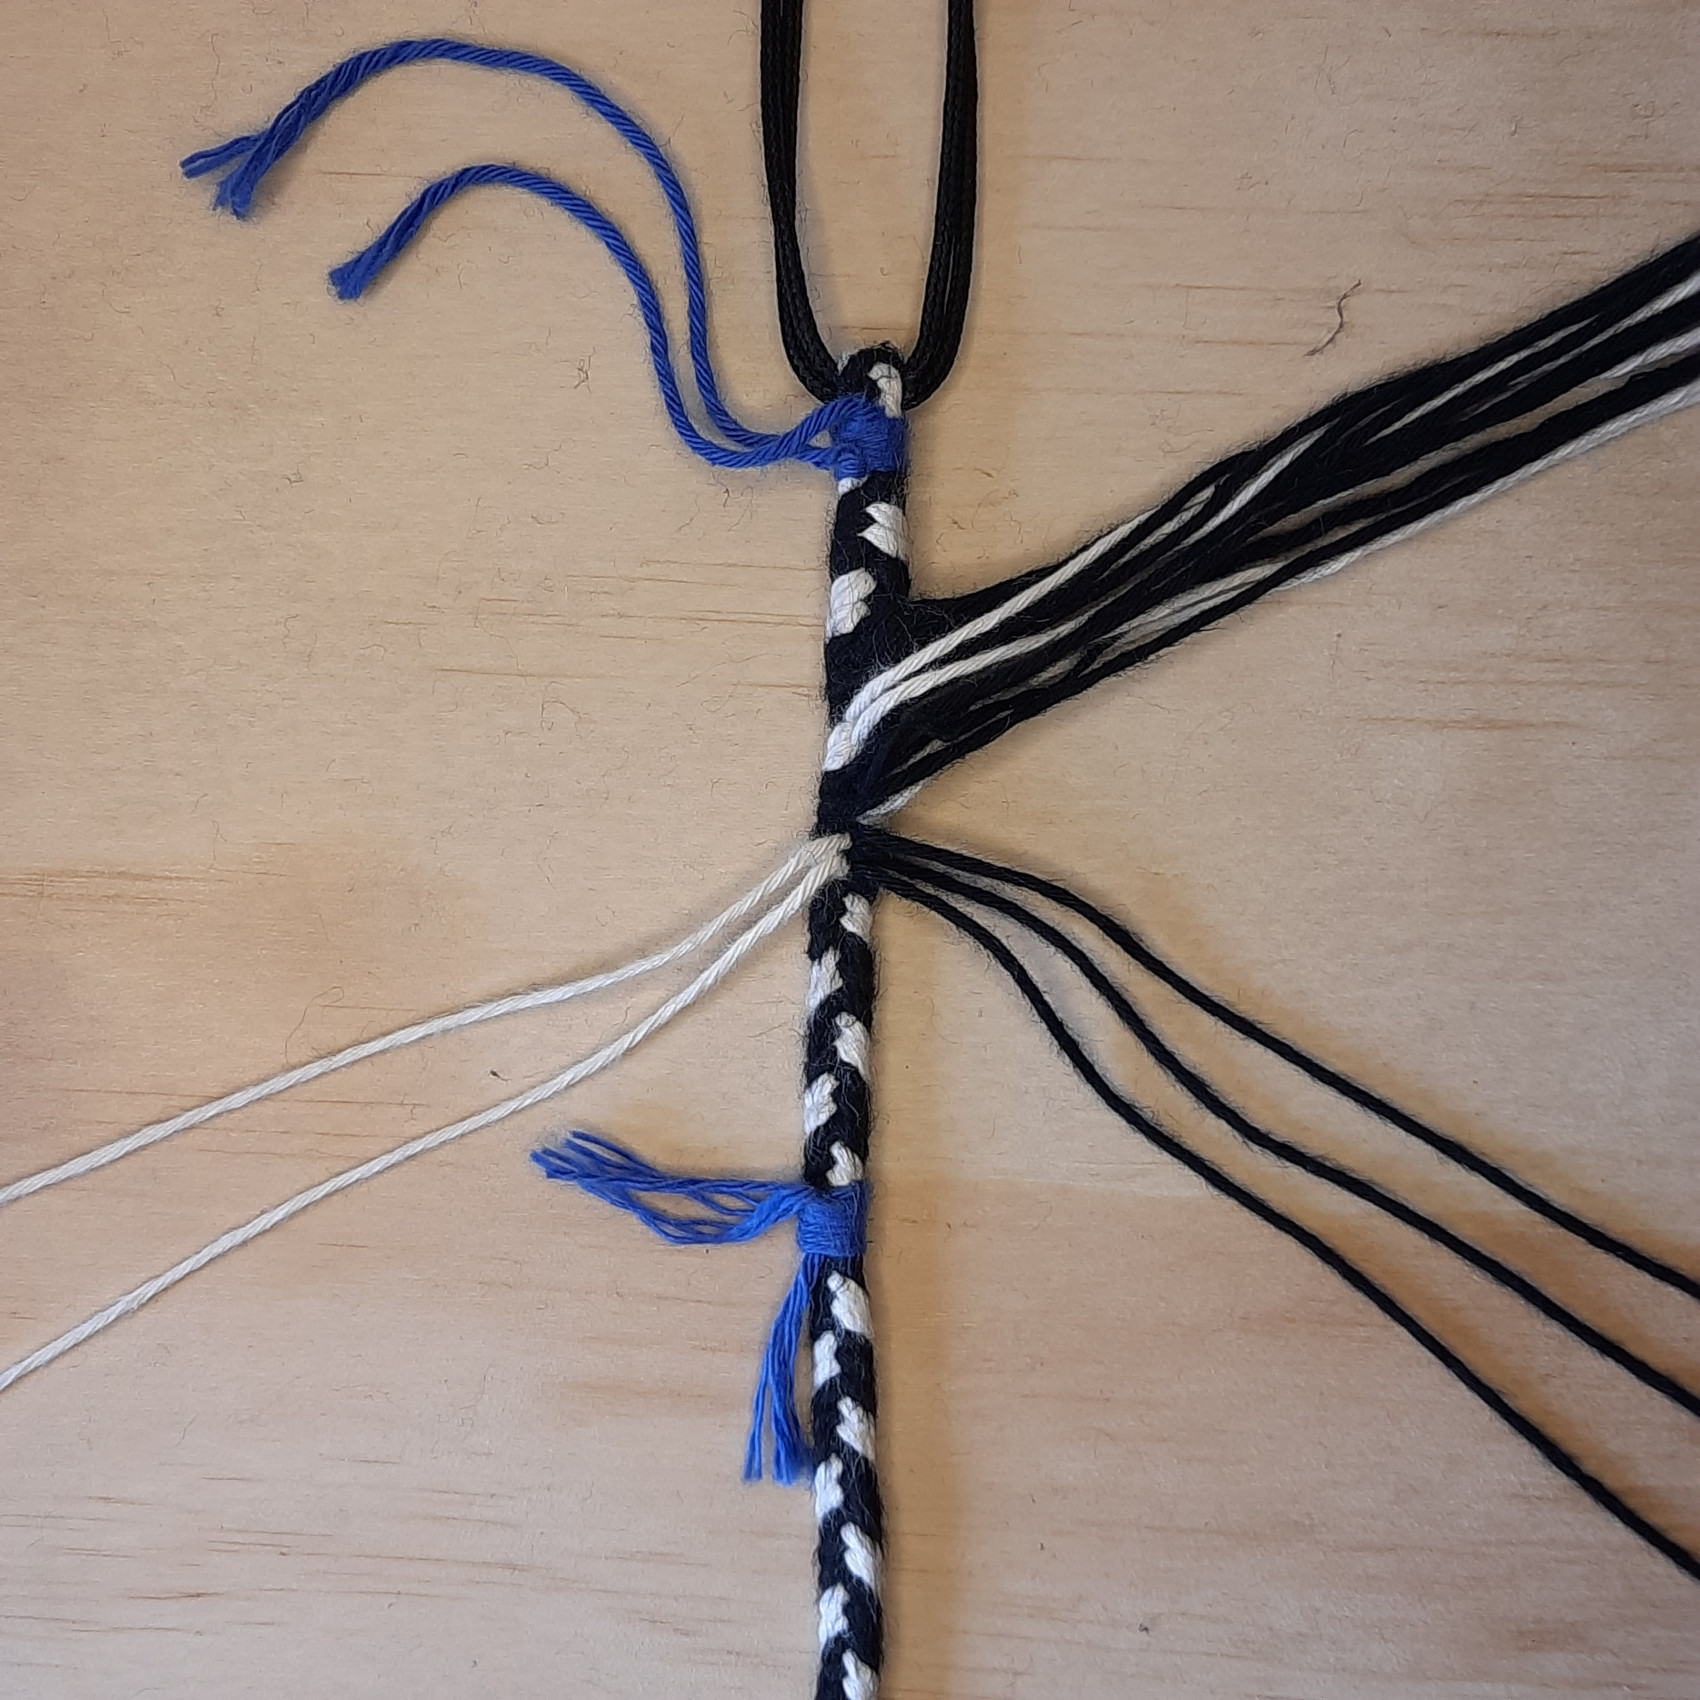
Step 6
After you have back-braided the loose strands for two steps, begin to successively remove one string of each strand so that the back-braid tapers down to the original thickness of the release cord. Continue this until you have only one string per strand left.

Step 7
Two strings per strand...
Step 8
... and one string per strand.
Step 9
To finish the tapering, sew only the strings on one side over to the other. Now, the loop is done and the strings which stick out of the braid can be cut.